thankQ Help
The following steps will allow you to configure the interface that the user sees after they login to the portal page.
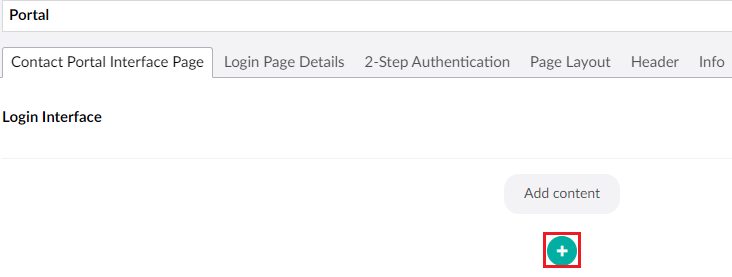
1. Open the Portal Page and the Contact Portal Interface Page tab and click the + icon:
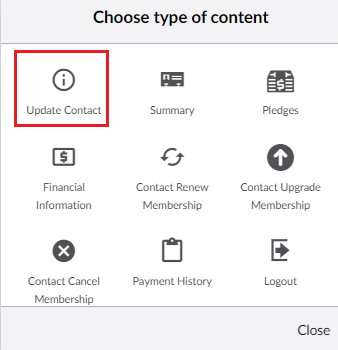
| 2. | If applicable, add an Update Contact widget to allow a user to view and update their contact details. Skip steps 2 and 3 if you do not want this feature: |
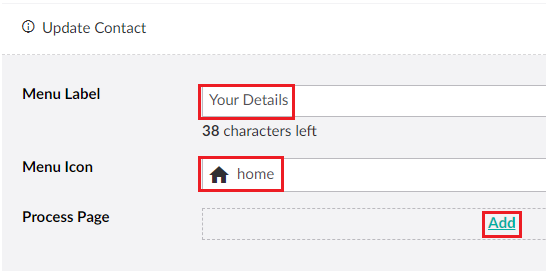
| 3. | Add a label for this menu item as well as an Icon. You will also need to add a Process Page that will have all of the contact details you want users to view and change. See Setup a Registration Page for information on how to set up a basic Process Page. |

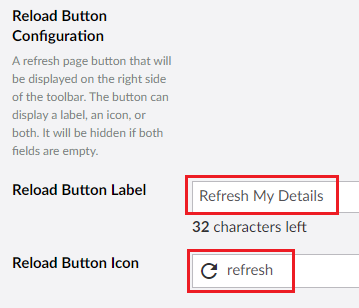
4. You can also set the details of a refresh button that will appear on the toolbar for this page:
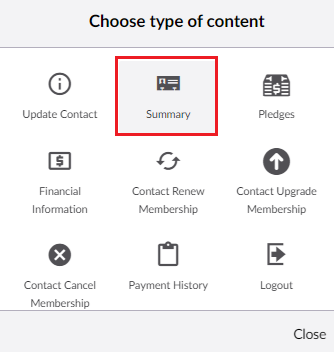
5. If applicable, add a Summary to allow a user to view any field of your choice. Skip steps 4 to 6 if you do not want this feature.
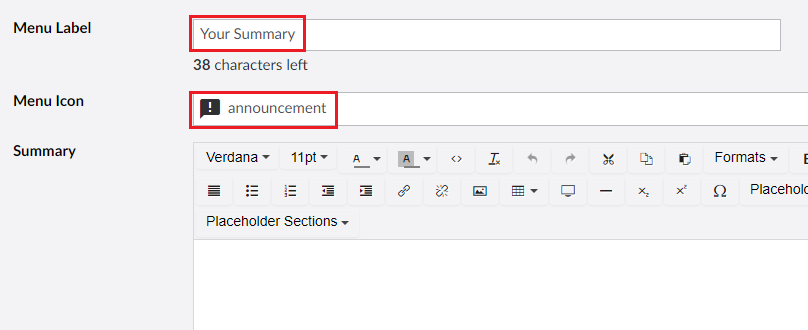
6. Add a label for this menu item as well as an Icon.
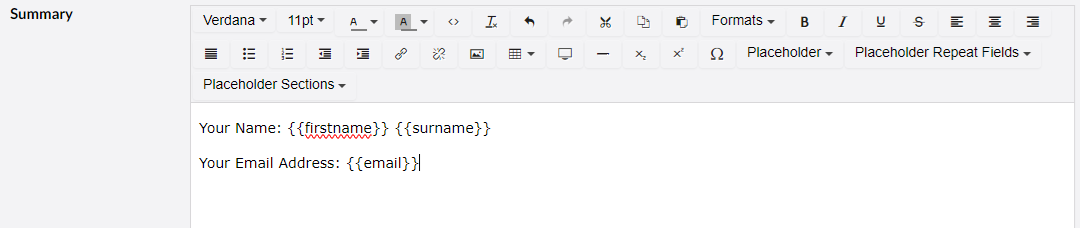
| 7. | Add the information to the summary. Here you can use Placeholder fields to display the user's information, which works in exactly the same way as it does on a Confirmation Page. If you need additional information on how to use Placeholder fields see the Enter Personalisation page. |
| 8. | If applicable, add a Pledges widget to allow a user to view and change any pledges that they have already made. The Pledges Widget has a very large number of options so please see Pledges Interface for a detailed explanation of all of these options and what each of them will do. |
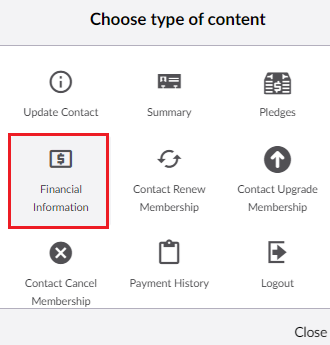
| 9. | Add a Financial Information widget to the page that allows a user to see their finances and change them, if needed. |
 |
| 10. | The configuration for this page is identical to the method used for the Update Contact page. Make sure that the page you link is configured with the details you want the user to view/update: |
 |
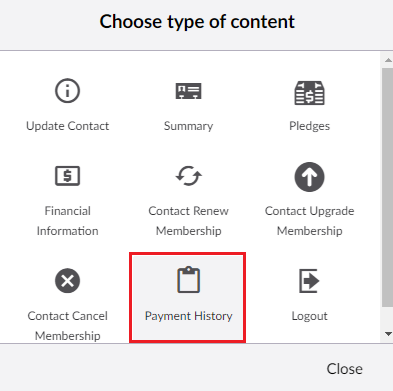
| 11. | Add a Payment History widget to the page that allows a user to see their payment history. |
 |
12. Add a menu label and icon and add optional text to the top of this page.

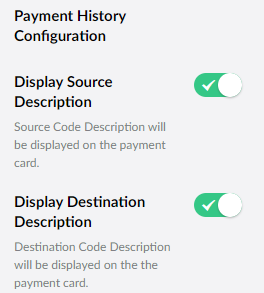
13. You can set if the Payment's Source or Destination Code will be displayed to the user or not:
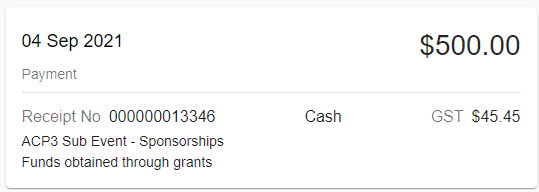
| An example of a payment entry on the page with a Source Code and Destination Code description. Note that the user needs to click on the payment to see the full details: |
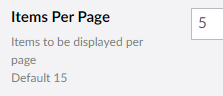
14. Set the items per page if you want more or less payments to be displayed before the user needs to use a button to go to the next page of payments.
| 15. | You can also set if the user is permitted to generate an EOFY summary which they can email to themselves. You can also set the captions used on the page for this. |
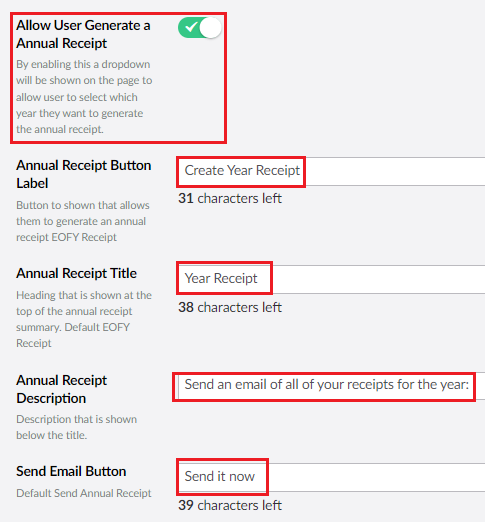
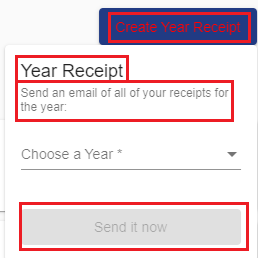
This is an example of what will appear on the page if the captions are set to the example above:
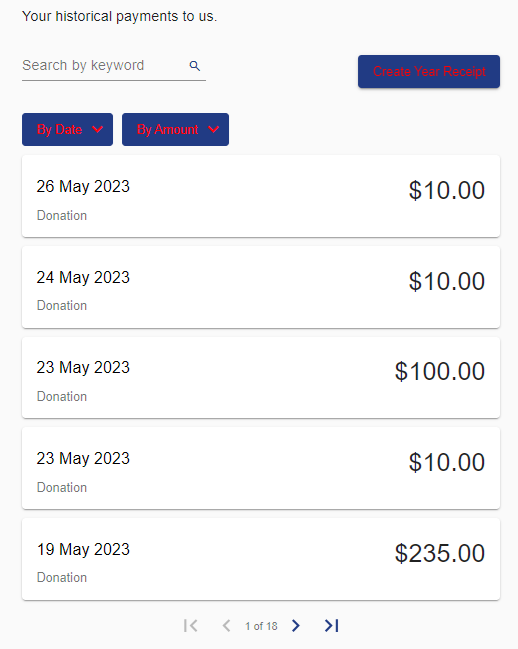
| An example of what the entire page looks like for the end user. This page allows for them to search for their payments along with sorting them by Date or Payment Amount. |
| 16. | If applicable, add a widget for one of three Membership related widgets: |
| - Contact Renew Membership. |
| - Contact Upgrade Membership. |
| - Contact Cancel Membership. |
 |
| Please see Contact Portal Membership for a detailed explanation of these three options. |
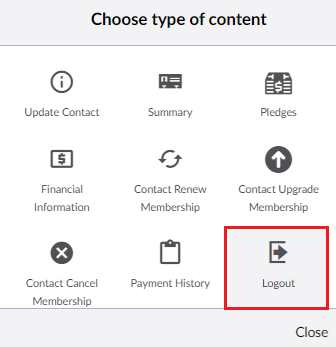
| 17. | You should also add a Logout option to the sidebar so that the users can choose to log out once they have finished: |
 |
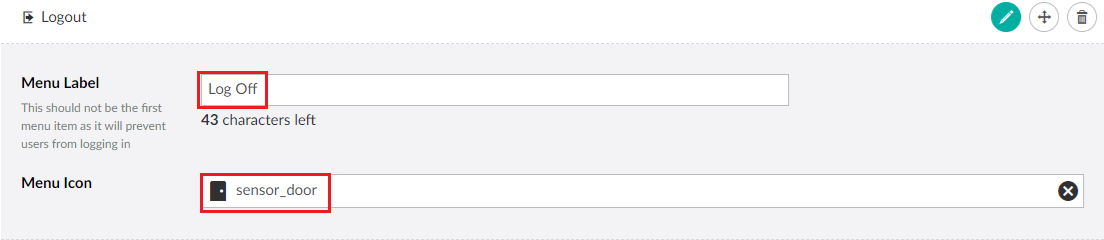
18. You can adjust the caption and icon used for the Logout option as well:
| 19. | Once you have finished configuring the Contact Portal Interface and Login Page Details you may also optionally change the other parameters for your page which may include the following: |
| - Header |
| See the respective help files for instructions on how to configure these aspects of the page. |
| 20. | When you have finished press Save and publish to save the page. |