thankQ Help
You can setup a portal page that will allow a user to view and update their existing details such as Renewing/Canceling Memberships, updating their Contact Details or updating their Pledges/Financial Information.
To set the initial page please follow these steps below:
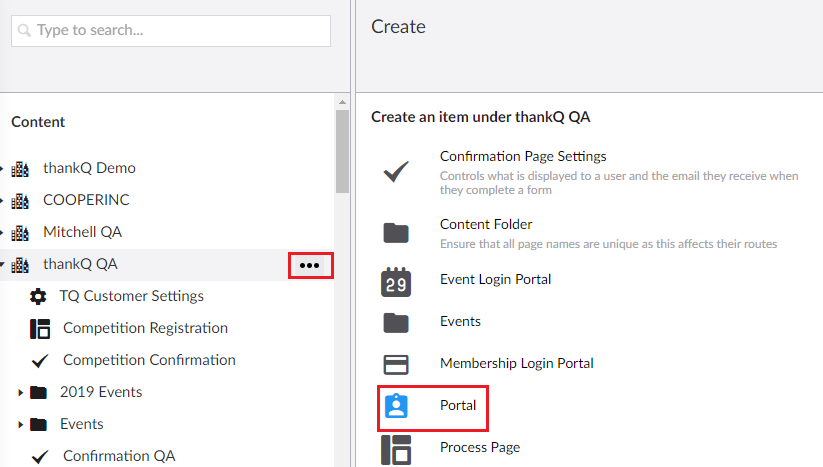
1. Select your company code and select the three little dots on the right and then select Portal.
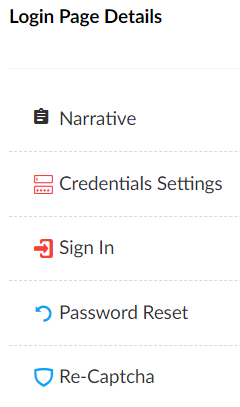
| 2. | Once the page is created give it a name, select the Login Page Details tab and then use the + icon to add the widgets to the login page: |
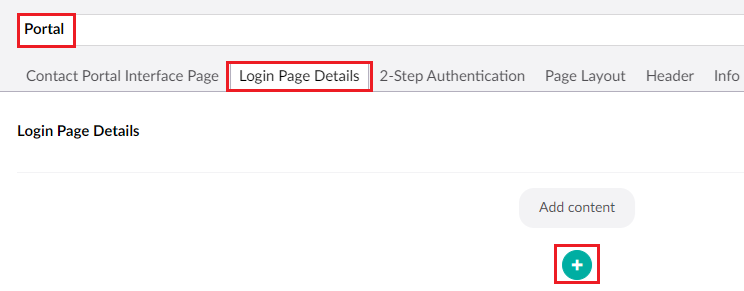
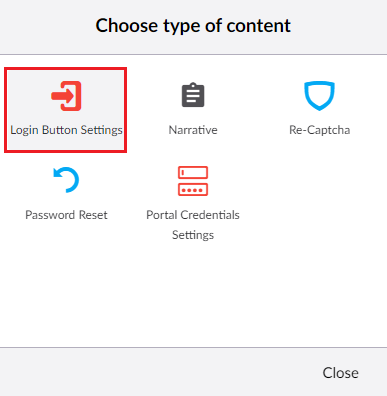
3. Items highlighted in red are required and the page will not save if you do not have these so start by adding Login Button Settings.
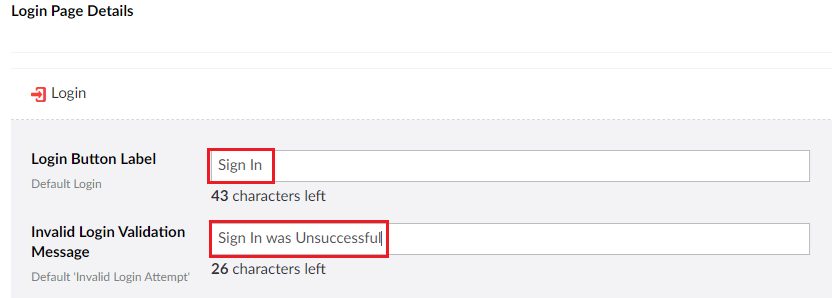
| 4. | You can choose to change the labels for the login button and the validation error message. You are not required to change these and can leave them blank: |
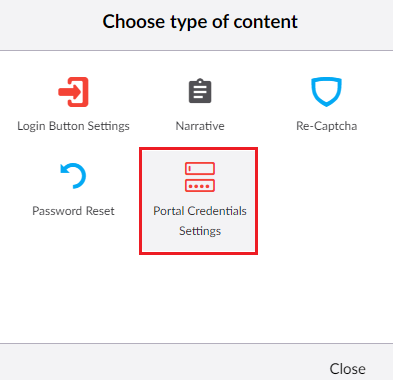
5. Add the Portal Credentials Settings:
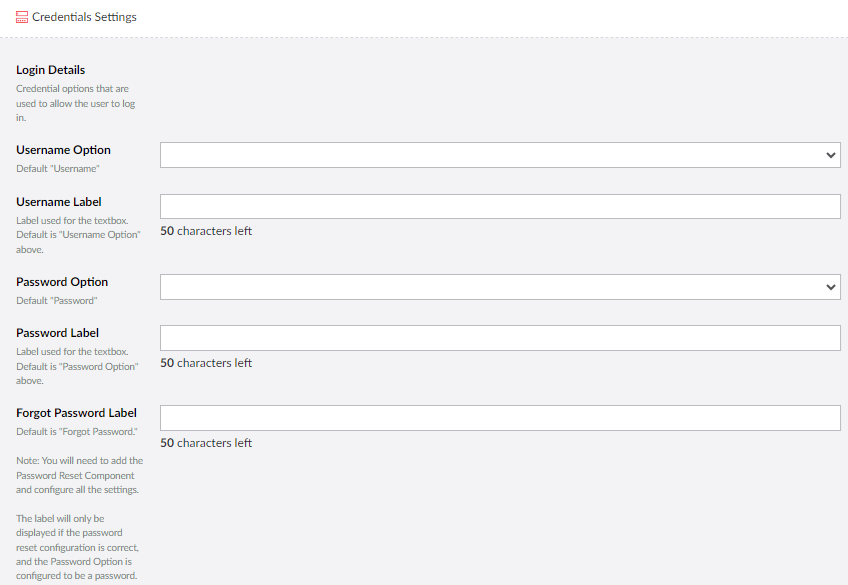
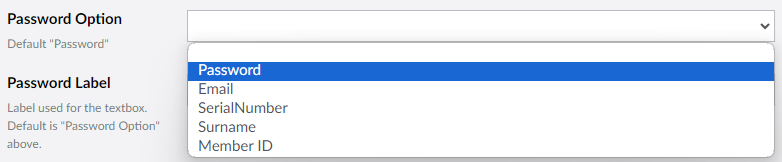
| 6. | Here you can change the labels used for Username, Password and Forgotten Passwords. You can also set the username and password options here. More explanation of this will be provided in the next step. |
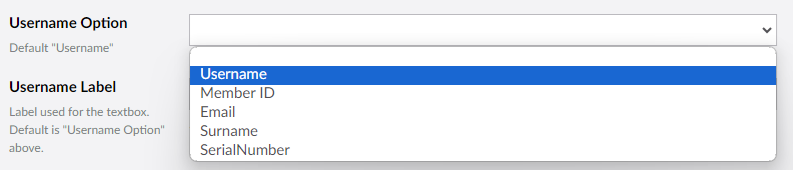
| 7. | For the username you may choose which aspect of user data will be used as the 'Username' that they will be logging in with. This can be any one of the following: |
- Username (this is the default option).
- Membership ID (if all users are expected to have a membership you can just use their ID).
- Email Address.
- Surname.
- Serial Number of the thankQ Contact.
| 8. | For the 'Password' used to login you may choose which aspect of user data will be used for this purpose. This can be any one of the following: |
- Password (default option).
- Email Address.
- Serial Number of the thankQ Contact.
- Surname/Last Name.
- Membership ID (if all users are expected to have a membership you could use their Member ID as a 'Password').
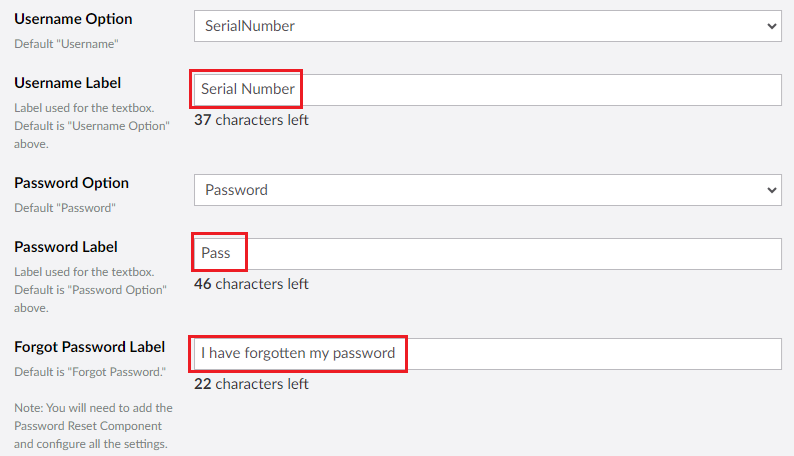
| 9. | You may optionally choose to change the labels as well to inform the users as to what data they need to enter for their 'Username' and 'Password': |
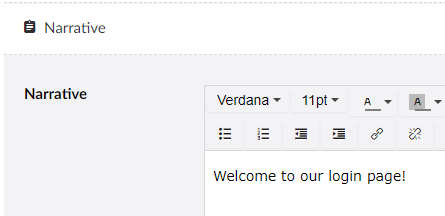
10. After adding these two pages you may also optionally add a narrative to the page that can contain text or images for your login page:

| 11. | Add a Password Reset widget if you want users to be able to reset their own passwords. Note this only works if the password option is for passwords. This feature does not work if the password is something else such as the Email Address, Member ID, etc. |

For a more detailed look at how to configure this please see the Password Reset page.
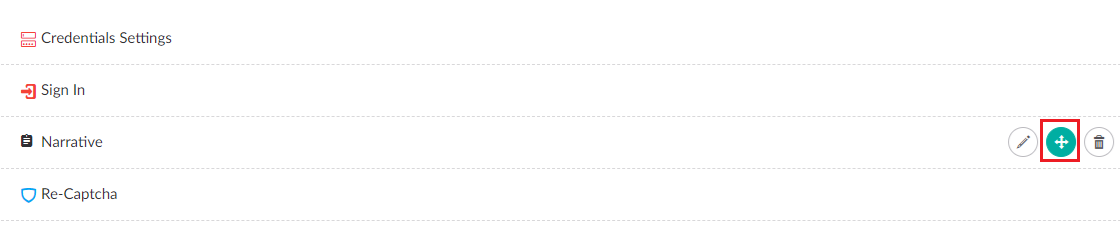
12. Use the Move icon to rearrange the order of the widgets on the page:
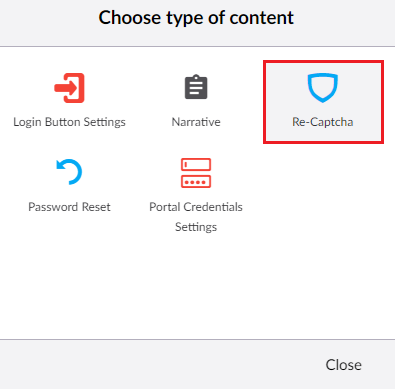
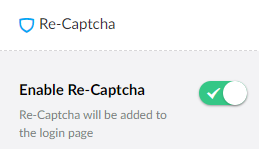
13. Add a Re-Captcha page and toggle this feature on if you want to have this on your page:
14. Once you have finished the basic setup press Save and publish to save the page.
| 15. | Once the page is saved you will now have a basic Narrative along with a Username/Password prompt and Captcha. See the Contact Portal Interface help article for how to setup the page that users will see after they login. |