thankQ Help
To lookup addresses with the thankQ Standard Lookup follow the instructions below. Note: If you need instructions specific to third-party software such as Hopewiser see the additional help articles.
1.Start typing the Address in the Address Search field.
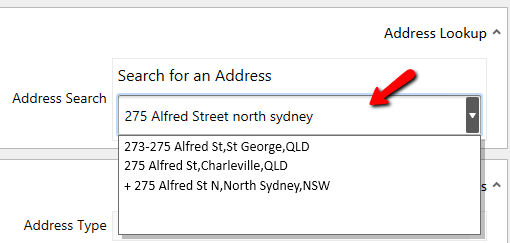
2.Click on the correct street address to bring into the Address Search field.
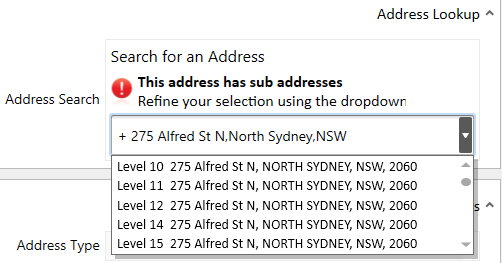
3.Click on the drop down beside the incomplete address and locate the number of the street.
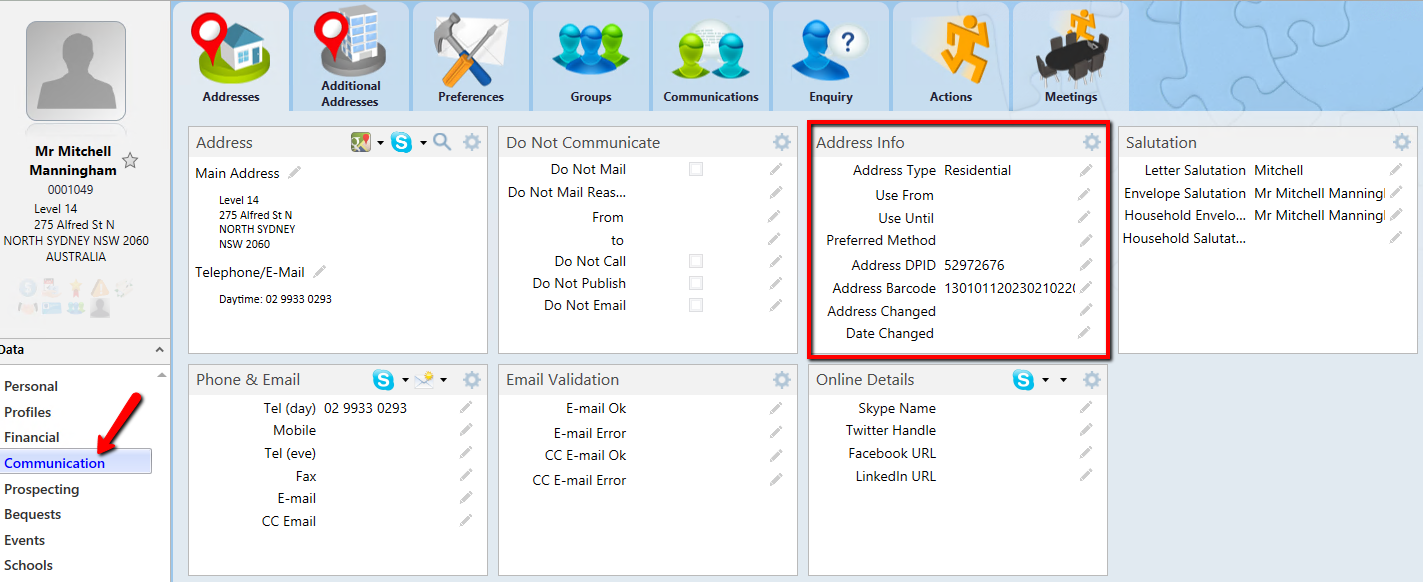
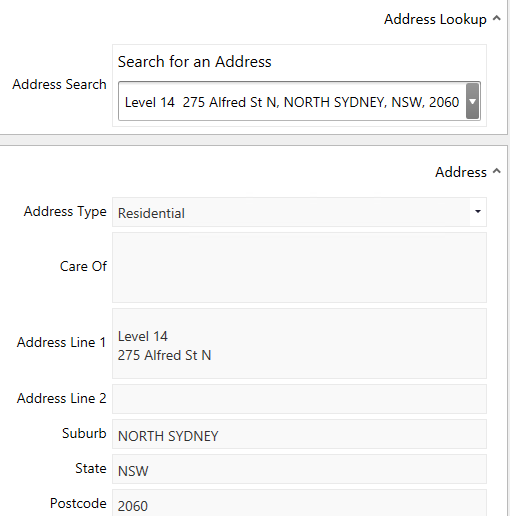
The Postcode Lookup software will populate the address fields on the Form and calculate the AddressDPID (Delivery Point Identifier) and Address Barcode fields on the Addresses tab.
The Country field is controlled by a lookup value Default Country under the Contact folder.
Envelope and Letter salutation structures are controlled by lookup values under Contact Salutations. These can be overwritten if required.
1.Enter Phone & Email
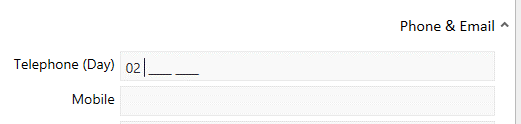
When you start adding telephone numbers they will be automatically formatted.
2.Select Position, Occupation, Date of Birth from drop downs.
3.Enter any Preferences eg Preferred Method, Do Not Mail.
4.Enter Primary Category, Source etc.
Primary Categories Primary Categories help identify the different types of contacts in thankQ. Every contact must have a Primary Category. Only one Primary Category can be assigned to a contact. Examples of Primary Categories include Supporter, Member, Volunteer, Business, School or Church. Your thankQ Administrator can create further Primary Categories to suit the needs of your organisation. When a contact is created, a default Primary Category will be entered automatically. To change this, click on the Primary Category drop down arrow and choose a different value from the list. |
5.Select a Primary Manager if a person in your organisation is the main contact to this Contact.
6.Continue through the form and enter any known information.
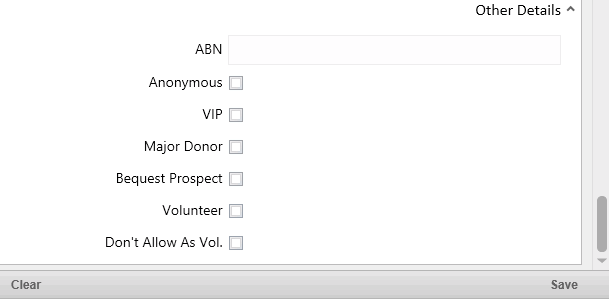
7.If this contact is a Volunteer, Major Donor tick the relevant boxes.
8.Click Save at the bottom.
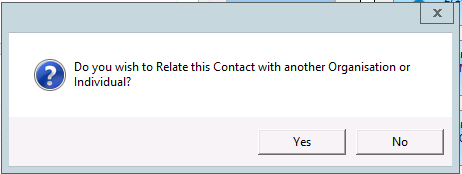
If this contact has a relationship or association with another contact on the database you can relate them now or if you are not sure you can relate them once they are on the database.
9.Click Yes.
10.Select a contact from the list (we will cover searching later in the training), click OK.

11.Click Yes to confirm.
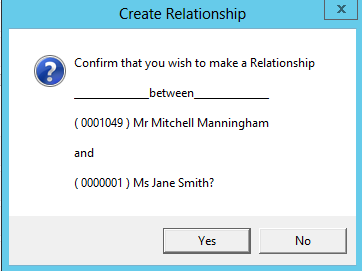
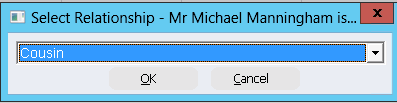
12.Select Cousin from the drop down. Make sure you read the Relationship message.
The Contact record is created and their information viewable under a tab with their name, at the top of the screen. This tab can be closed by clicking the x.

The DPID and Address Barcode are displayed in the Address Info panel under Communication.