thankQ Help
A questionnaire is a page that will allow you to ask the contact a series of questions and to then import all of these answers into thankQ. The process for setting up the Questionnaire Page is very similar to that of the Registration Page so before starting the setup make sure you have set up the following:
- A basic Confirmation Page.
- A basic Registration Page that collects the initial contact details you want.
- At least one questionnaire template in thankQ with the Template Type listed as Web eForm, Make sure you use Web Sync to upload this to the Web Database.
For more information on how to set these up please see Registration Confirmation Page and Setup a Registration Page. You can also add other pages such as Donations, Events, Memberships, etc along with your questionnaire. To set those pages up you will need to see the help articles for the respective module you want.
Assuming that you now have the basic pages required please do the following:
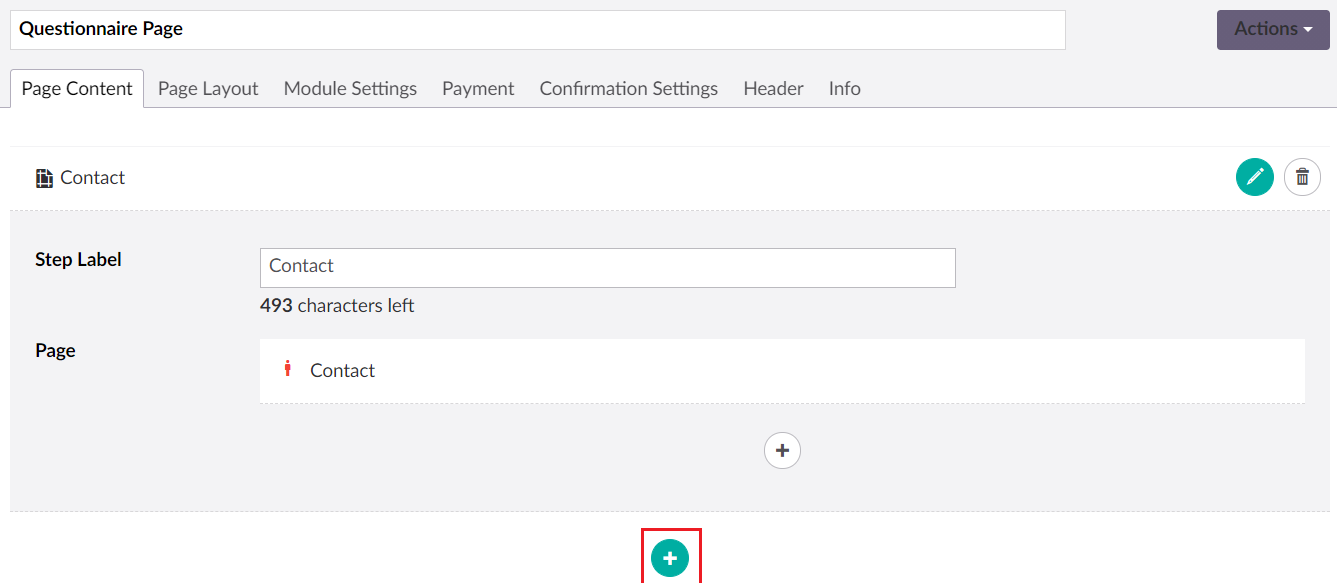
1. Create a new step on the page for your questionnaire.
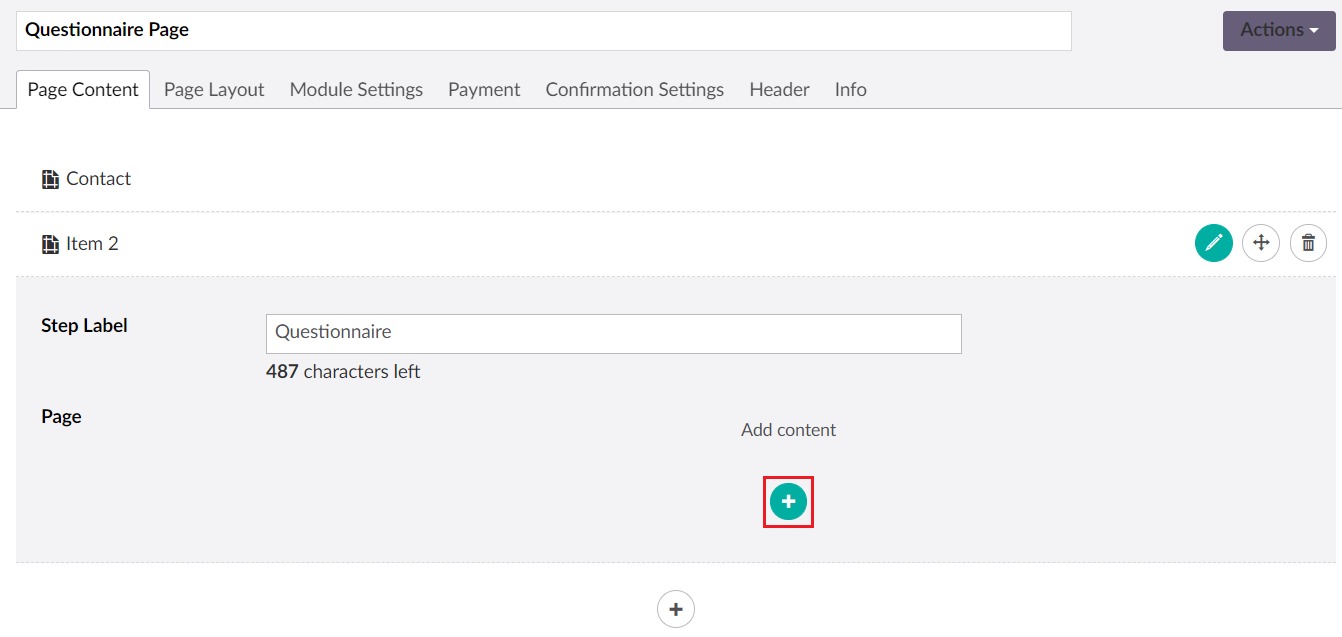
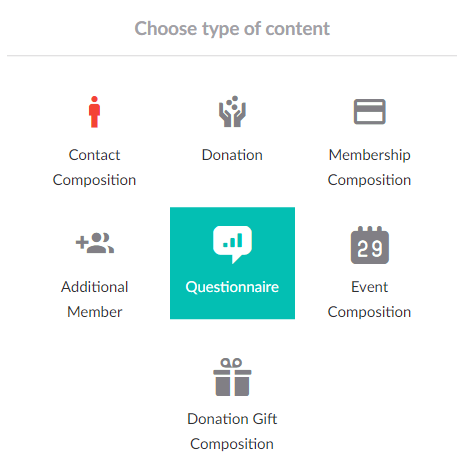
2. Create a new Questionnaire Page within the new step you have created (make sure you give your step a label as well).
| 3. | Set the Questionnaire Template ID. 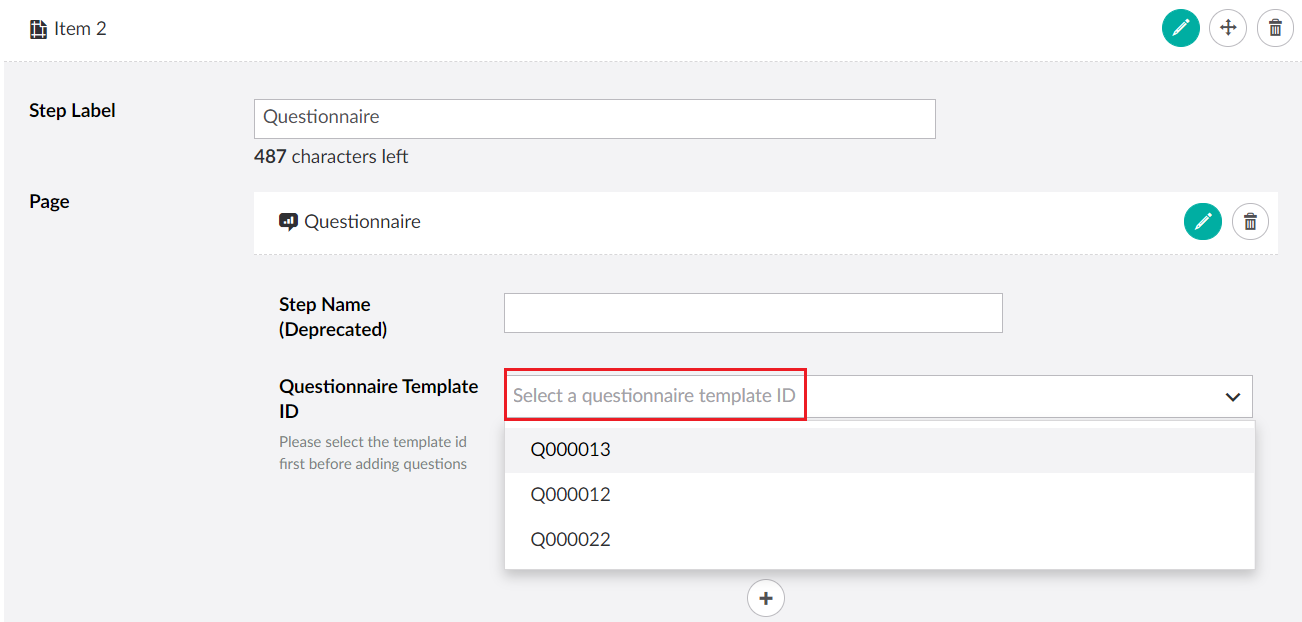 |
4. Begin the process of adding questions to your page by clicking the + Icon underneath.


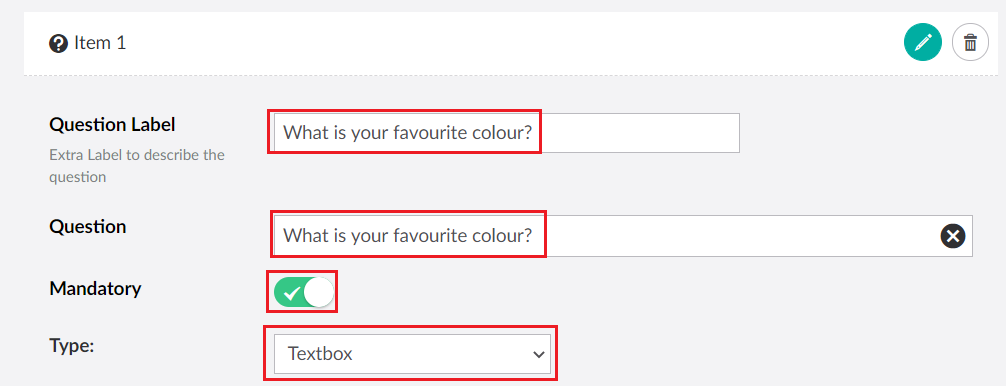
| 5. | Make sure that you fill out the details of each question, make sure that they match the template you have already setup in thankQ and make sure that it is using the correct data type. For more information on Types and what you can do with them see this page: Questionnaire Types. |
6. Click Save and publish when you are finished.