thankQ Help
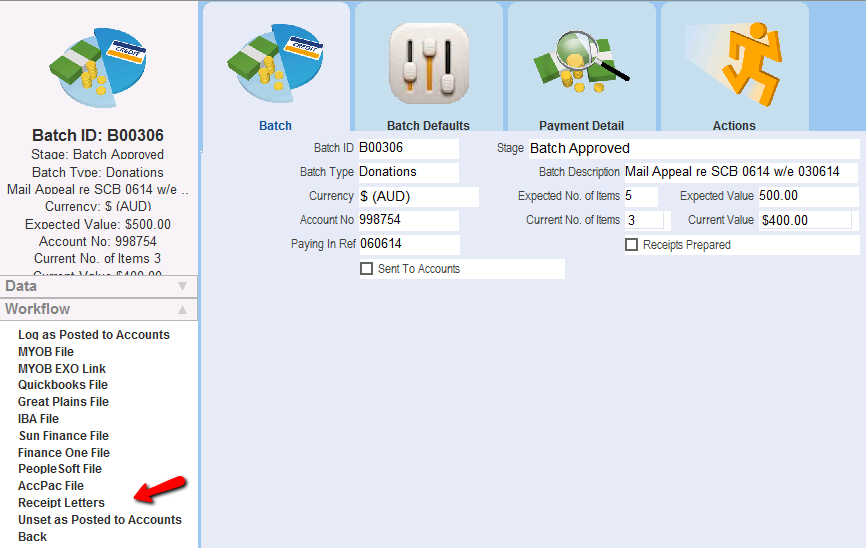
1.Click the Receipt Letters option to create a new mailing for the receipt letters.
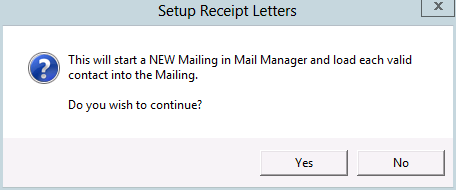
2.Click Yes to confirm that a new mailing will be created.
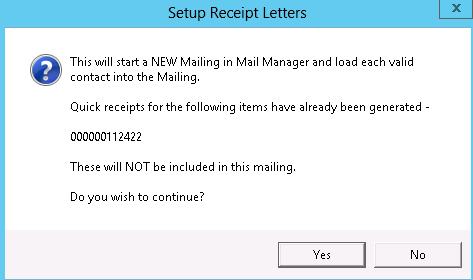
If any quick receipts had been created in the batch the following message will appear to confirm they will not be in the mailing.
3.Click OK. If necessary, amend the description to suit your needs. However, we recommend including the Batch number in the description.

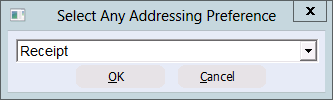
4.Click OK to accept Receipt mailing preference or select from drop down.
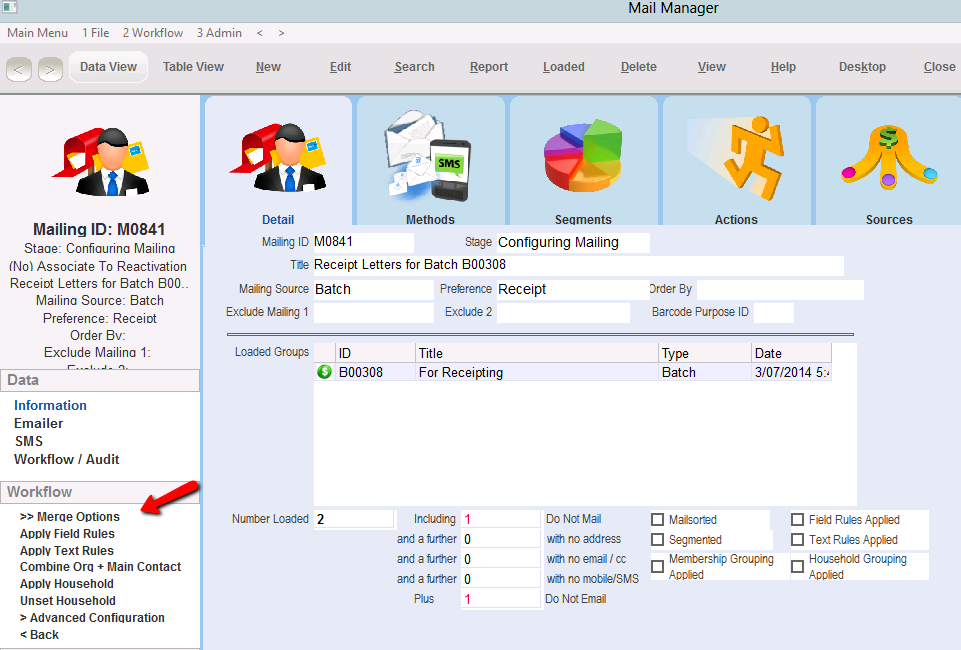
5.Mail Manager will open with certain fields completed automatically as follows.
•Mailing ID – a unique number for this mailing.
•Stage – shows that we are at the Configuring Mailing stage of this mailing.
•Title – The description that was entered earlier.
•Preference – The Mailing Preference selected earlier.
•Loaded Groups - The contacts to be included in this mailing (ie those requiring a receipt), are added automatically.
If you wish to review contact details or of each contact, click the View Detail workflow icon.
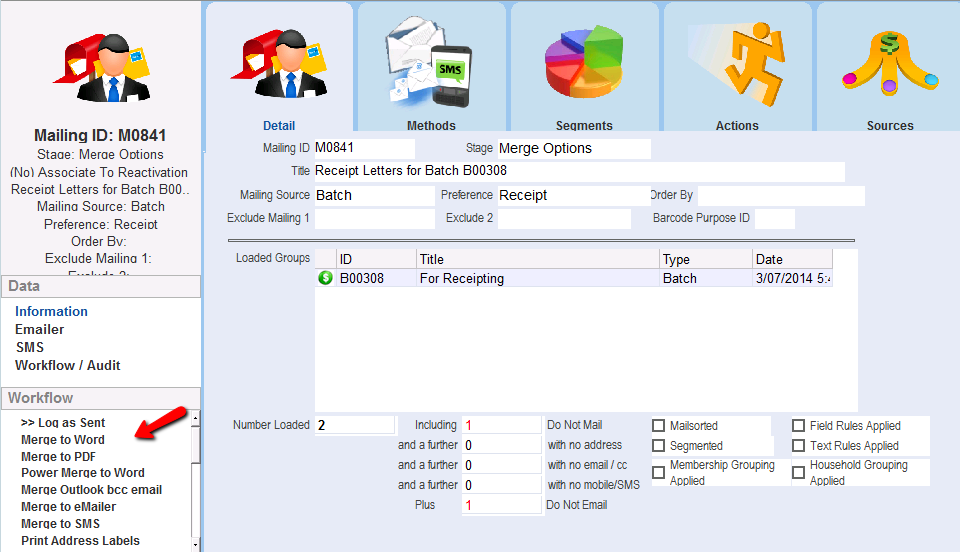
6.Click on the Merge Options workflow option.
The stage will change to Merge Options and a new set of workflow icons will appear to the left.
7.Click on the Merge to Word workflow option for Letters.
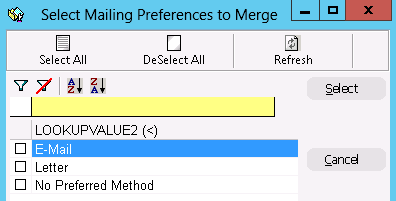
8.If the following dialog box appears, click Select All or click in the appropriate tick box and then Select.
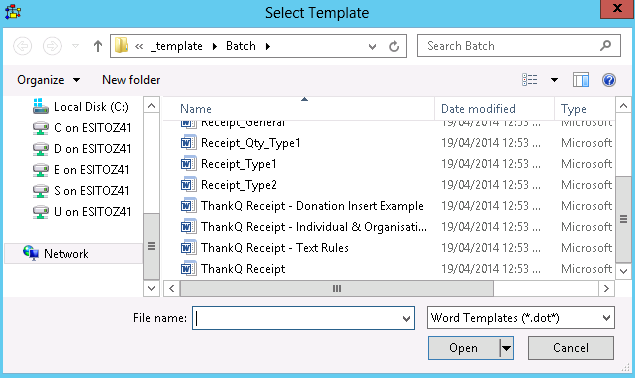
9.Select a receipt template and click Open. Your thankQ administrator will have created one or more receipt templates that contain the standard text that is used for receipts. If necessary, ask your thankQ administrator which one to use.
The selected Word template will need to communicate with Word and a number of macros will run.
The template will contain Merge Fields that will be customised to each recipient and standard text.
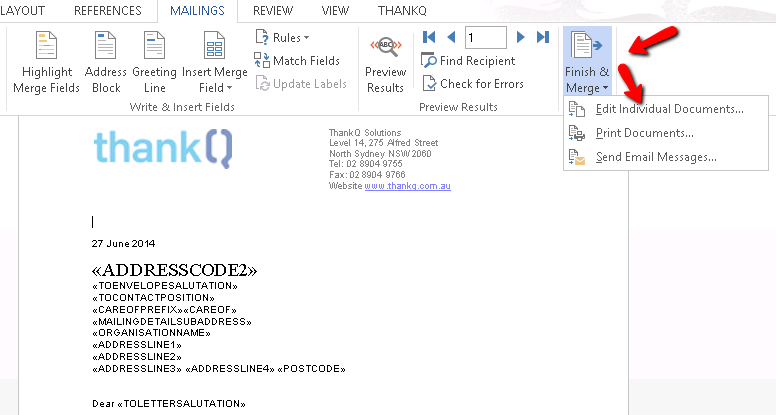
10.Select the Finish and Merge button and select Edit Individual Documents.
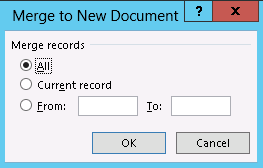
11.Click OK to merge all documents.
12.A new document will be created containing a receipt letter for each contact. Review this document to make sure the letters are accurate.
13.Print the merge letters in the normal way.
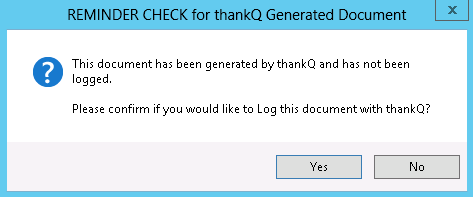
14.Click the X to exit.
15.Click Yes to log into thankQ.
16.Enter a subject for the communication entry and click the OK button.

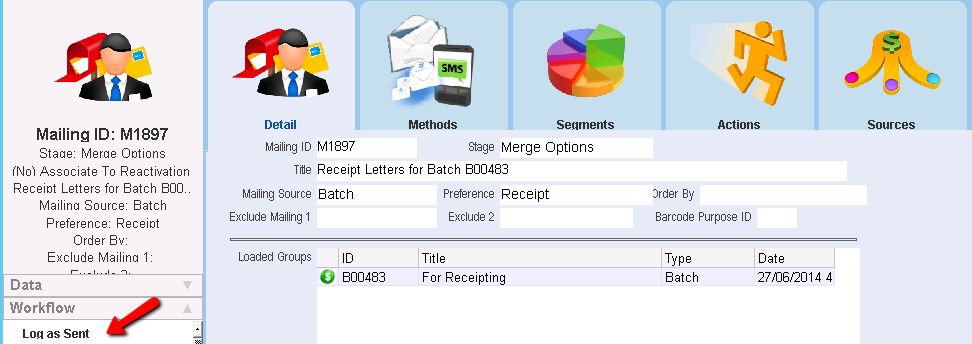
17.The final step is to log the mailing as sent. This will log the receipt as a communication entry for each contact. To do this, double click on the Log as Sent workflow icon.
18.If necessary, change the date and click OK.
19.Click No if your organisation does not categorise communications or Yes to select a category.
The stage of the Mailing will now change to Mailing Sent + Logged to indicate that the receipt mailing is complete.

20.Close the Mailing window and return to the Batch.