thankQ Help
If you have bulk communications that you would like to import into contact records this can be achieved using the Communication mapping. This import will demonstrate the creation of new communications and the update of an existing communication.
The following columns are required to have data in them:
•Comm Supporter ID, the Serial Number of the contact with this communication. Always required.
•Communication ID - The ID of the Communication. Only required if updating an existing communication, otherwise this will be automatically generated by the import process.
•Comm Date and Comm Type. Always required.
There are also a variety of other, optional fields that can be included as well in your communication such as a flag for Sticky Notes, Confidentiality, Access Rights and so on. You will be able to import these columns by using the mapping functionality in the steps below.
Import Communications with the following steps:
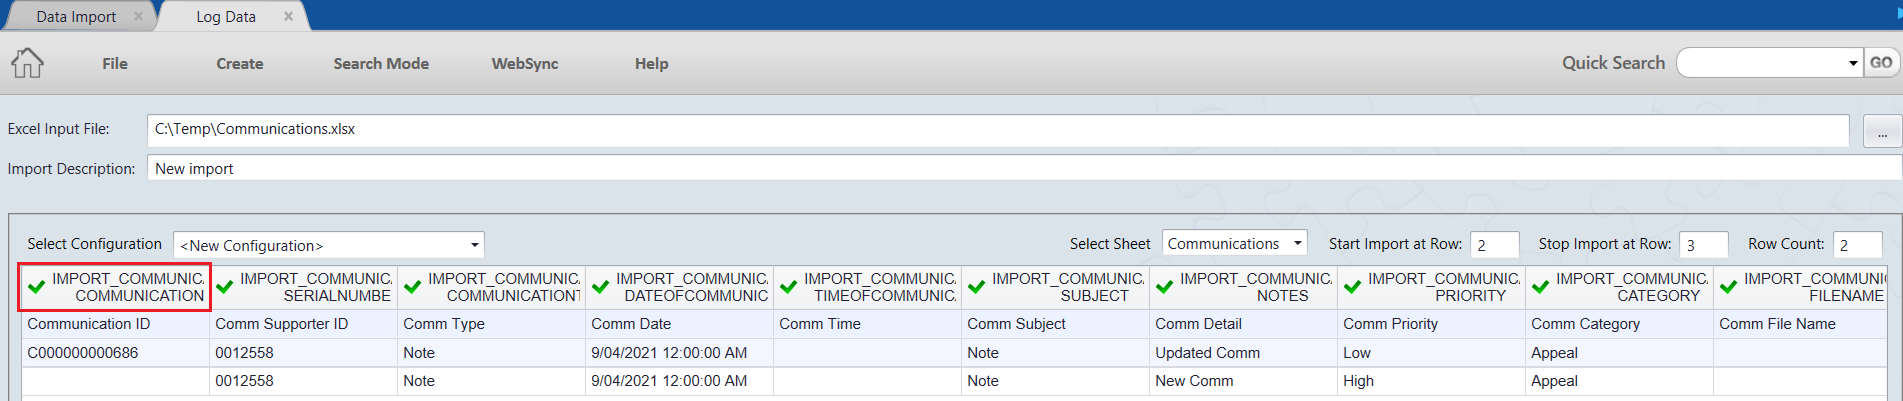
1.Create a spreadsheet entering the communication information into the relevant fields.

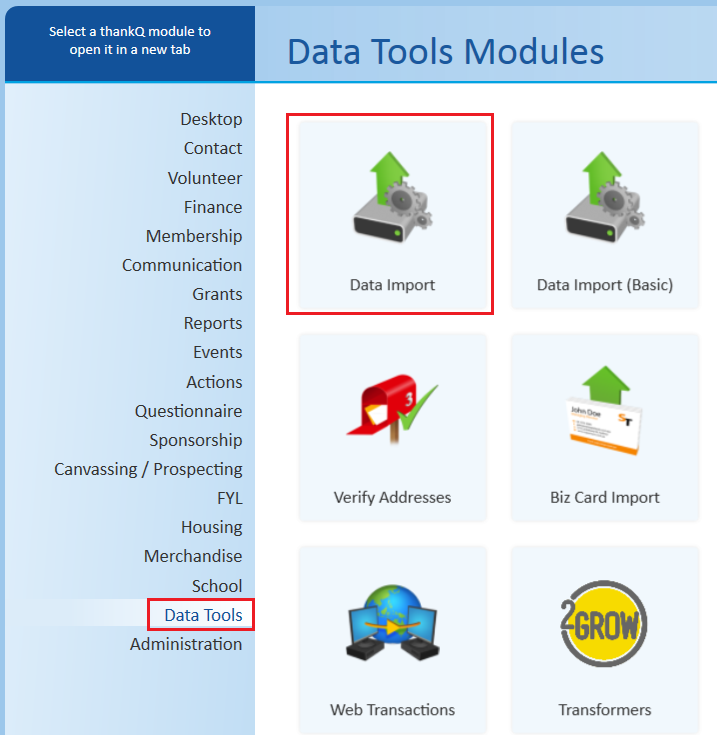
2.Open the Data Import module in Data Tools.
3.Click Create on the Tool Bar.

4.Click the ellipsis … at the end of Excel Input File.
5.Select the Excel file to import.
6.Enter an Import Description.
7.Use the option Select Configuration (if applicable).
8.Double click on the field header to map if this is required. In the example below all columns have already been mapped but you can choose to map a spreadsheet column to a different thankQ column if you wish.
9.Select Communications from the drop down list of tables.
10.Double click on the field to map.
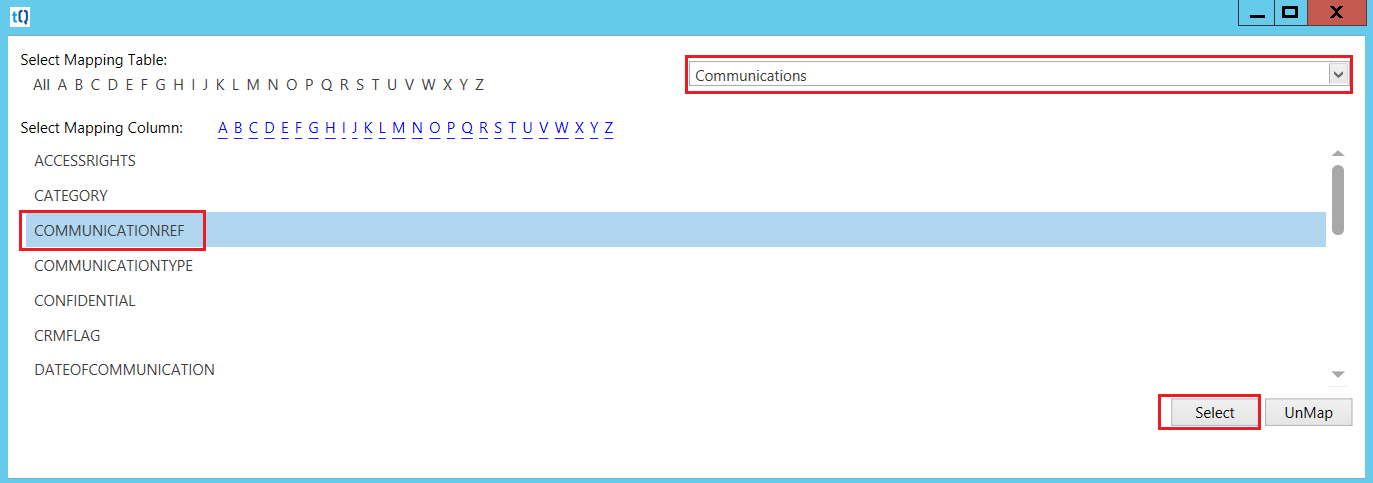
11.Repeat for all the fields requiring mapping. Note that you can also choose to UnMap a field as well, in which case the data in that column will be ignored by the import process.
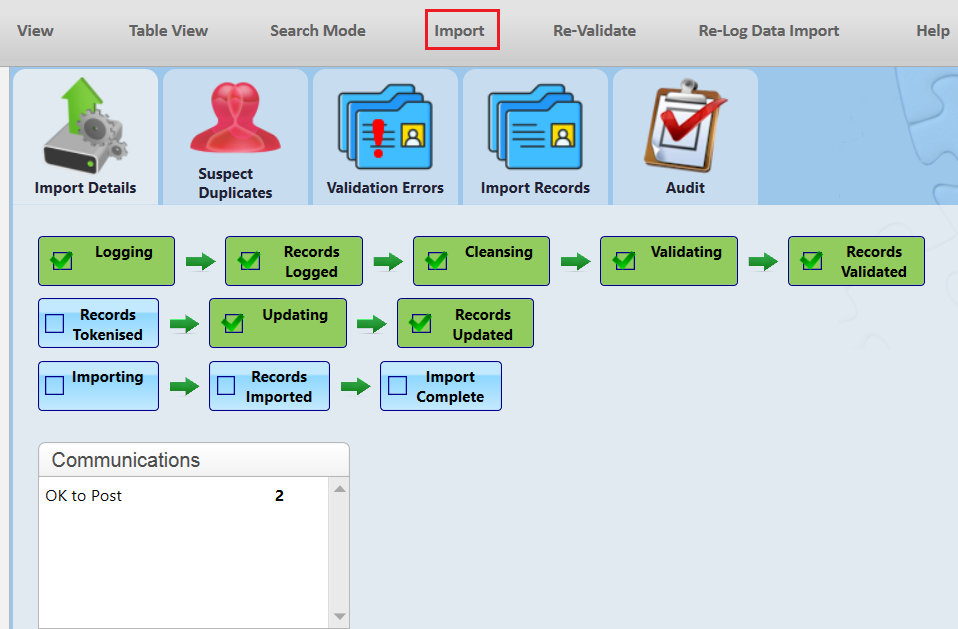
12.Click the Log Data button when you are ready to start the initial import process.
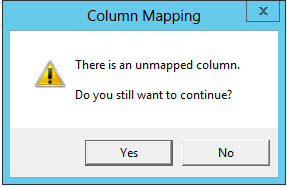
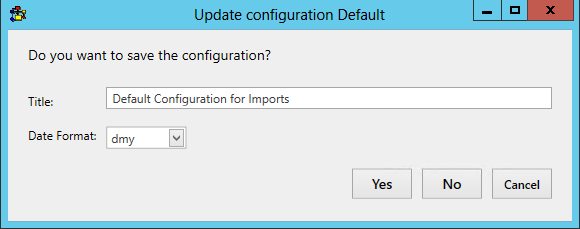
13.If you have unmapped any fields then click Yes if you are prompted with a column mapping issue.
14.Click Yes to save the configuration or if you don't want to save it click No.
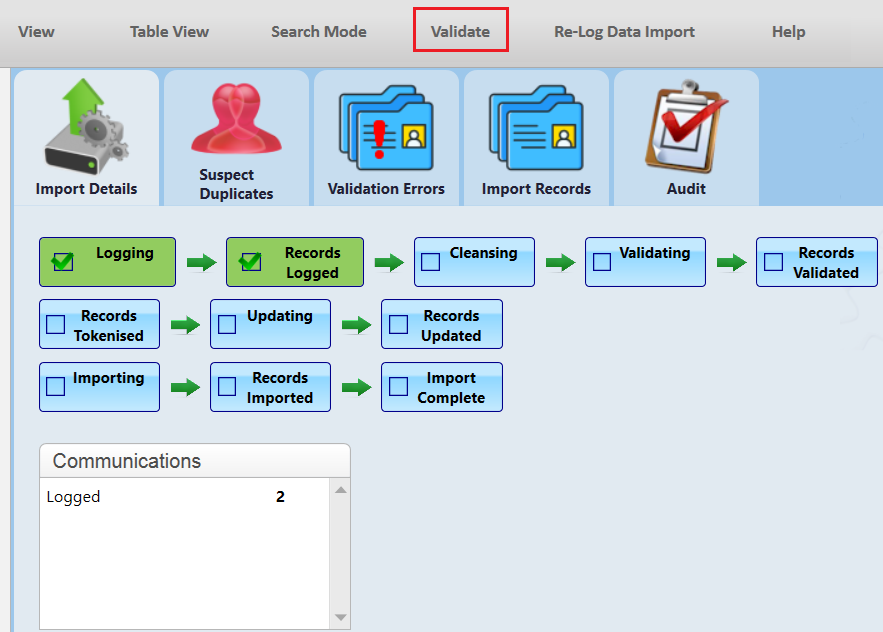
15.Click Validate to begin checking the imported data.
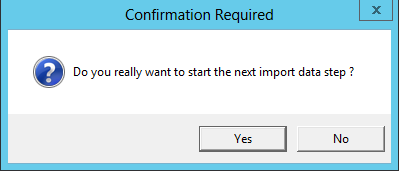
16.Click Yes to go to next step.
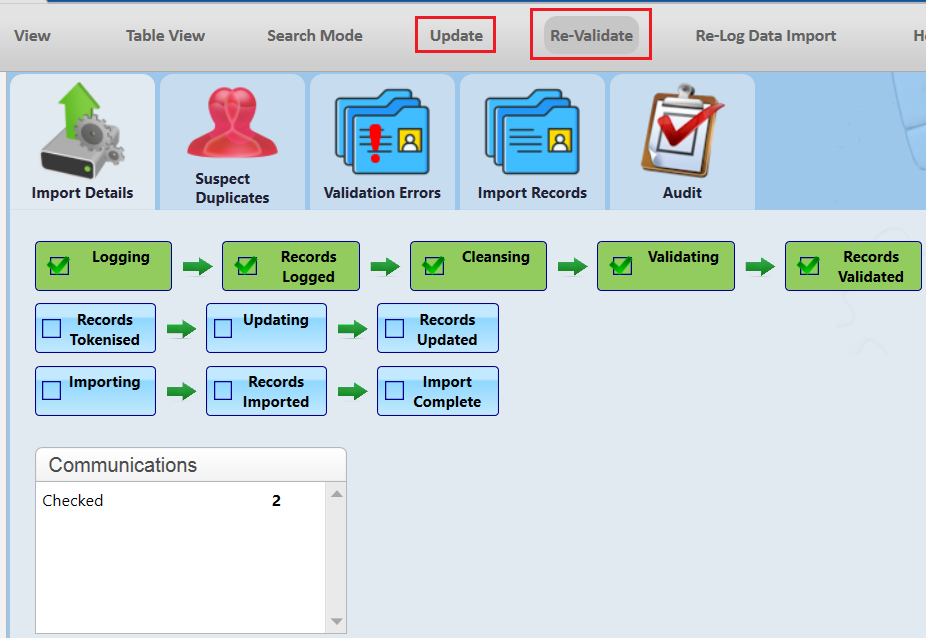
17.Once the data has been validated you should check if there are any records marked as Validation Failed. If so then correct these errors and Re-Validate the import. Once all errors are resolved then you can Update the import. Both options are shown below.
 |
18.Once the update has been completed select the Import button to import this data to thankQ.
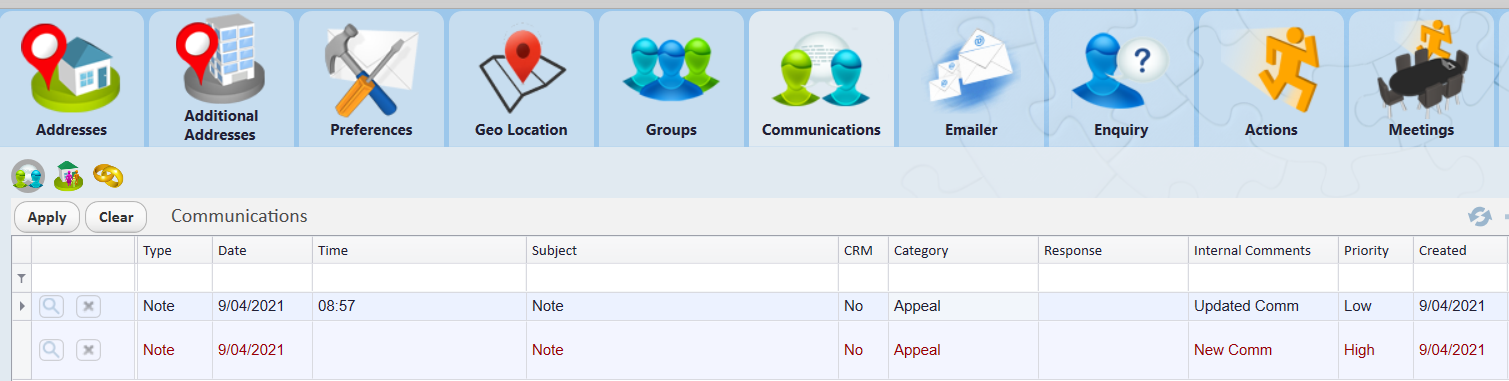
19.Once the Communications have been imported to live you will be able to view them in the Communications tab in the Contact Form.
 |