thankQ Help
Enter information into a spreadsheet. If there are columns that are not going to be imported these can be deleted from the spreadsheet before importing.

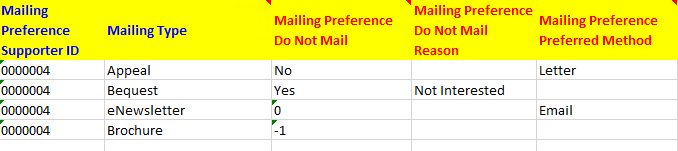
1.Create a spreadsheet entering information into the relevant fields. The fields should be Text fields.
You can enter No or 0 for Subscribe and Yes or -1 for Do Not Mail (Unsubscribe)
2.Open Data Tools
3.Click Create on the Tool Bar

4.Click the ellipsis … at the end of Excel Input File:
5.Select the Excel file to import
6.Enter an Import Description
7.Select a Default Configuration
For this import the fields have been mapped correctly

8.Click Log Data bottom right
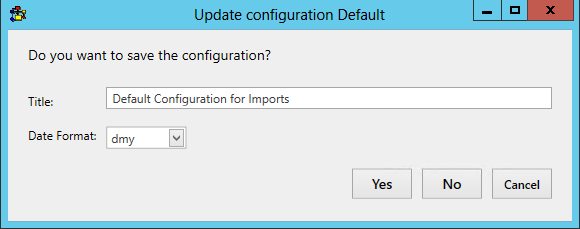
9.Click No to save the configuration
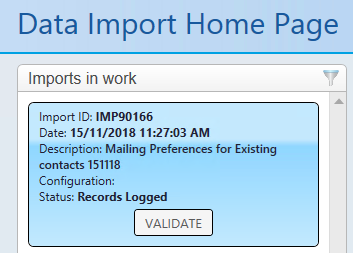
10.Click Validate on the import under Imports in Work
11.Click Yes to go to next step
12.Double click on the import in the Validation column
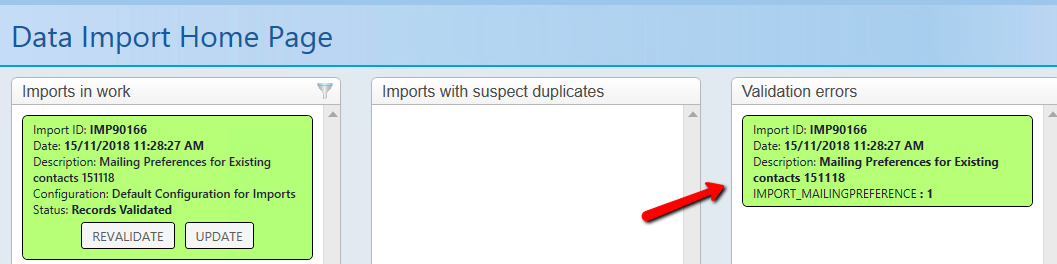
13.Click on the arrow beside Mailing Preferences and click on Invalid Data Value
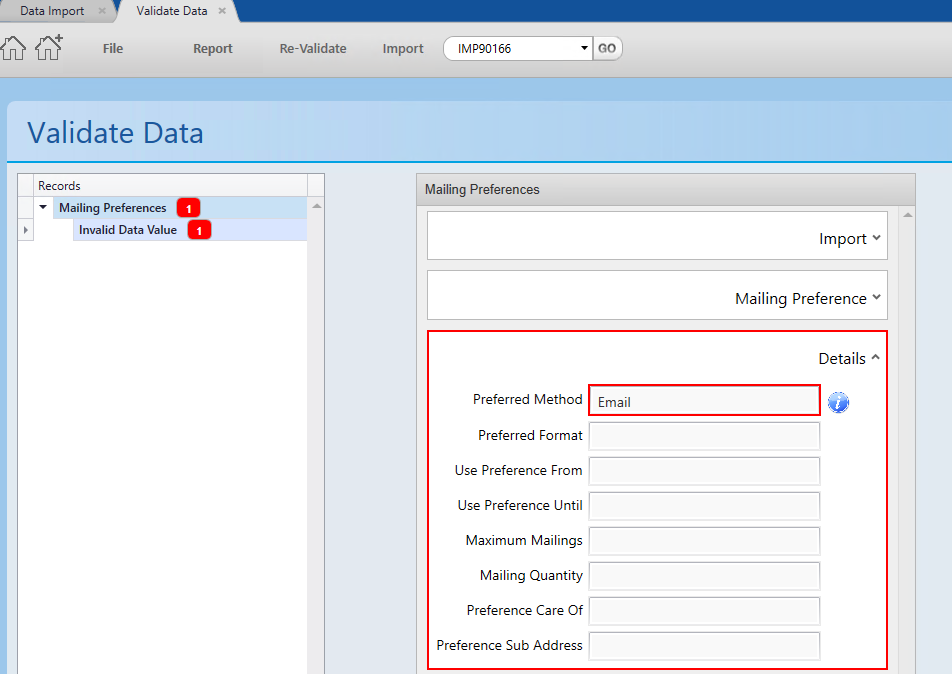
The Preferred Method has been entered incorrectly. It must match what has been setup in thankQ
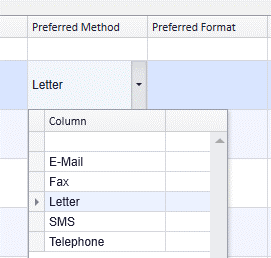
14.Edit the Preferred Mail to be E-Mail and Update the record
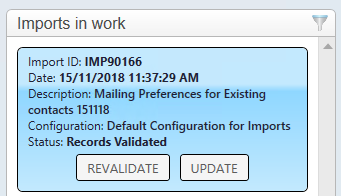
15.Click Re-Validate on the tool bar
16.Click Yes
17.Click Update
18.Click Yes
19.Click Import
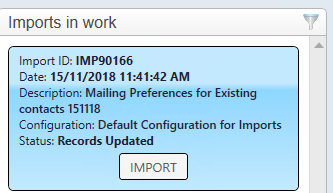
20.Click Yes
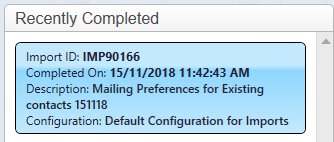
21.Double click on the Recently Completed import
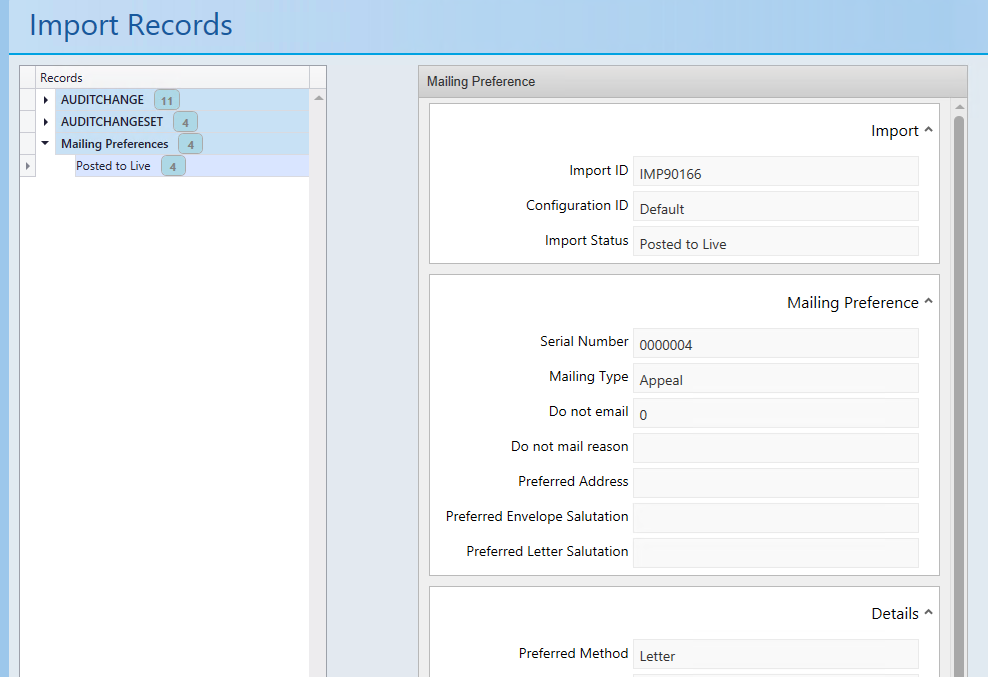
22.Click on View All Records
23.Click on the Mailing Preferences arrow and then Posted to Live
24.Double click on the serial number and copy (CTRL V)
25.Open the Contacts in thankQ and paste (CTRL V) the serial number into Quick Search
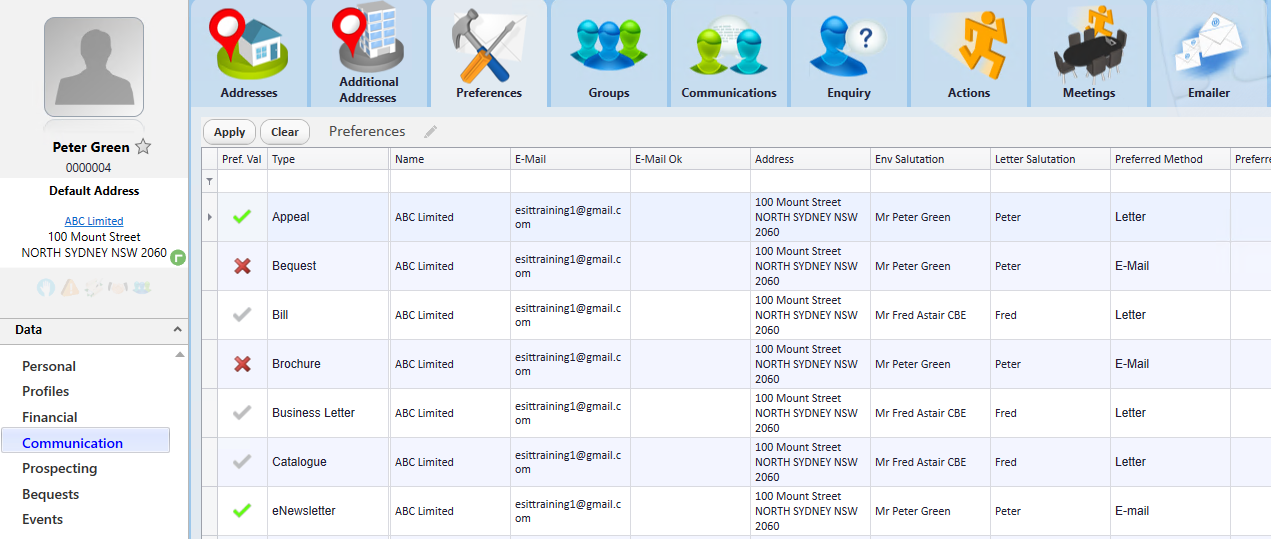
26.Go to Preferences under Communication to view the updates