thankQ Help
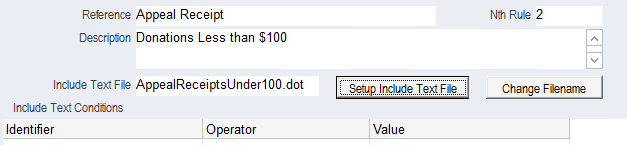
An Include Text File is required for each rule. This file will contain the information that will be inserted when the conditions of the rule are satisfied.
1.Click the Setup Include Text File button to create the text that will be inserted when the rule is satisfied.
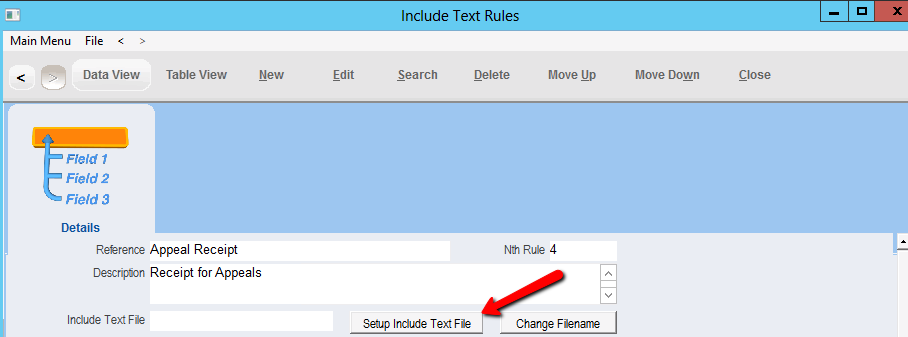
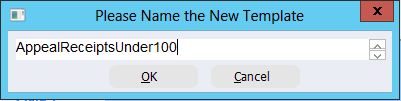
2.Enter a name for the include text file. The name should reflect the rule’s purpose. Click the Ok button.
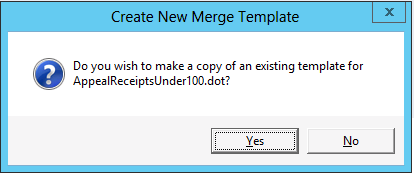
3.Select Yes to make a copy of the default receipt text template created earlier.
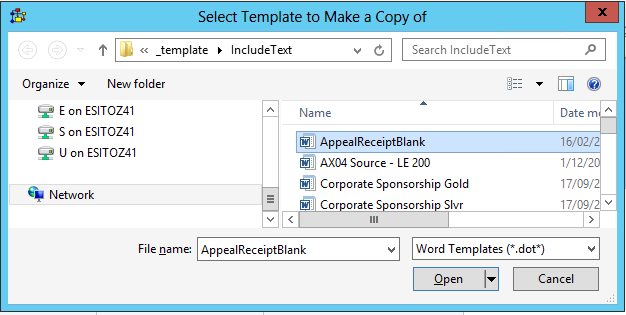
4.Select the default include text rule template created earlier.
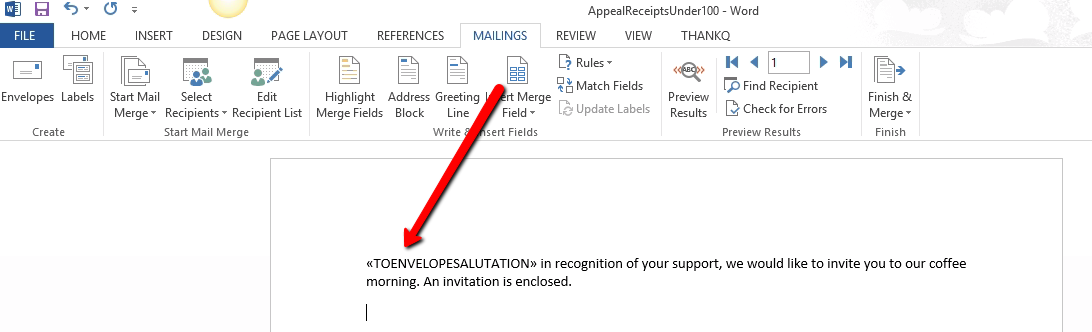
5.Complete the text to suit the specific purpose of this text rule template. Merge fields can be inserted if required
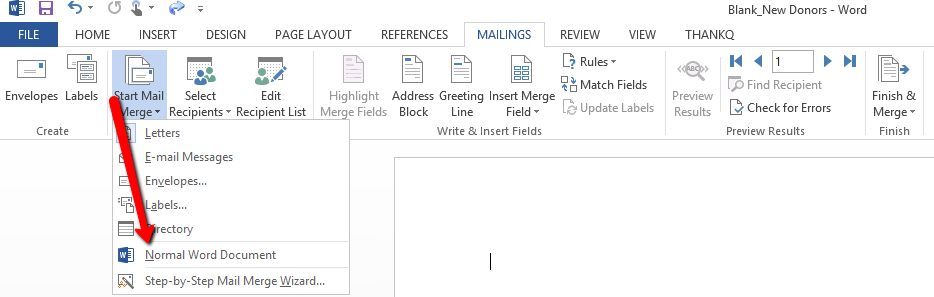
6.Click the Mailings tab on the ribbon
7.Click Start Mail Merge
8.Select Normal Word Document
9.Save and close the document. The document name will be displayed in the Include Text File box on the Include Text Rules Form.
Note: When you select "Normal Word Document" the ability to insert merge fields is deactivated. If you open/edit the Text Rule document they will reappear. Before you Save and Exit select "Normal Word Document".