thankQ Help
In this scenario we have downloaded a spreadsheet with Fundraiser information and another spreadsheet with the Donor information and used this information to create one spreadsheet. There is some manipulation with importing this information.
When you import the same Fundraisers and Donors thankQ will automatically match them unless there is something different about their information in which case if they are under the suspect duplicate column you will need to manually mark them as a match and revalidate.
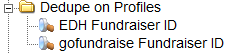
The fundraiser has a Profile for the Fundraiser ID which must be setup under Lookup Values. You can also set the Data Import to dedupe by Profiles:
Not all the information that has been downloaded will want to be imported into thankQ.
Extra fields/columns will need to be added for the Profile Name and also the Source Code which must be created before payments can be accepted into thankQ.
Combine the Fundraiser and Donor information so their Contact information is under the same headings. There will more than likely be less Fundraisers and you just need their contact details and fundraiser id.
Example of a Donor Export:

Example of a Fundraiser Export:

Sheet 1 - Every Fundraiser and Donor must have a Supporter ID which will be their unique identifier. The Fundraisers information has been copied under the appropriate contact headings

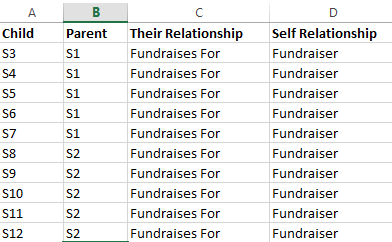
Sheet 2 – holds the Relationship information
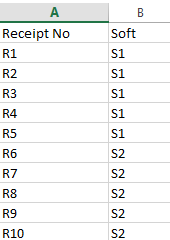
Sheet 3 – holds the Soft Credit information
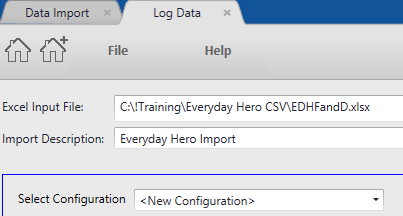
1.Click Create on the Data Import form
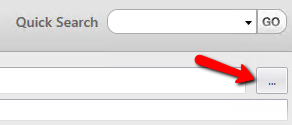
2.Click the ellipsis at the end of the Excel Input File line to locate the import file
3.Enter an Import Description
4.Select a Configuration if a template has been saved which will map the fields. If no configuration has been saved previously leave at <New Configuration> and double click on the column headers to map the fields to the appropriate table.
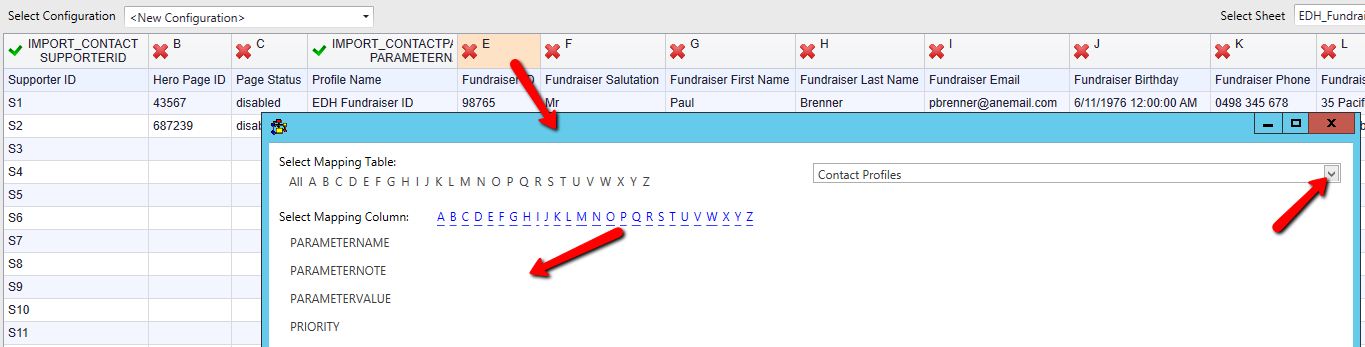
In this example the Supporter ID and Profile Name have automatically mapped. We want to map the Profile Value
5.Double click into the column header for the Profile Value
6.Select the Contact Profiles table
7.Click P in the alphabetic list and then double click on the Parametervalue field
8.Double click into the contact column headers and map those to the Contact table

9.Double click into the payment column headers and map the appropriate fields

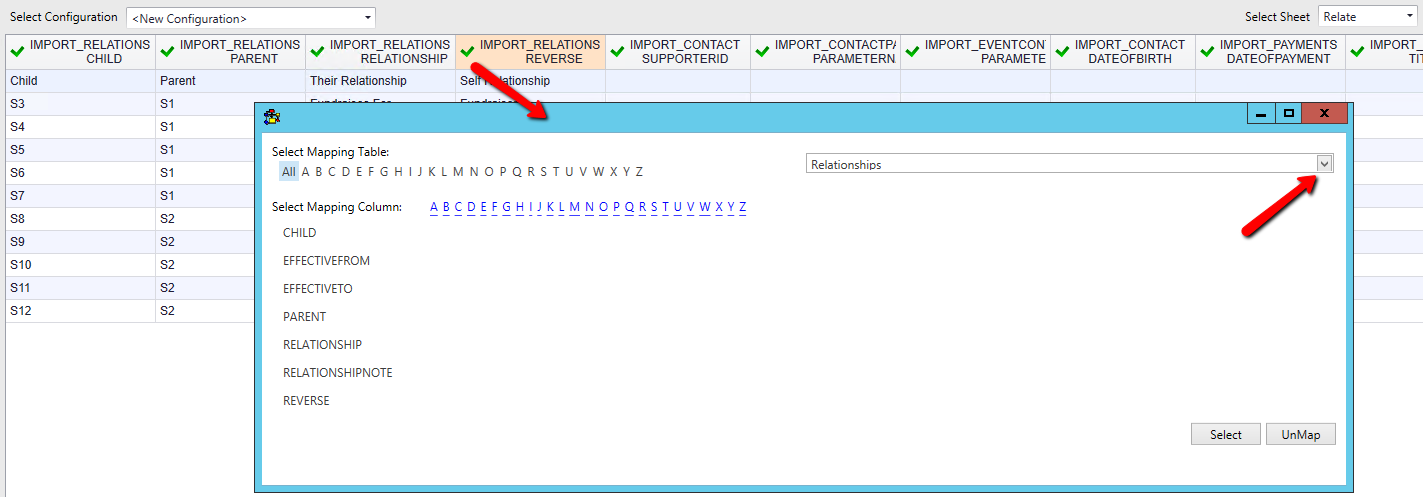
10.Select the next sheet from the drop down beside Select Sheet

11.Double click into the column headers and select the Relationship table
12.Map to the appropriate fields
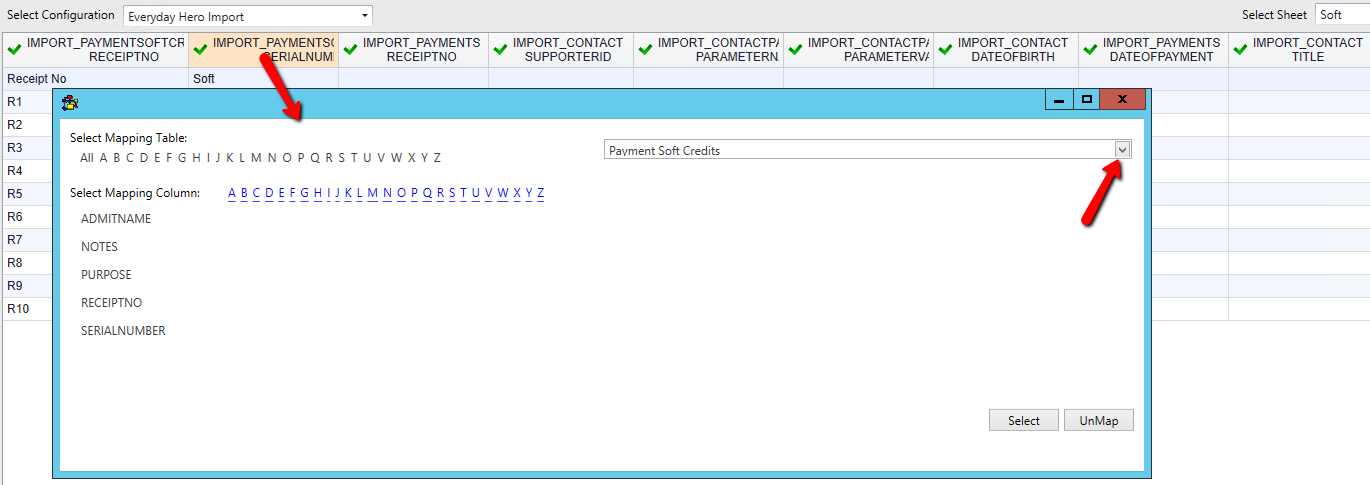
13.Select the next sheet from the drop down beside Select Sheet
14.Double click into the column headers and select the Payment Soft Credits table
15.Map to the appropriate fields. If the Receipt No automatically maps, ensure it is mapped to the Payments Soft and not just to Payments.
16.Click Log Data bottom right when the fields are mapped
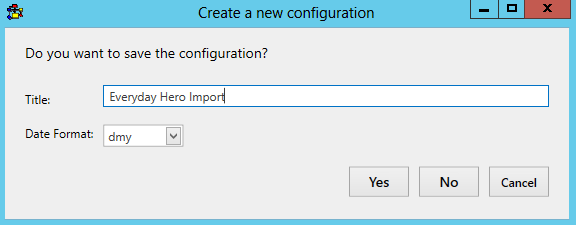
17.Click No if you do not wish to save the configuration or enter a Title and click Yes to save the mapping as s configuration to be used later
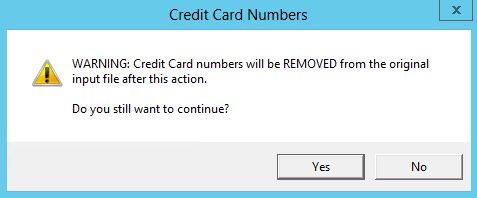
18.Click Yes to the Credit Card warning letting you know that the credit card numbers will be removed from the spreadsheet. You may wish to take a copy first in case you need to import again.
19.Click Validate on the import once it is under the Imports in work column
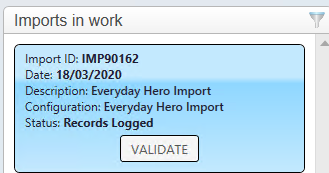
20.Click Yes to continue
21.Manage any possible duplicates and/or validations. If there are none click Update and then Import
22.Double click on the import under Recently Completed
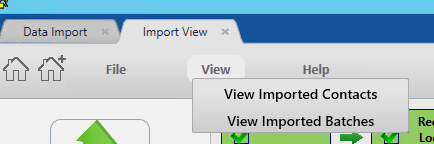
23.Click on View – View Imported Contacts to view the contacts you have imported or View Imported Batches to view the Batches so as to complete
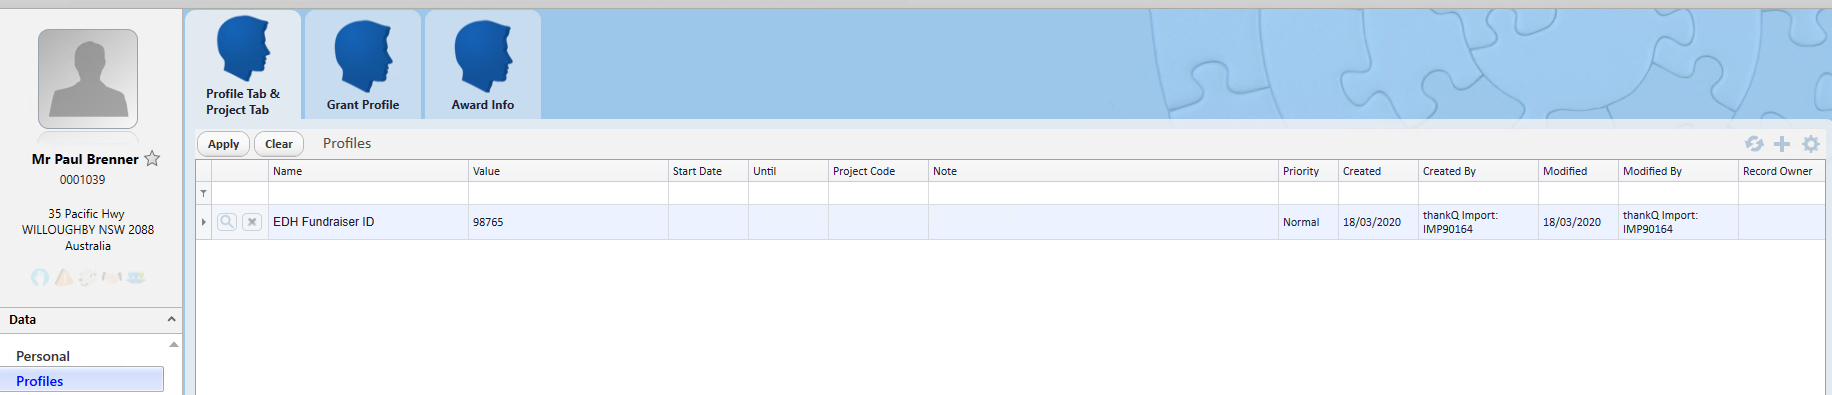
Fundraiser with their Profile Id:
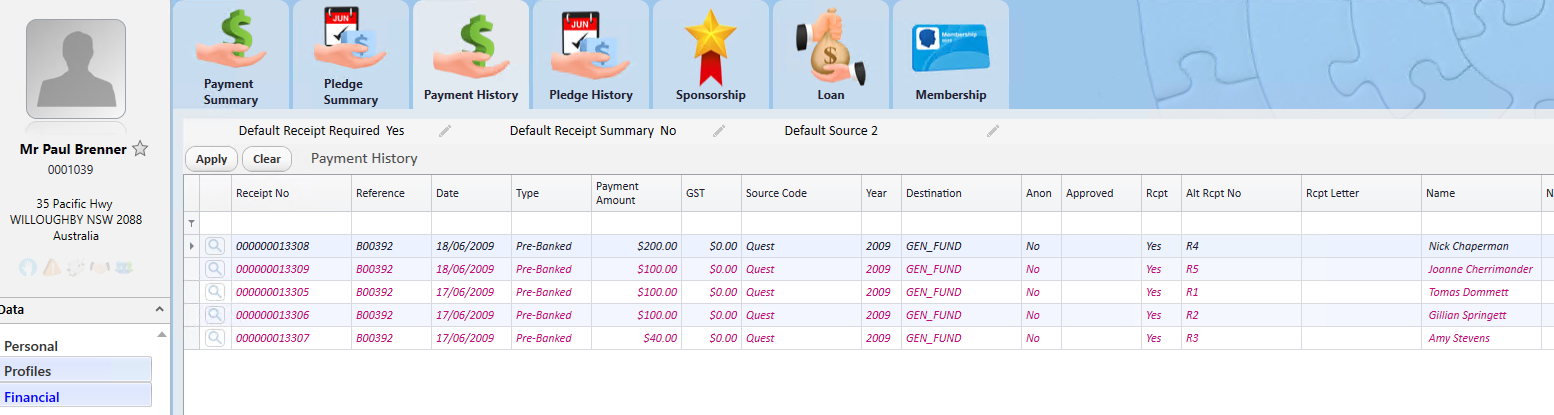
Fundraiser with the Payments soft credited:
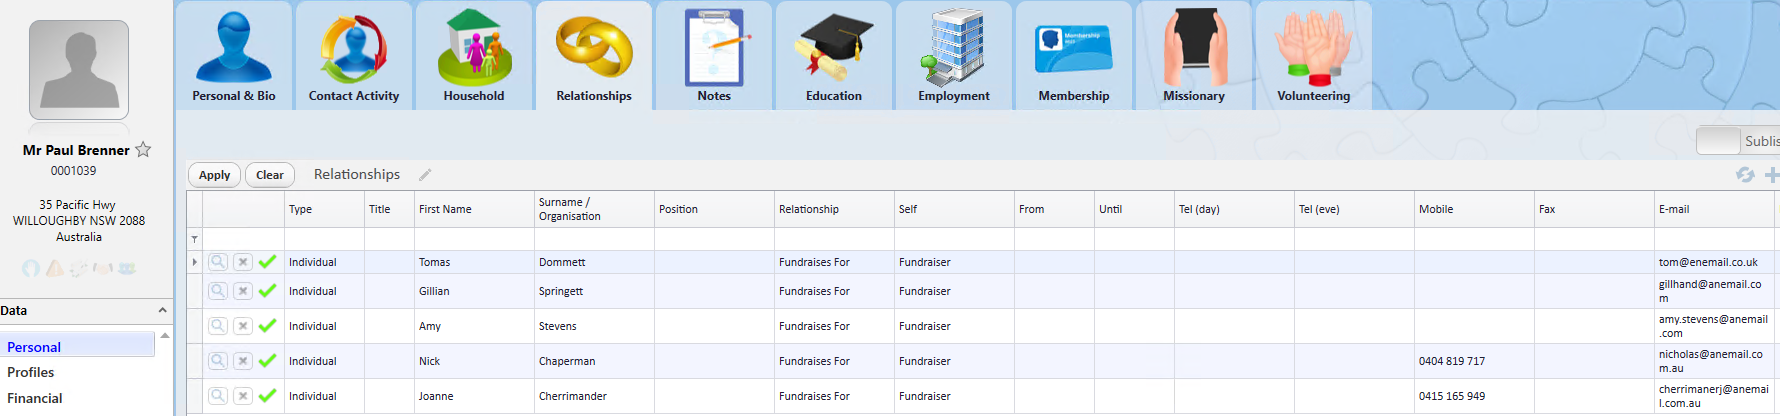
Fundraiser with the Donor Relationships:
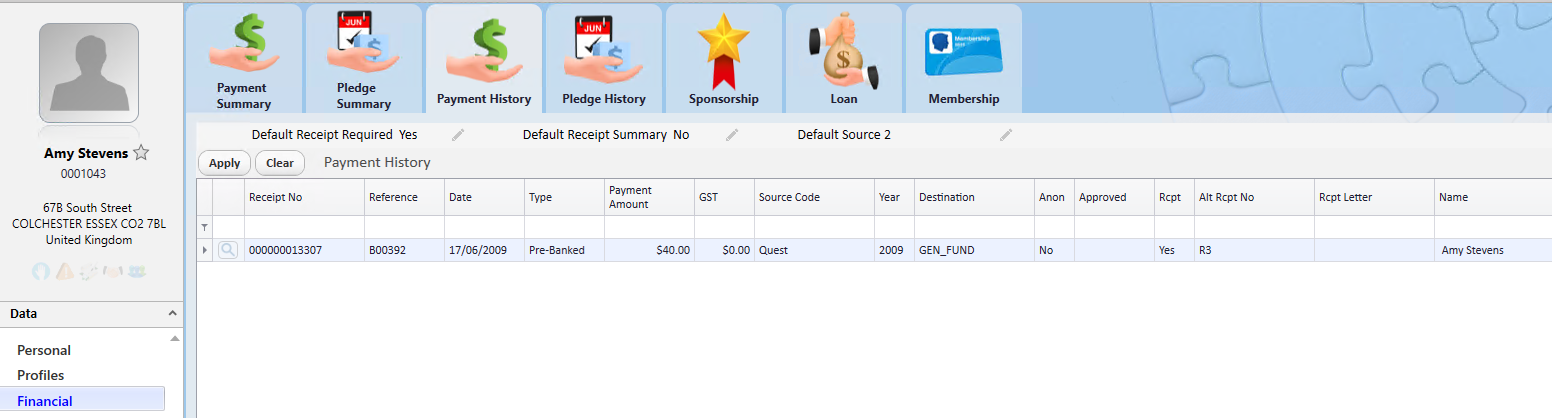
Donor with their Payment:
Donor with Relationship to Fundraiser:

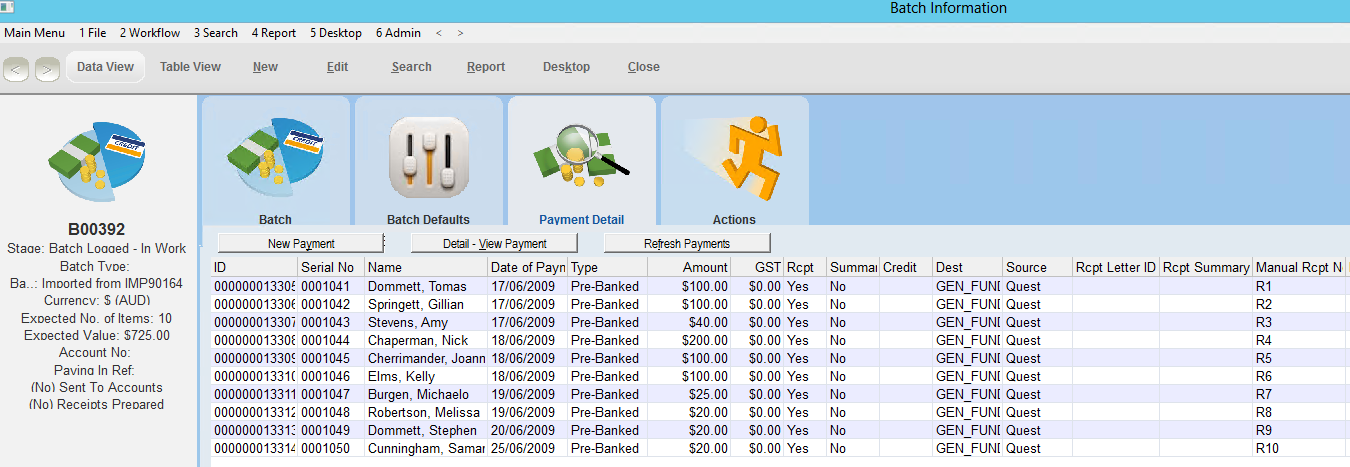
Batch created with payments: