thankQ Help
1.Click on the hyperlink of the journey to edit.

1.1Add a Condition to the Journey
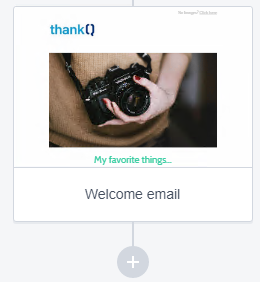
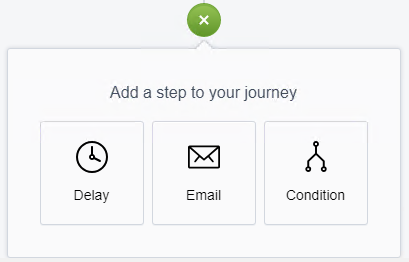
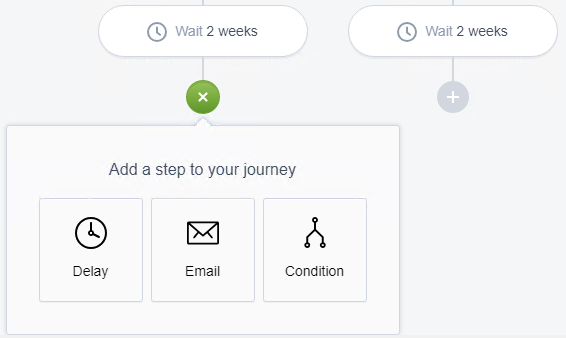
2.Click the +
3.Click Condition.
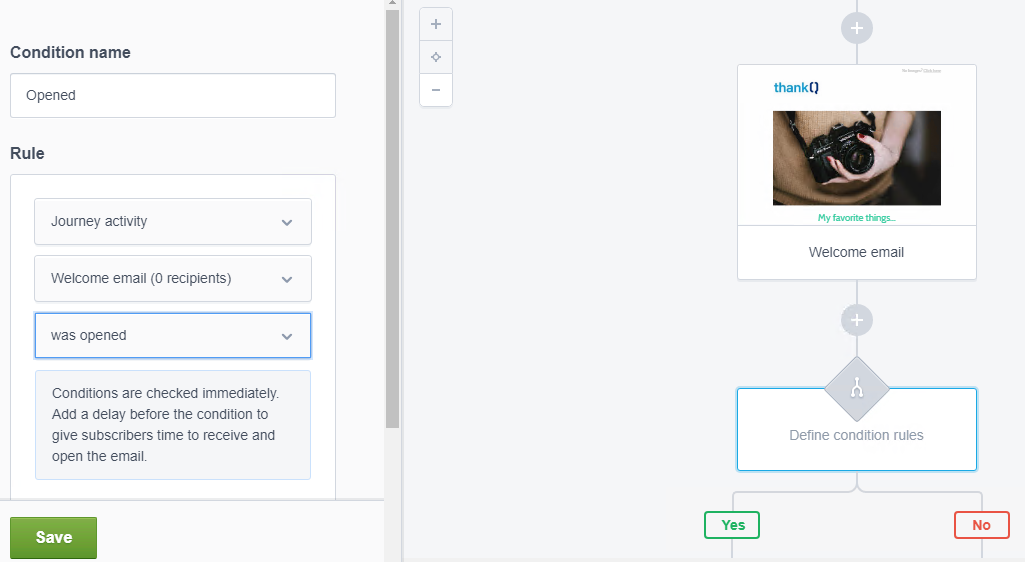
4.Enter a Name for the condition.
5.Select Journey Activity from the Rule drop down. This will display another drop down.
6.Select the Welcome email from the drop down. This will display another drop down.
7.Select was opened from the drop down.
8.Click Save.
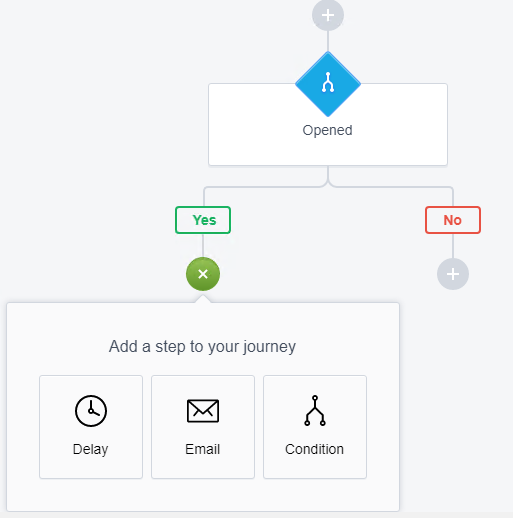
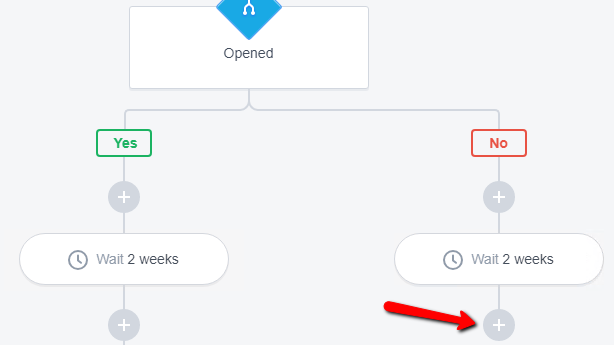
9.Click the + under the Yes button.
1.2Add a Delay to the Journey
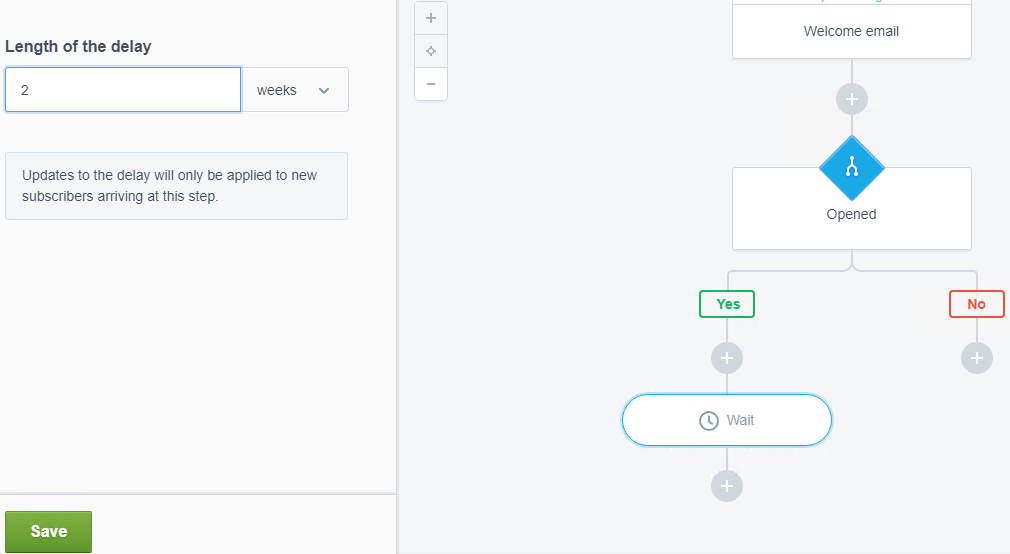
10.Click the Delay button.
11.Select the Length of the Delay – select weeks from the drop down.
12.Enter the number of weeks.
13.Click Save.
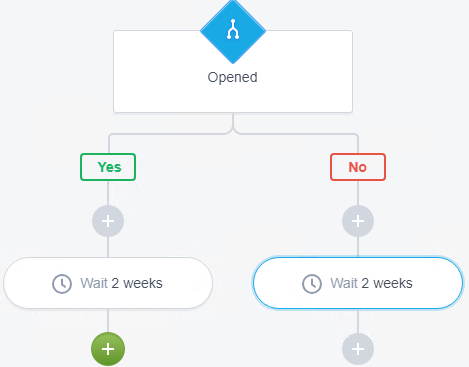
14.Click the + under No.
15.Repeat the delay steps above.
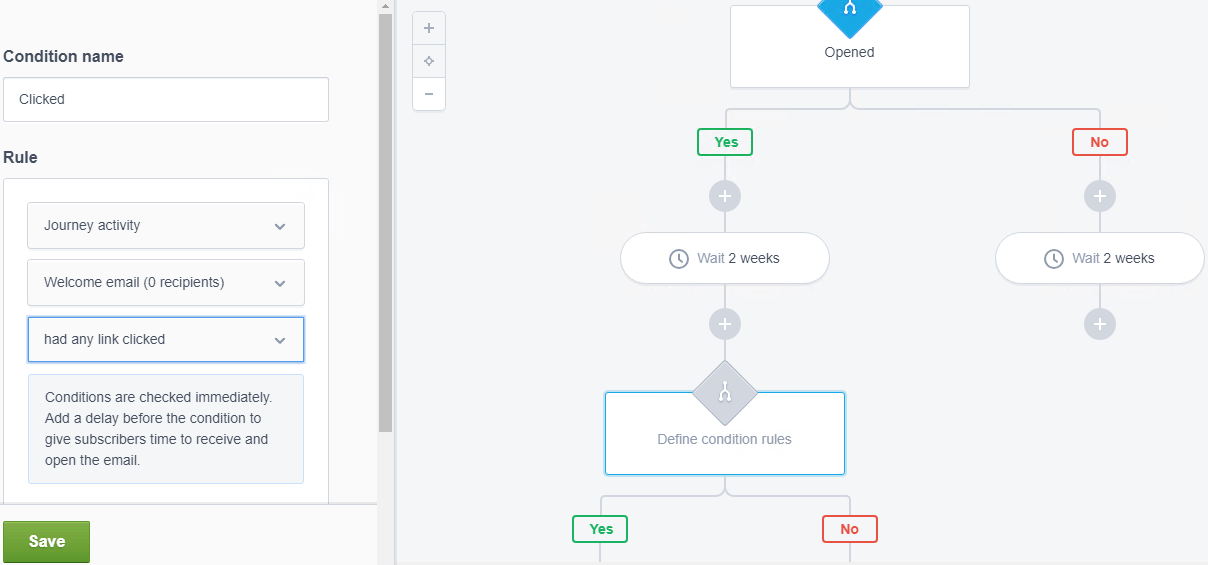
1.3Add a Condition after Delay
16.Click the + under the Yes delay.
17.Click the Condition icon.
18.Enter a Condition name e.g. Clicked.
19.Select Journey activity from the Rule drop down.
20.Select the Welcome email from the drop down.
21.Select had any link clicked from the drop down.
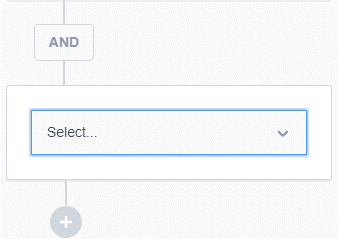
You can add an ADD condition to the above condition.
22.Click the +
This will open the conditions whereby you can add to the existing condition. If there are further conditions you can keep adding them.
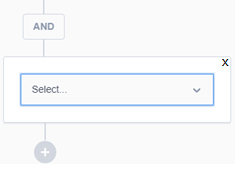
To remove the AND conditions hover above the drop down box and an x will appear. Click on this X.
23.Click Save.
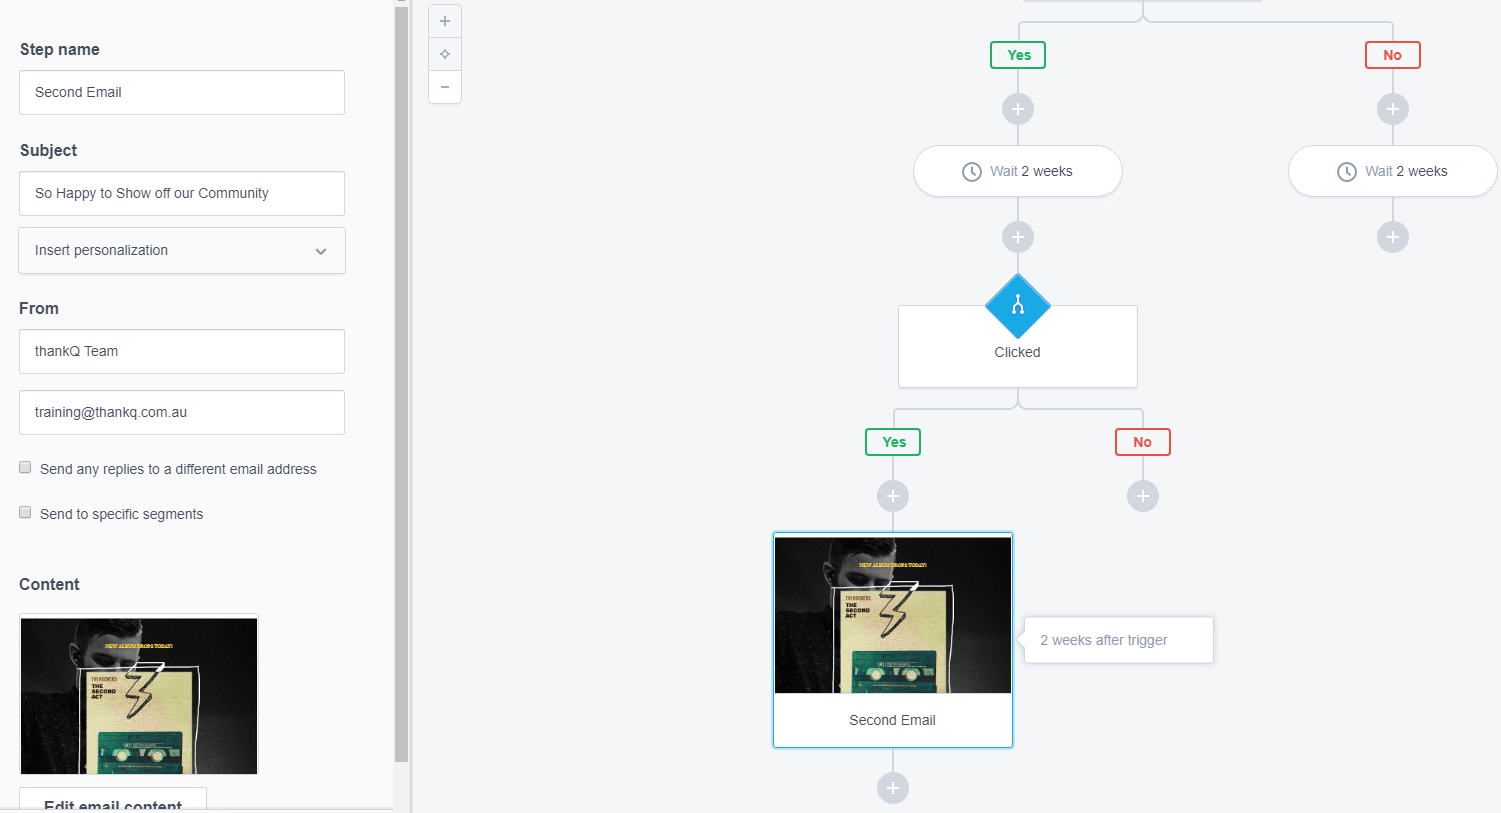
1.4Add another Email to the Journey
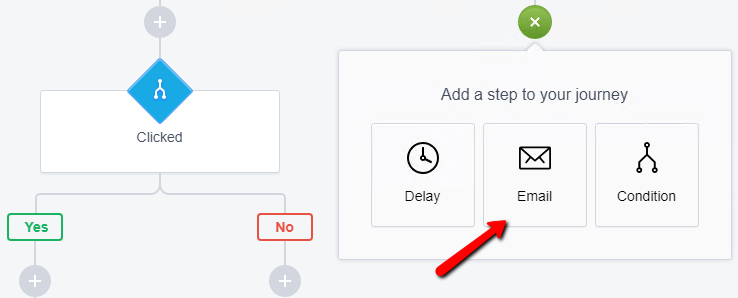
24.Click the + under the Clicked Yes condition.

25.Click the Email button.

26.Repeat the steps above to select and create an email.
1.5Add Custom Field Conditions
Custom Fields are the fields that have been sent from thankQ to Campaign Monitor.
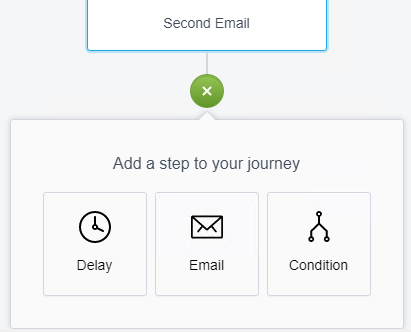
27.Click on the + under the second email.
28.Click on Condition.
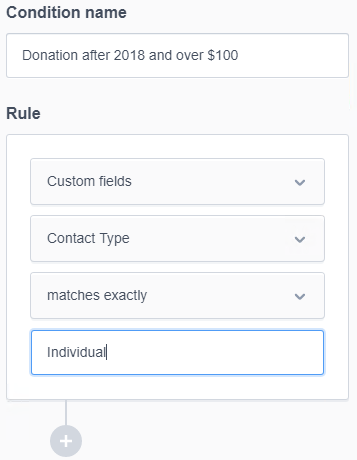
29.Enter a Condition Name e.g. Donation after 2018 and over $100.
30.Select Custom Fields from the next drop down.
31.Select Contact Type from the next drop down.
32.Select matches exactly from the next drop down.
33.Enter Individual in the field.
34.Click the + to add another condition.
35.Select Custom Fields from the drop down.
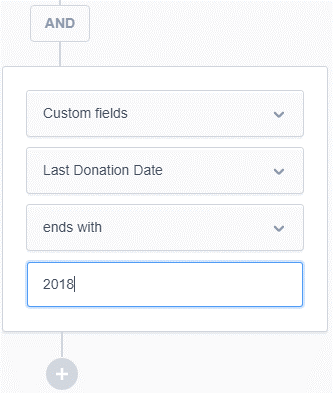
36.Select Last Donation Date from the drop down.
37.Select Ends with from the drop down.
38.Enter 2018 in the field.
39.Click the + to add another condition.
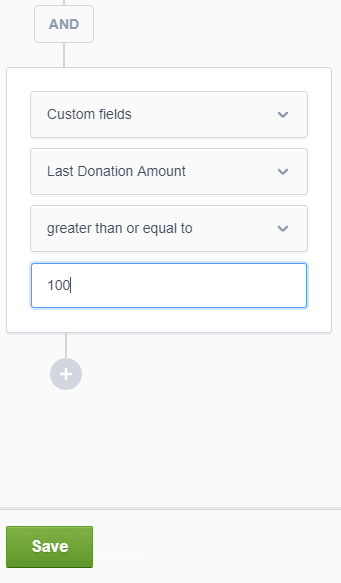
40.Select Custom Fields from the drop down.
41.Select Last Donation Amount from the drop down.
42.Select greater than or equal to from the drop down.
43.Enter 100 in the field.
44.Click Save.
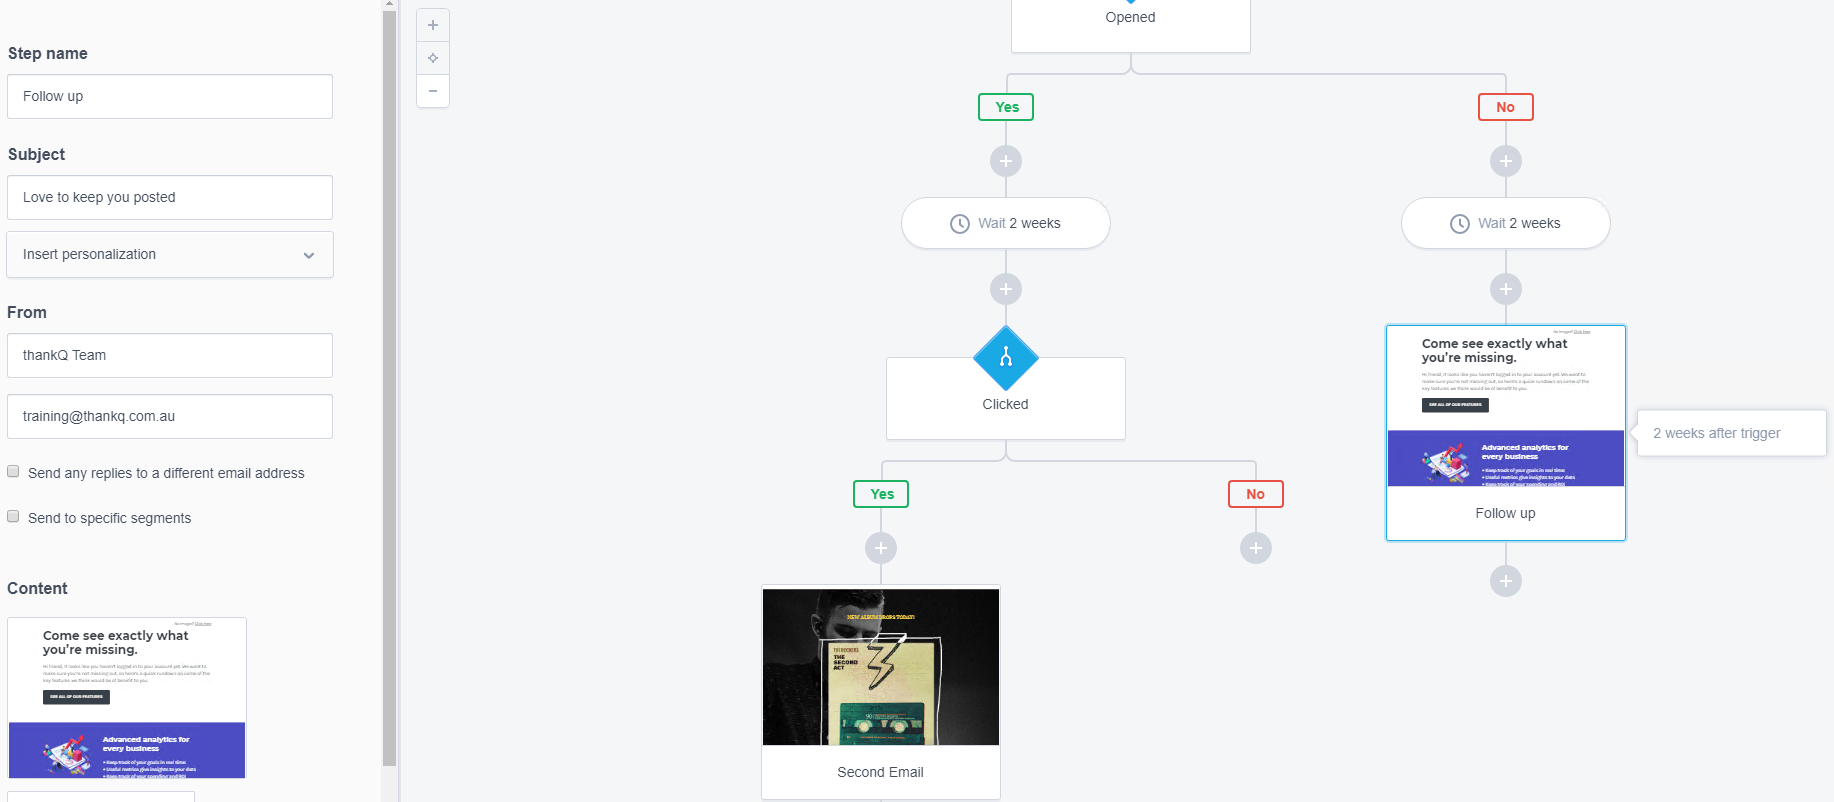
1.6Add Email to the No Opened List
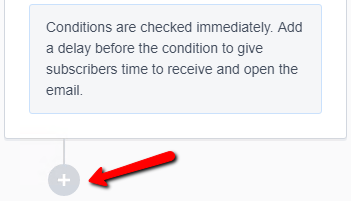
You may decide to follow up with the people who did not open the original email after waiting an amount of time.
45.Click the + under the Wait 2 weeks.
46.Click the Email button.
47.Repeat the steps above to create a follow up email.
48.Continue adding Delays, Conditions and Emails to the Yes / No Journey.
If there is a message as per below where there are any incomplete steps, review your steps making sure you have entered all the step names, subjects etc.

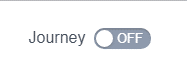
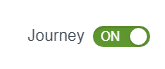
REMEMBER: to turn the Journey ON in Campaign Monitor before starting the Communication List in thankQ.

Or if you have turned on previously and then off, make sure the journey says ON.