thankQ Help
Once the empty list has been sent to Campaign Monitor you can start to build your journey.
Check to make sure thankQ and Campaign Monitor are communicating and the empty list has been sent.
1.Login to Campaign Monitor.
2.Click on Lists & Subscribers to make sure your communicaiton list has been received.

3.Click Automation on the tool bar.
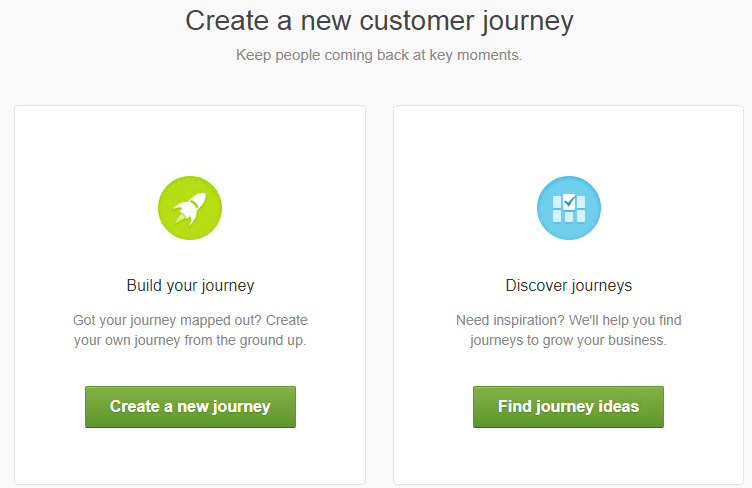
4.Click Create a new journey.

5.Click Create a new journey.
6.Enter a Name for this journey.
7.Leave the default to Subscriber joins the list selected.

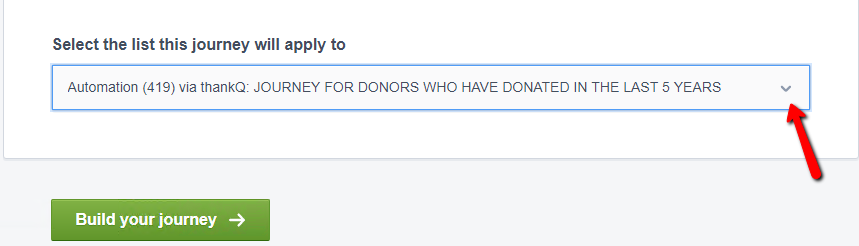
8.Scroll down to the bottom and Select the list this journey will apply to.
9.Click Build your journey.
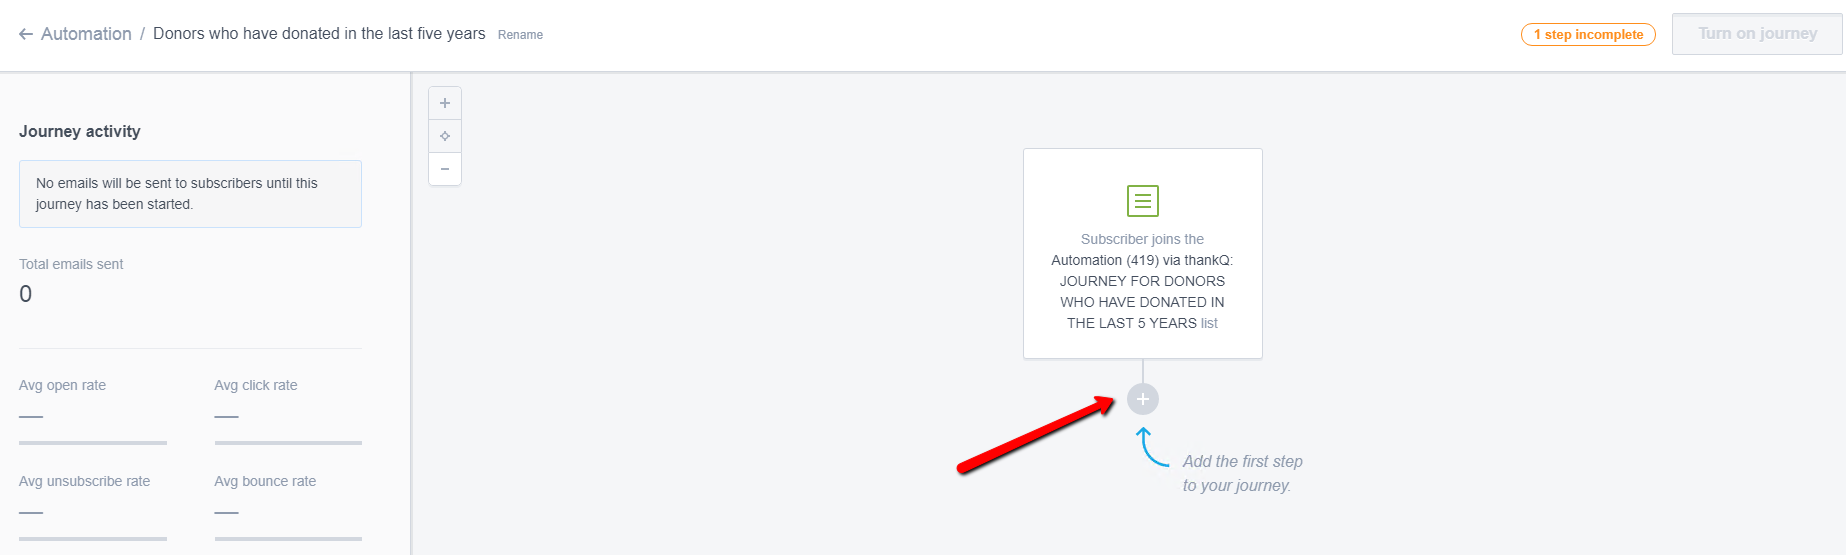
10.Click the + to Add the first step to your journey.
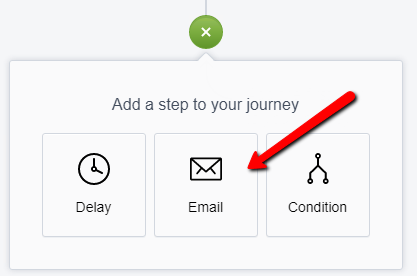
11.Click a step to add to the journey – click Email.
A list on the Left opens for you to enter information.
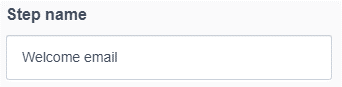
12.Enter a Step name.
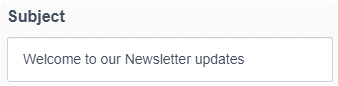
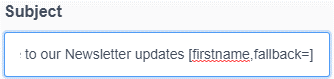
13.Enter a Subject.
14.Select Personalisation if relevant.
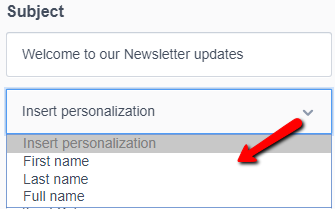
This will insert the particular merge field at the end of the line.
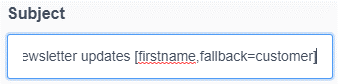
15.Move to where you want the information e.g. at the beginning.
The fallback is used as a replacement if the field does not exist. In this case I have deleted the fallback so if there is no field there will not be any text.
 |
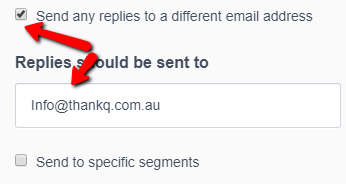
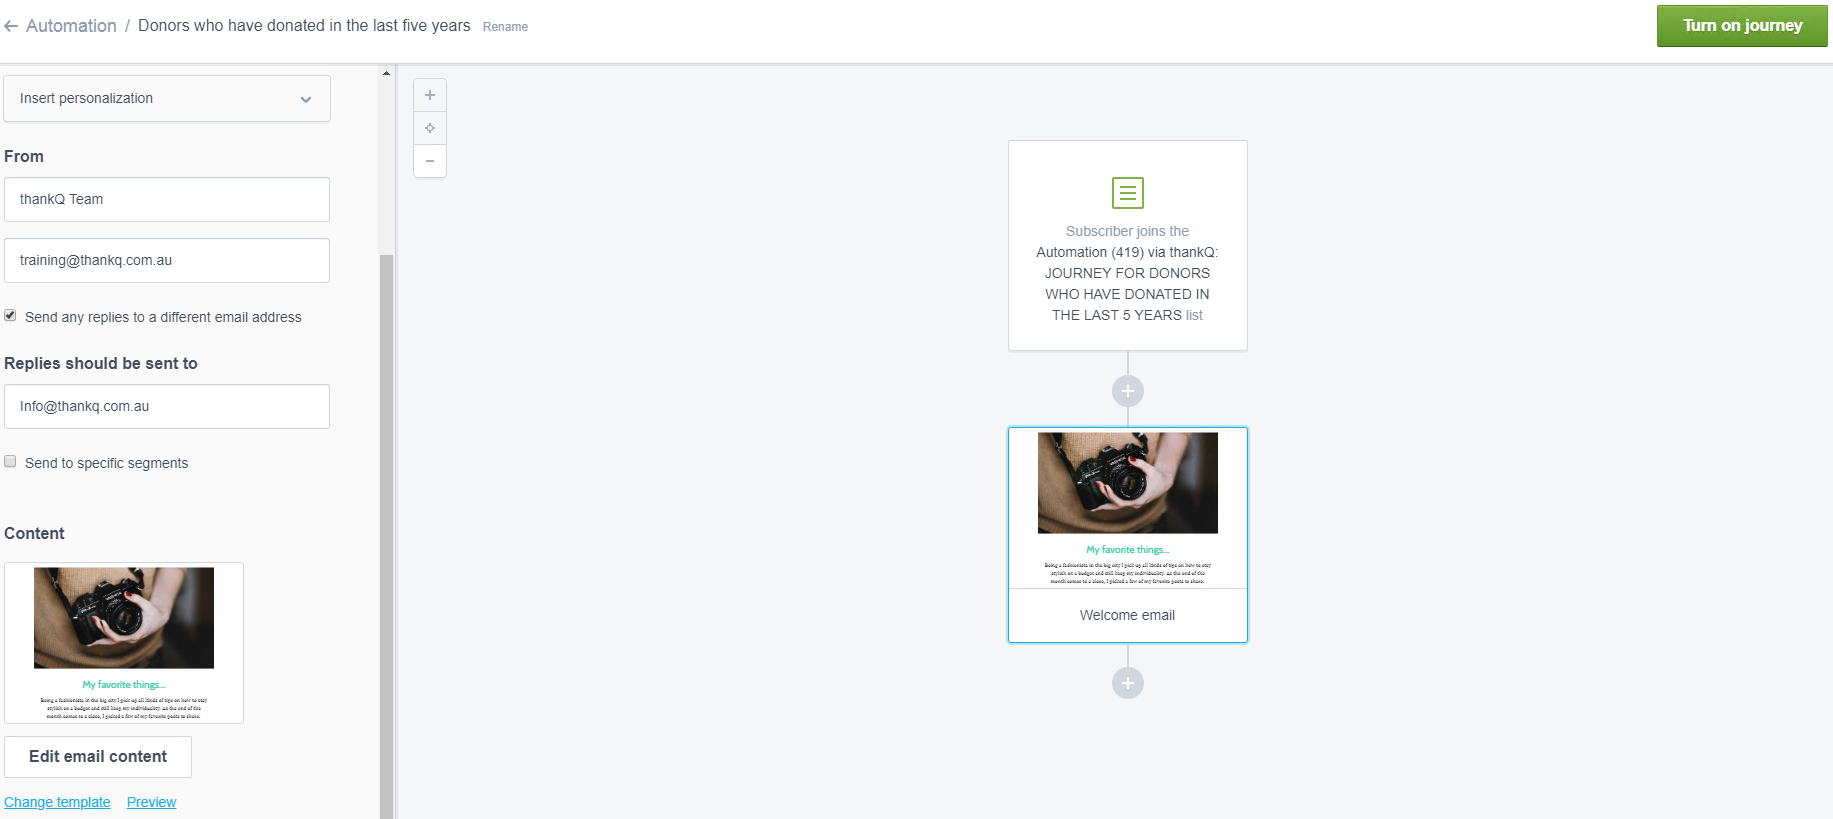
16.Enter the From information.

17.Click into the tick box beside Send any replies to a different email address if replies are go to a different email.
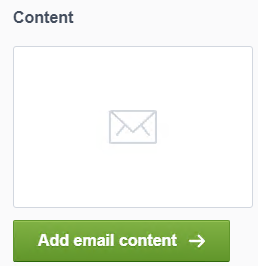
18.Click Add email content.
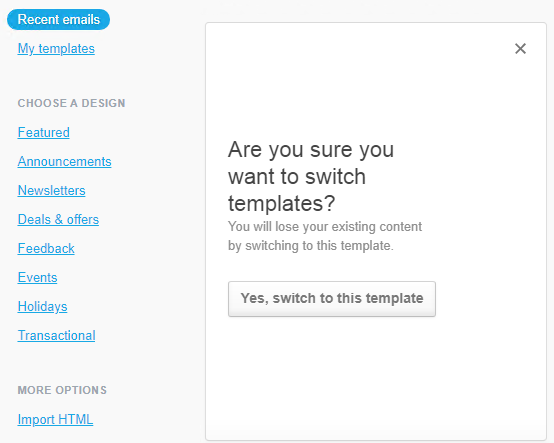
19.Locate and click on the template that you wish to use.

20.Click Yes, switch to this template if this message appears.
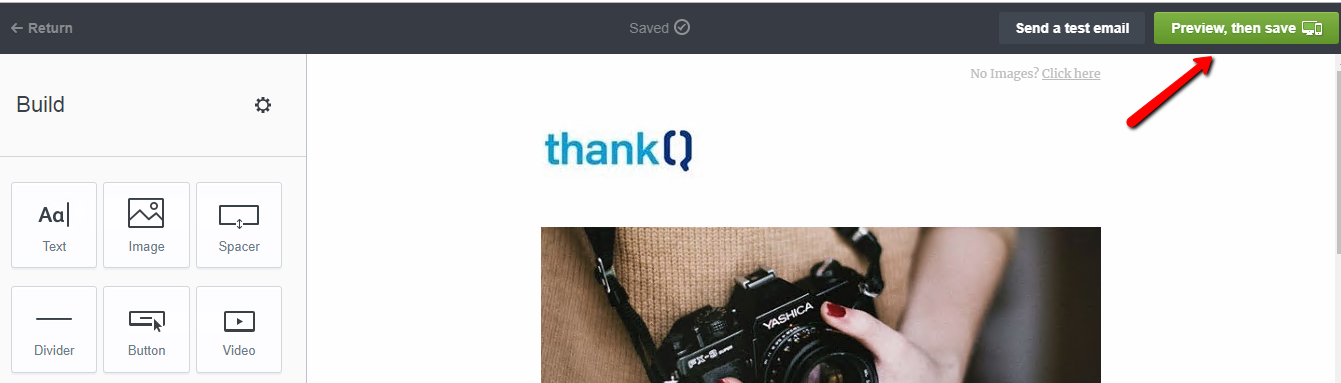
21.Make the appropriate changes to the email, adding any text, images, video etc.
22.Click Preview, then save once you are happy with the email.
23.Click Save & Return to journey once you are happy with the layout, otherwise click Return and make any changes.

24.Click Turn on journey if this is the finish of the journey.
25.Click ON to switch the journey off.

26.Click OFF to switch the journey on.

Edit the Email Content
27.Click on the email in the journey. This will display the information on the left.
28.Click Edit email content.

29.Make any changes.
30.Click Preview, then save.

31.If happy with the preview, click Save & return to journey, otherwise click Return and make further amendments.

32.Click the left arrow Automation to go back to the Automation page.
