thankQ Help
Once you have setup an Event Description and Event Attendee Settings you can then select an event uploaded from thankQ to link your new event to.
| 1. | Select an Event that has been uploaded from thankQ. If there are no events listed you will need to create these in thankQ and then use the WebSync option to upload them to the website. |
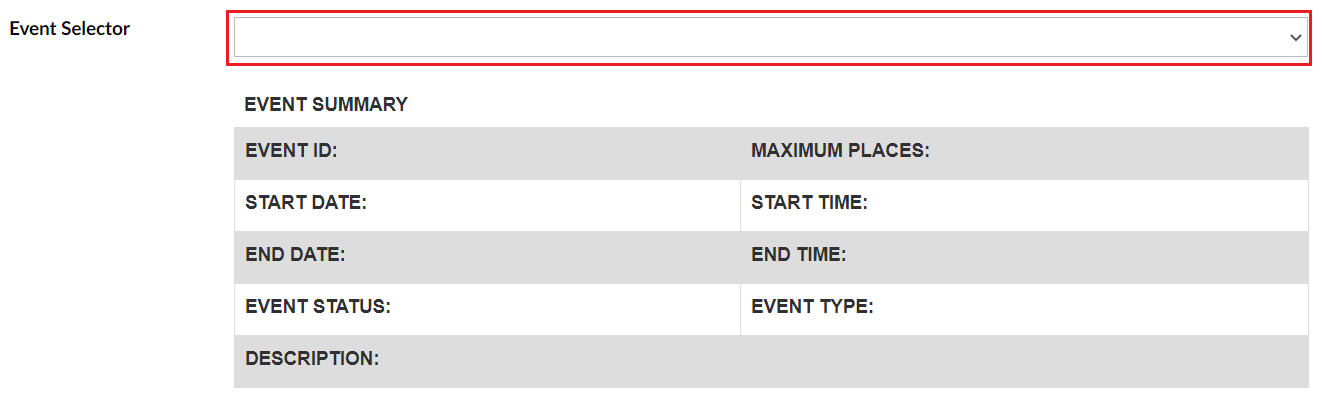
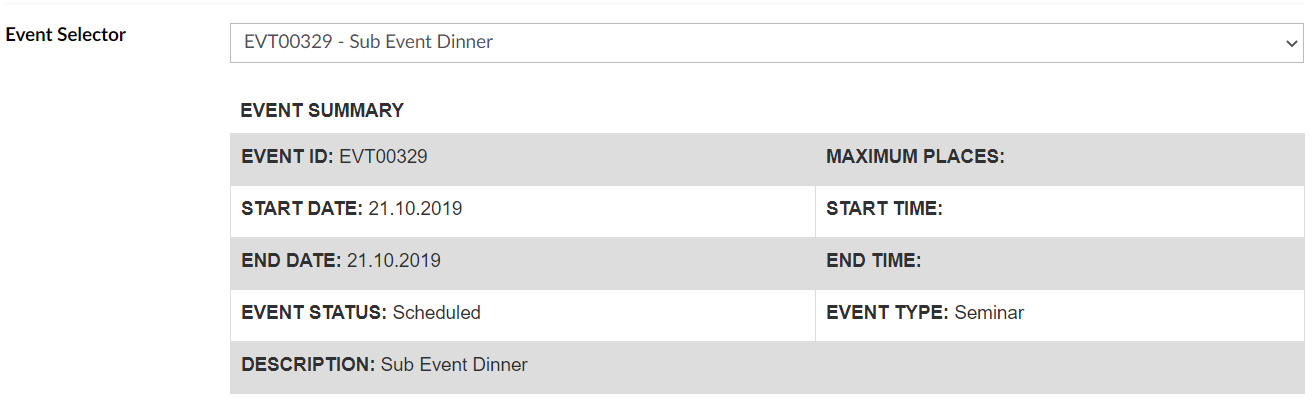
2. Once you have selected the Event the details will appear below.
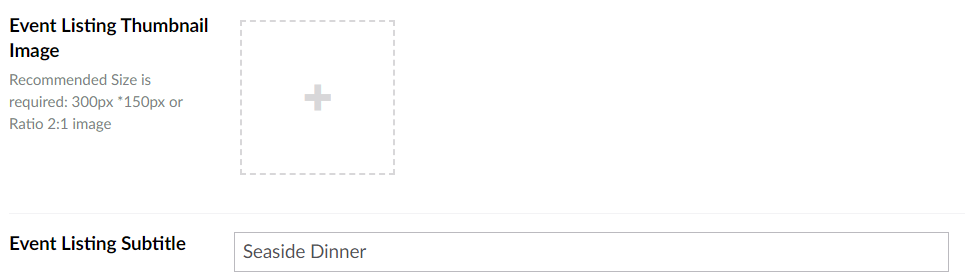
| 3. | After you have selected a thankQ event to link to you can then make changes to other aspects of this Event including the addition of an Event Listing thumbnail and the Event Listing Subtitle. These will appear when multiple events are listed on a single page. A thumbnail is required if you want this event to appear in an Event Listing. |
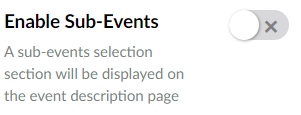
4. If there are sub-events you can choose to toggle their display within event description.
| 5. | You can also choose to toggle the display of Event Attendees or switch this off if you don't want the booker to enter the Attendee's contact details (if there is more than one Attendee Type the booker will still need to select how many of each type they are booking). Display Ticket Summary will if toggled off hide the Event Attendee stepper from the user. |
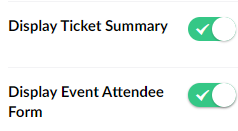
Event Attendee Stepper on the user's page. Display Ticket Summary will hide this if untoggled:

6. Add a description for your listing.

7. Once everything has been setup don't forget to use the option Save and publish