thankQ Help
1New Contacts as Main Contacts for New Organisations
In this scenario we are importing New contacts who are the main contacts for New organisations.
In the spreadsheet we are going to set up a default address for the contacts, one of which is going to have a main address as their home address but also use a default address of the organisation. This is because there will be some mailing preferences that we want to set so the contact receives them at their home address. Other mail we are not concerned that it will go to the organisation and if the combine organisation rule is applied in the mailing and the organisation is also in the same mailing, the contact will be removed and the mailing will only go to the main contact at the organisation.
We will need two work sheets in the spreadsheet, one with the contact details and the other with the relationship information. If you do not have the relationship sheet no relationships will be created between the contact and organisation. The main contact will still show on the organisation as the primary contact but no relationship will exist.
The first sheet would like similar to the following. There is a supporter id column which is used to identify each record and can be used to identify other information. This id will be converted to a serial number once imported.
The Default Address has the supporter id of the organisation.
The Main Contact has the supporter id of the contact who will be the main contact.

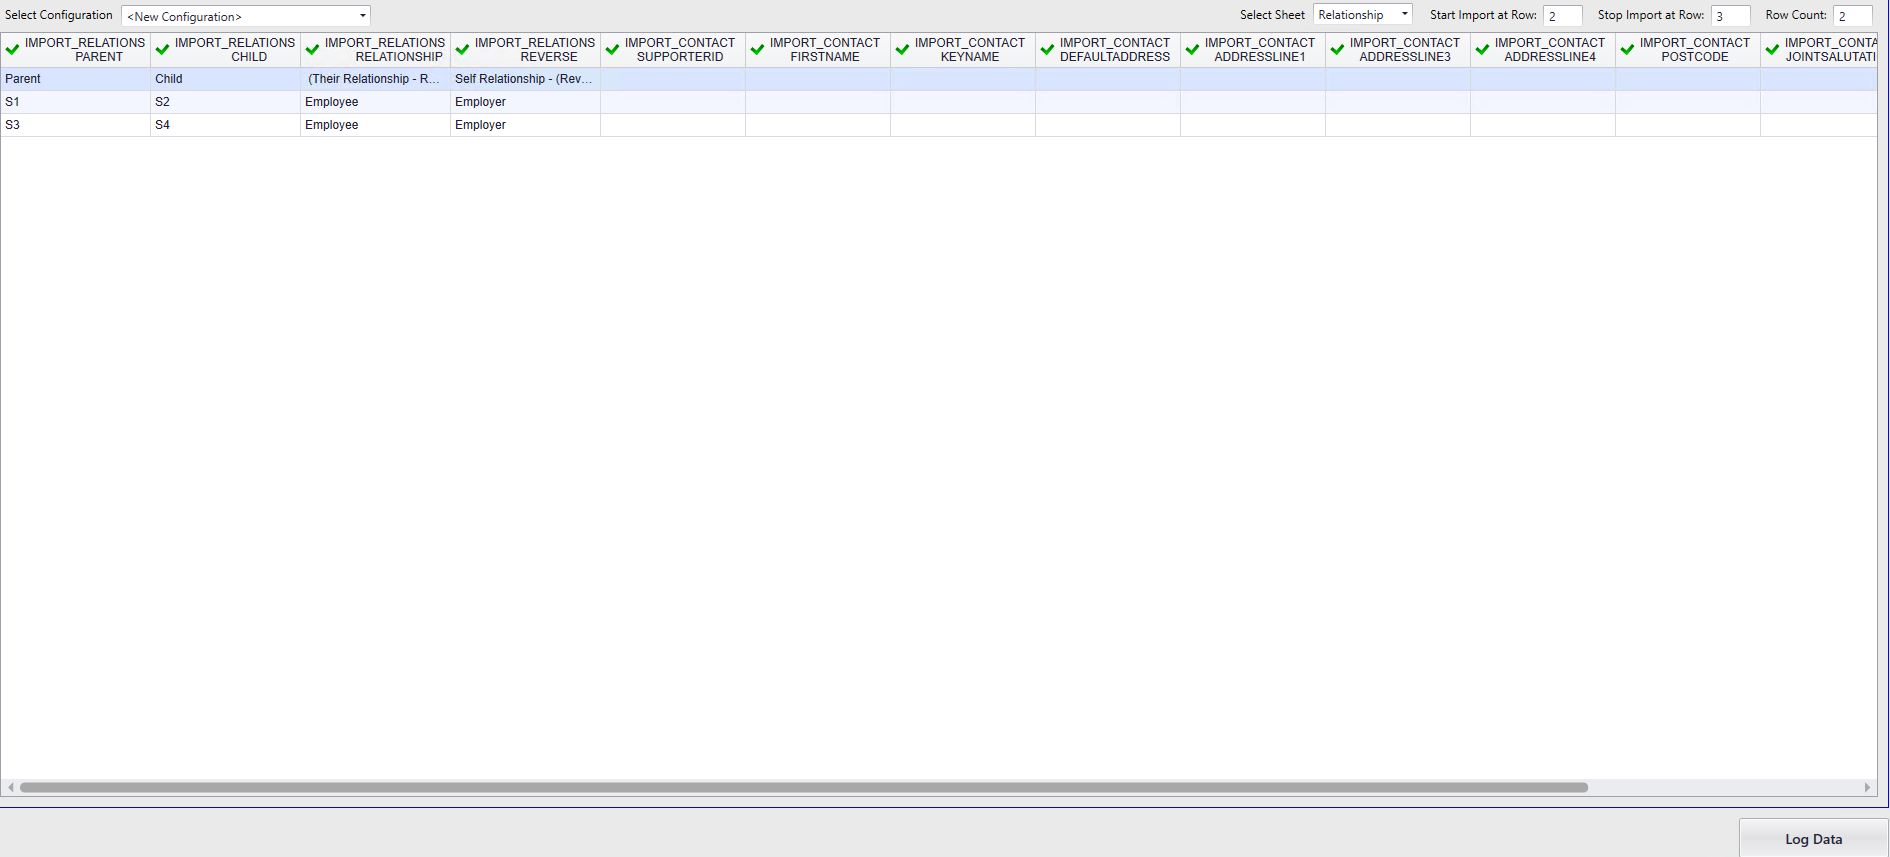
The second sheet will create the relationships in thankQ.
The Parent field will be the organisation
The Child field will be the main contact
The Relationship will be the main contact
The Reverse relationship will be the organisation

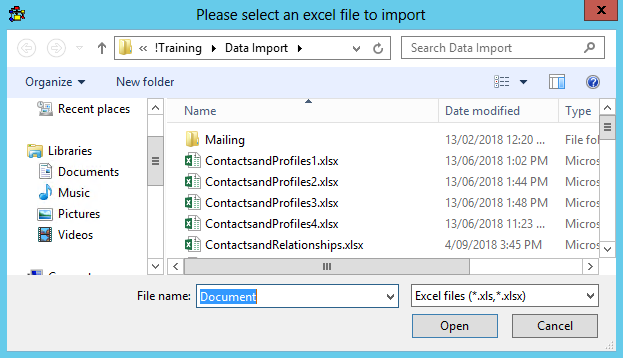
1.Click Create on the tool bar of the Data Import form
2.Click the ellipse on the Excel Input File line

3.Locate and select the import file
4.Enter an Import Description
5.Leave the Import Description as New Configuration if you want to create a template from this mapping

6.Double click on the First (B) cell as this has a red X as it has not mapped to a thankQ field
7.Select Contacts from the drop down
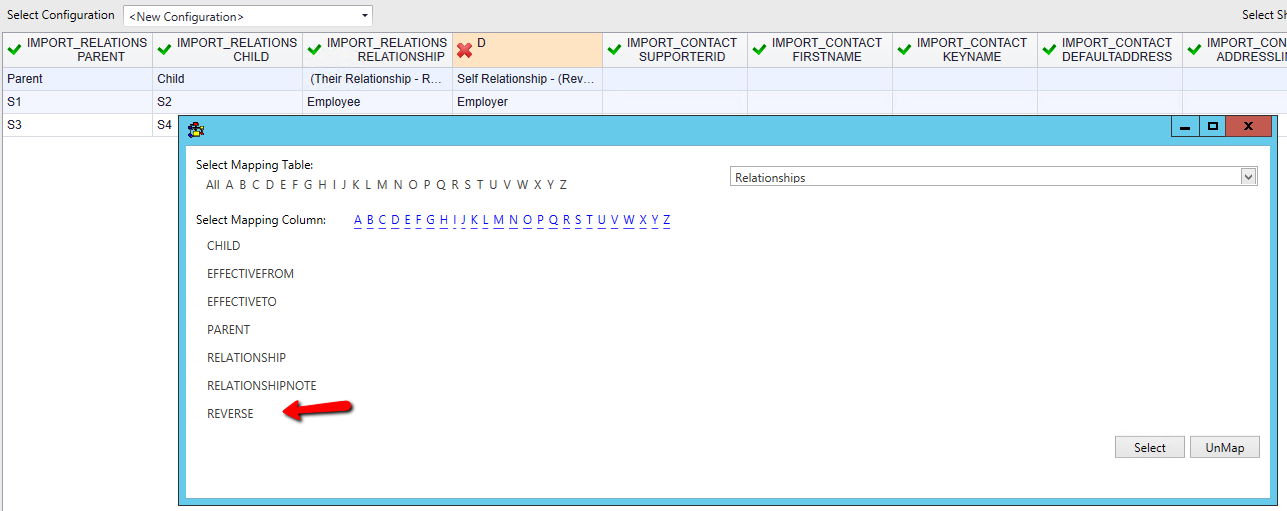
8.Click F and double click on FirstName
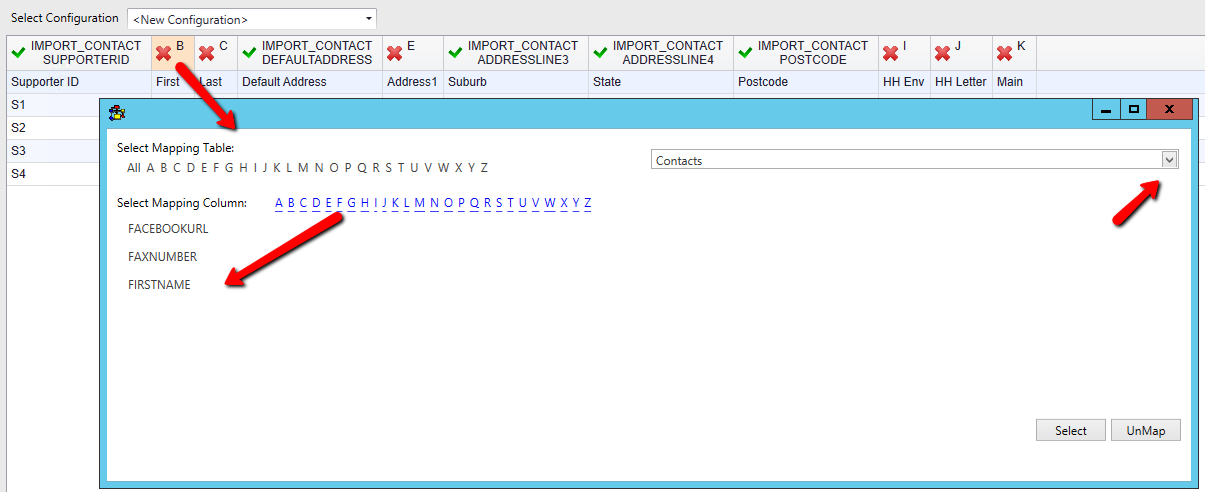
9.Double click into the Last (C) field and locate and select the Keyname found under K
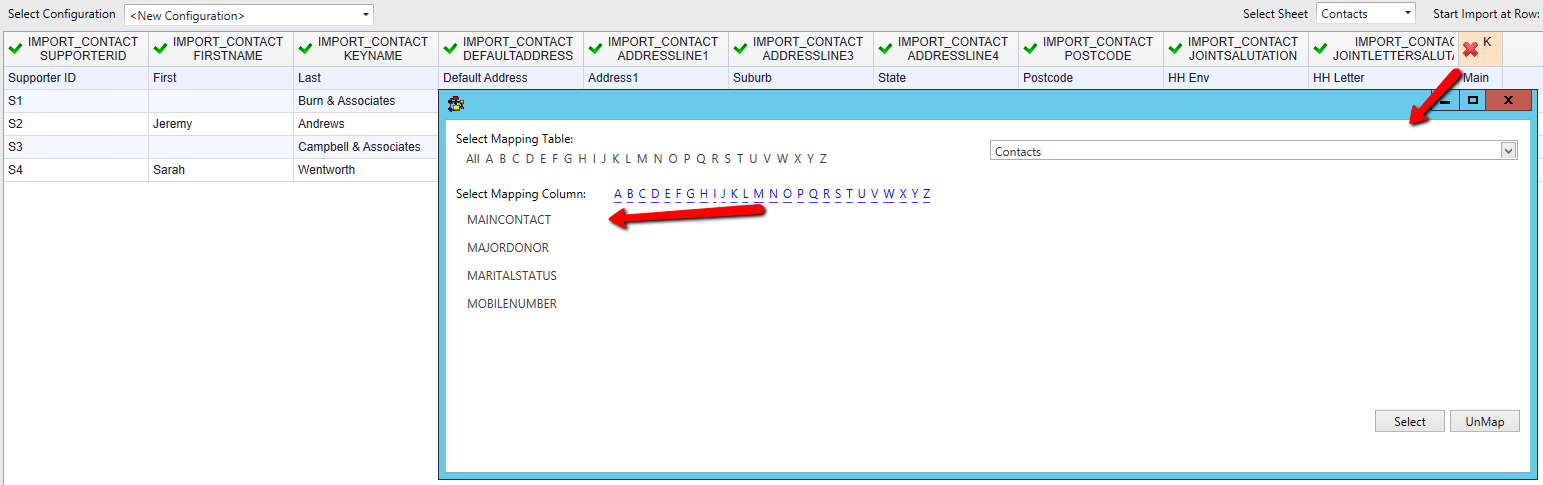
10.Double click into the Address 1 (E) field and locate and select the AddressLine1
11.Double click into the Household Env (I) field and click J to locate the JointSalutation
12.Double click into the Household Letter (J) field and locate the JointLetterSalutation
13.Double click into the Main (K) field and click M to locate MainContact
14.Click the drop down beside Select Sheet and select the Relationship sheet

15.Double click into the Parent (A) cell
16.Select the Relationship fields from the drop down
17.Double click on Parent
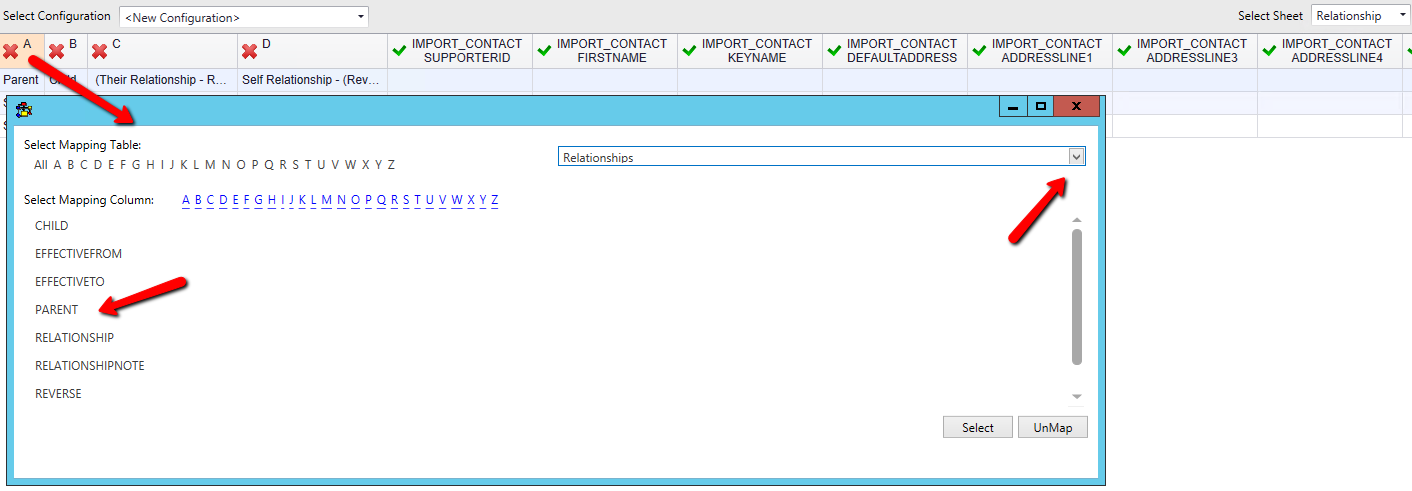
18.Double click into Child (B) and select Child from the Relationship list
19.Double click into Their Relationship (C) and select Relationship from the list
20.Double click into Self Relationship (D) and select Reverse from the list
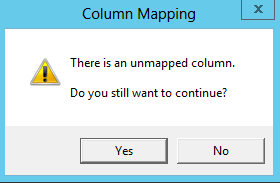
21.Click Log Data at the bottom right
22.Click Yes if this message appears and you can proceed with unmapped fields
23.Click Yes to save the configuration or No to continue

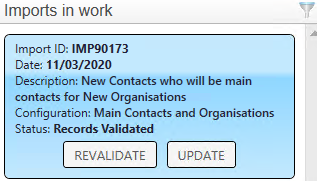
24.Click Validate on the import under Imports in work
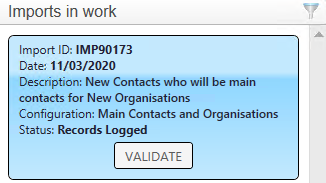
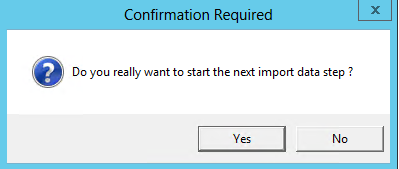
25.Click Yes to continue
26.If there are any duplicates or validation errors fix these by double clicking on the import in the column. Click Mark As New if this is not a duplicate or click on the duplicate and Mark As Duplicate. Click Re-Validate on the tool bar. Click Yes to re-validate.
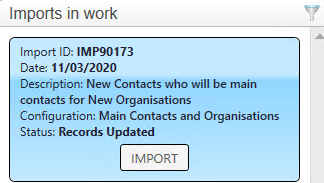
27.Click Update if there are no suspect duplicates or validation errors
28.Click Yes to continue

29.Click Import
30.Click Yes to continue

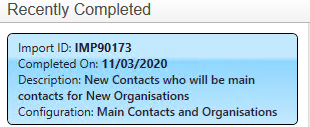
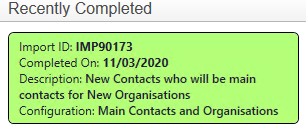
If there are no errors the import can be found under the Recently Completed window
View the Completed Import
1.Double click on the import under the Recently Completed window
This will open to the Import View
2.Click View All Records
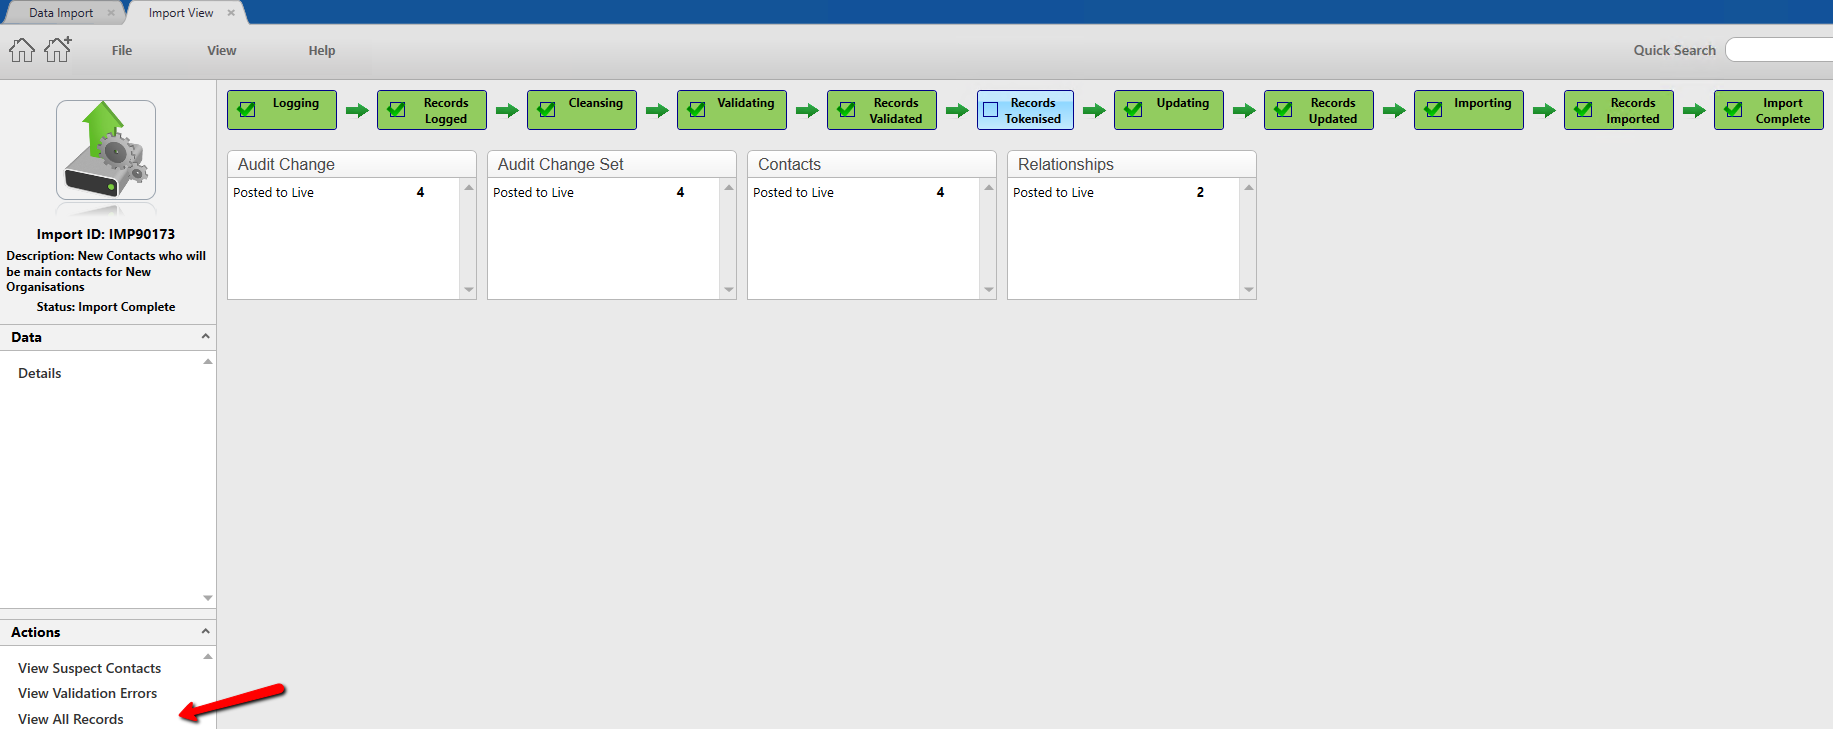
3.Click on Relationships | Post to Live to view the relationships imported

4.Close the Import Records tab by clicking on the X
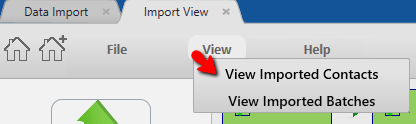
5.Click View – View Imported Contacts on the Import View tab
6.Hover on the task bar and go back to the thankQ screen
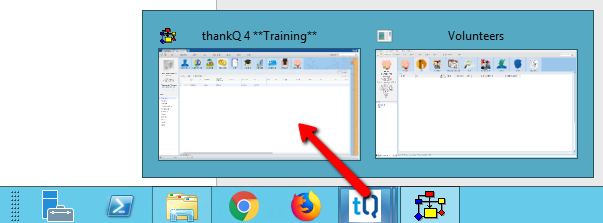
7.Click on the Relationship tab to view the relationship information
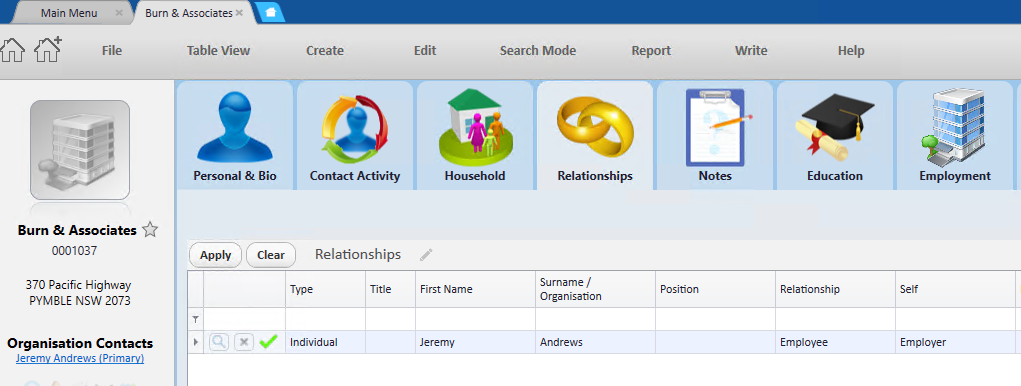
Take a look under Personal & Bio to make sure the envelope and letter salutations etc are correct and also take a look under Households. You can also look at the main contact records.