thankQ Help
Once you have created the Event Portal Template your template should have a menu option for Booker Details (called Profile), Viewing Attendee Details, Canceling Request Form and a Logout button.
If your template does not have these please create them as follows:
| 1. | You will always have a Booker Details/Dashboard option even with a blank template so change this by opening it and changing the label and adding the dashboard text. Note that in the dashboard text editor you may use all of the Event Placeholder fields and they will retrieve the data for this contact's booking when they login. |

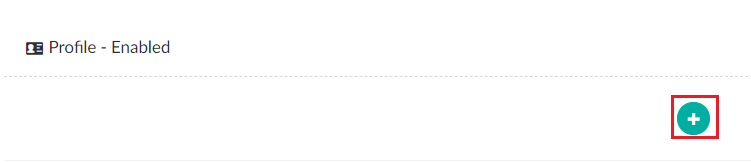
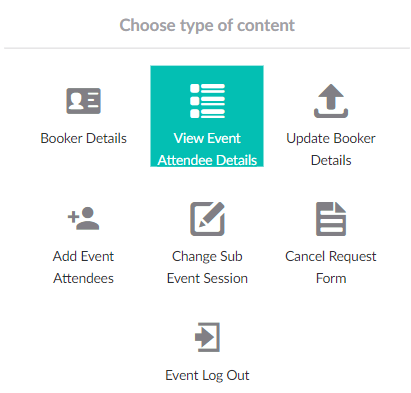
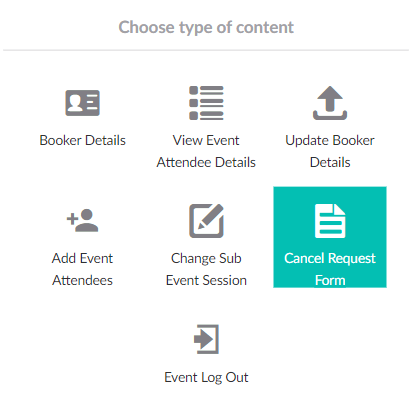
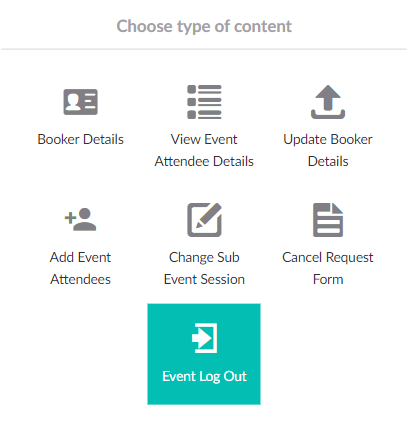
2. Click the + icon just below this option and select View Event Attendee Details.
3. Give this option a label for the menu and then add the details that can be viewed/edited.
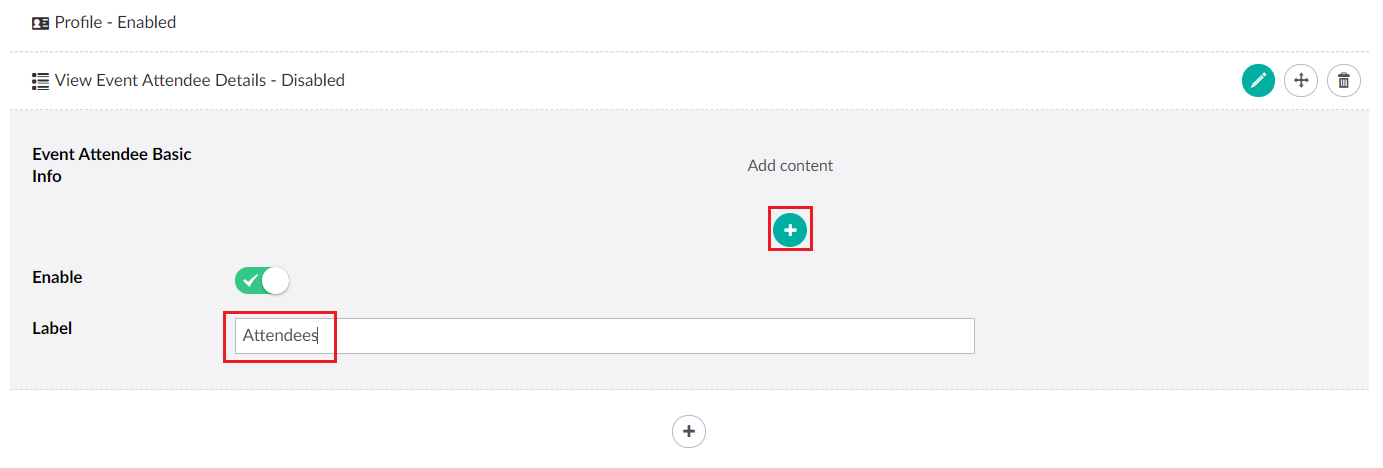
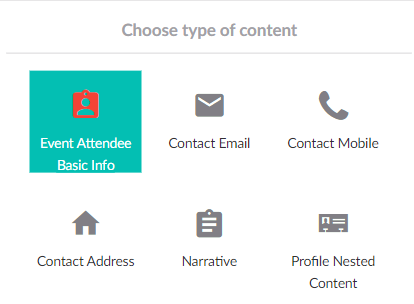
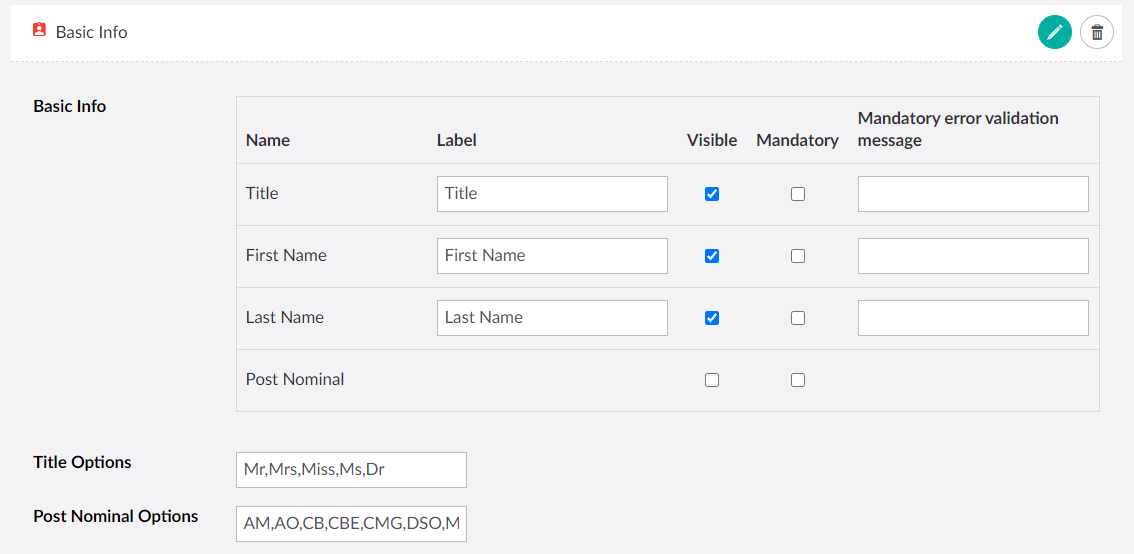
| 4. | Make any changes you want to the Basic Info component and feel free to add any other info you want such as Contact Email, Mobile, Address, Profiles, etc. |
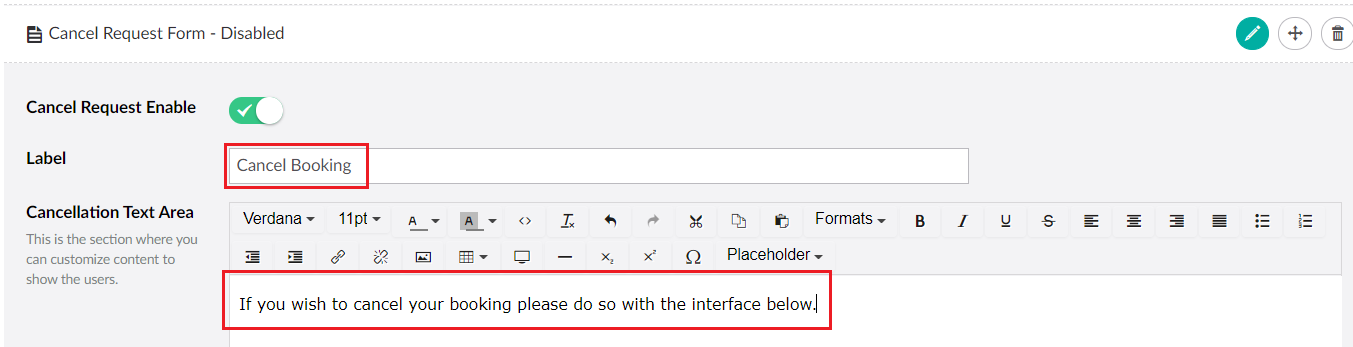
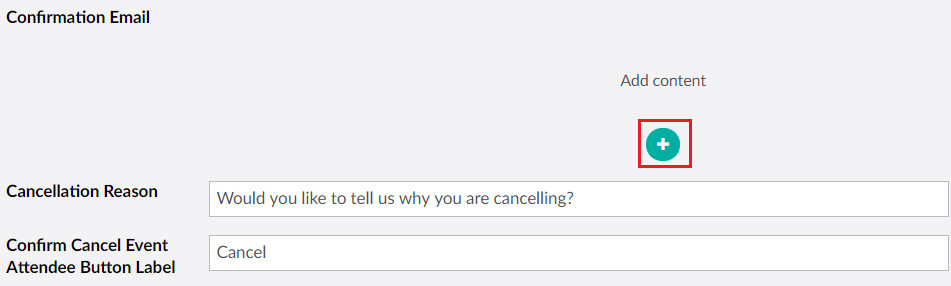
5. Add the Cancel Request Request Form and then configure it with the text that you want it to have.
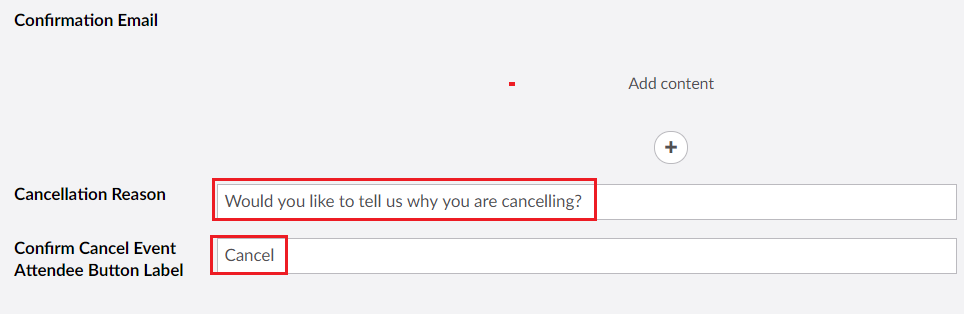
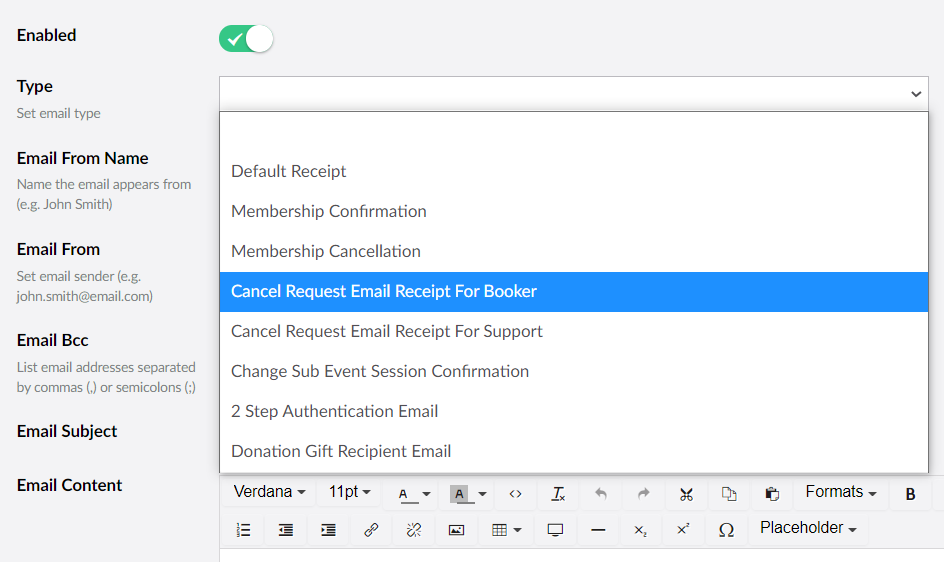
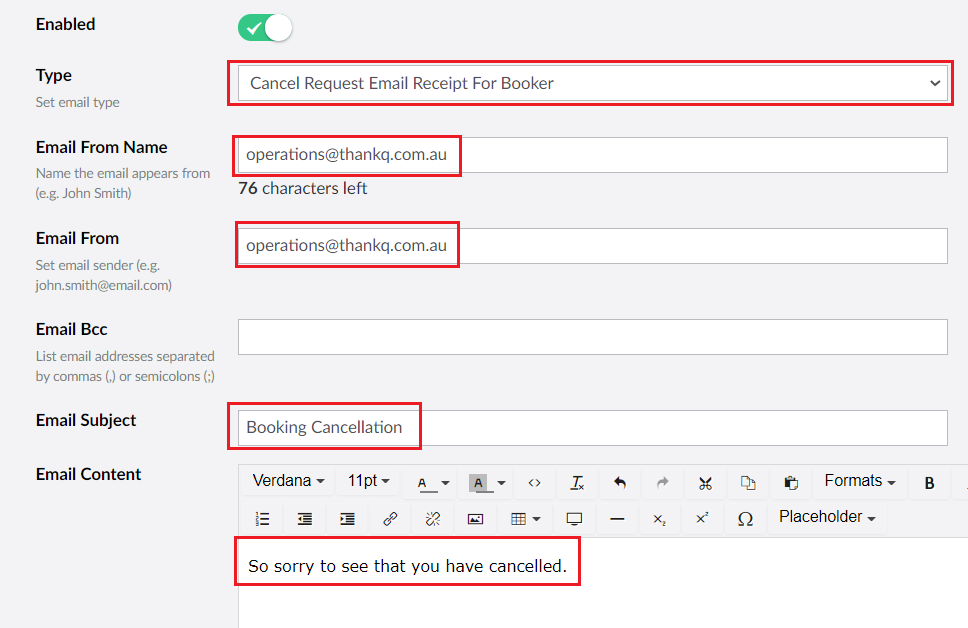
| 6. | If you want you can also send the user an email when they cancel their booking. Please note that if a user cancels their booking this will not automatically cancel it in thankQ. Instead what will happen is that an email will sent to the booker to confirm their cancellation and another email will be sent to a staff member's email address requesting that they make the cancellation in thankQ. This will therefore require you to set up two email templates. For more details see Email Confirmation Types. |
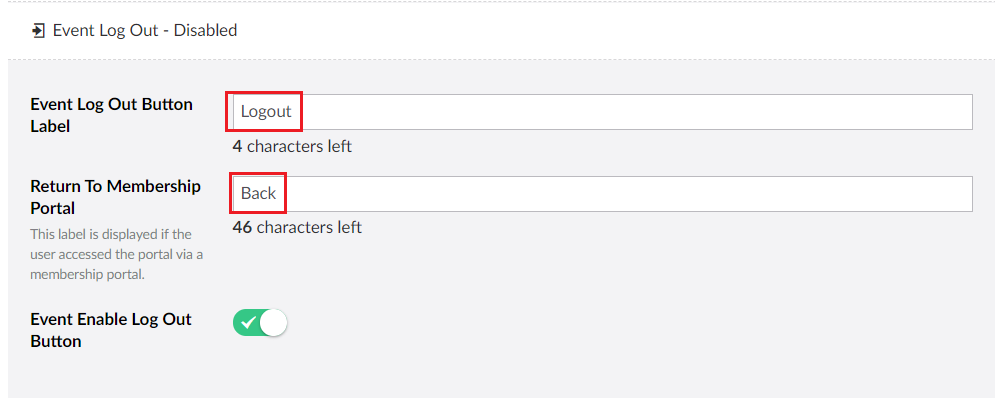
| 7. | Your Portal should always have a logout button, otherwise the user has no way of closing their session. Please create this option and give it a label. Note in this logout interface you can also set this as a button to return to the Membership Portal if you have one. More details on how to setup the Membership Portal to go to this page can be found in Link Membership Portal to Event Portal. |
8. Once you have finished select Save and Publish.