thankQ Help
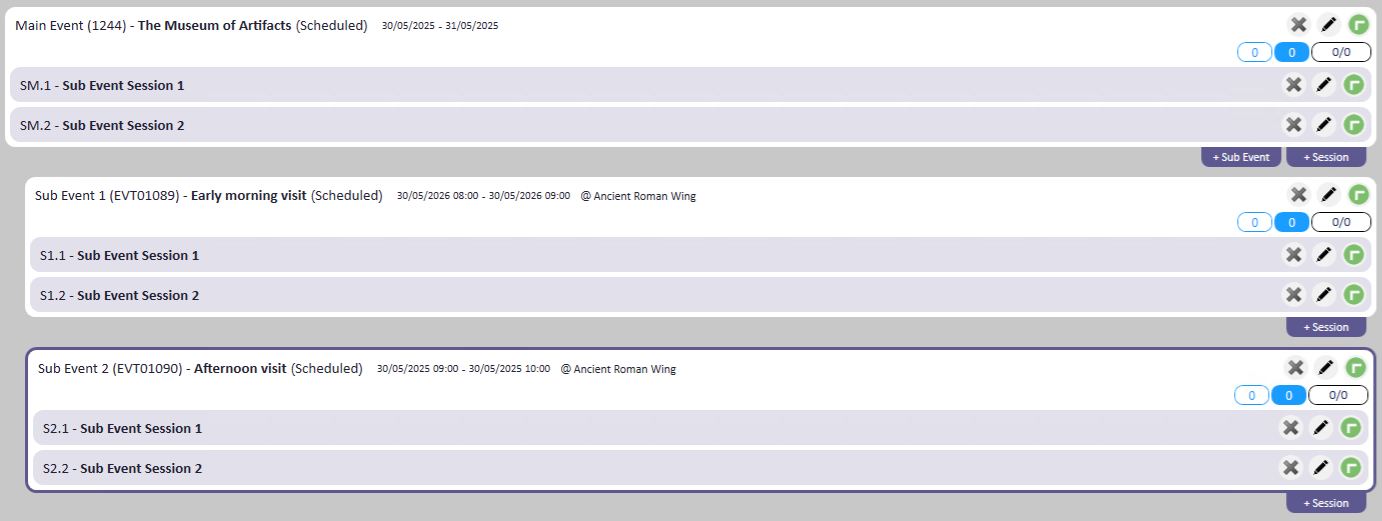
You can create a sub-event for any purpose you want, such as setting different locations or different times for a main event. In this example we will have a Museum main event which will have sub-events corresponding to different times that you can visit the museum. You can create these sub events either individually or in bulk.
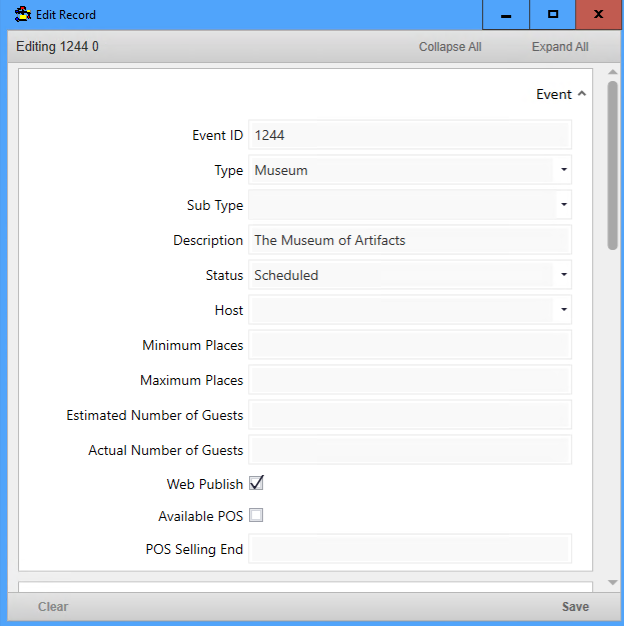
Before setting up the sub event(s) make sure you have set up the main event that it will be based on. The sub events in this example will be based on the details from this main event:
1.To create a new Sub Event click on the + Sub Event button on the Main Event:

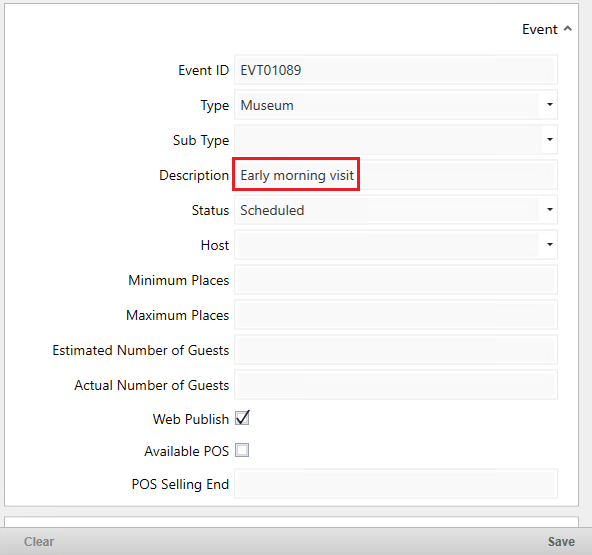
2.In your Sub Event all details will be copied from the Main Event except for Event ID, Fundraising Target and the Feature check boxes. All fields can be changed in Sub Event and there is no requirement for them to match the main event.
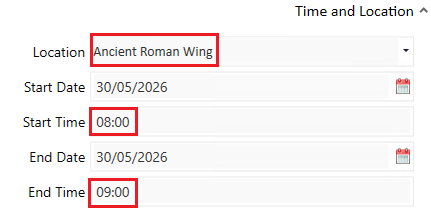
3.In this example the Description, Time and Locations will be changed from the Main Event to make the Sub Events different from one another:
4.Click Save when you have finished:

5.You can then create additional Sub Events by clicking the + Sub Events button again:

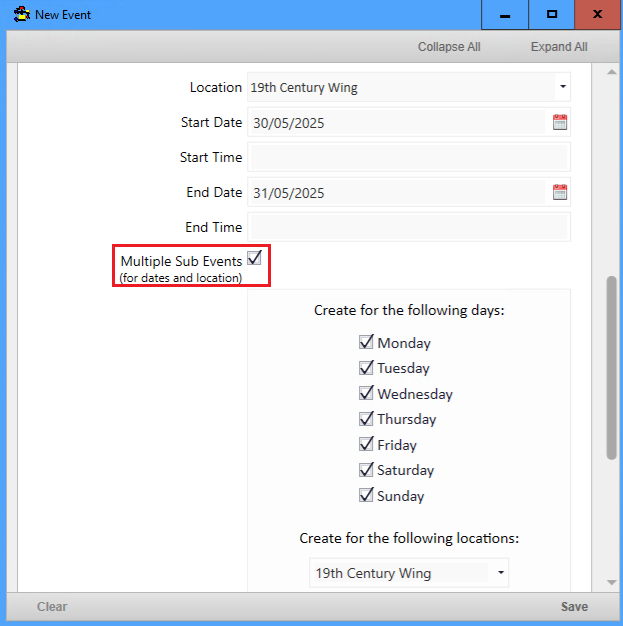
6.Alternatively you can also create sub events in bulk as well by using the option Multiple Sub Events when creating Sub Events. For more details on how to create Sub Events in bulk see Multiple Sub Events:
7.You may create as many Sub Events as you want. Each sub event will share all of the properties of the main event including Ticket Types, Structures, Resources, etc.
8.Note that if Sessions are enabled you can create individual sessions for each Sub Event. For more details on setting up sessions in general see Create a Session. In this example sessions have been setup for the Main Event and for two of the Sub Events. The Main Event and Sub Events can have an unlimited number of sessions each: