To create Membership Types you will need add them to the web page based on the Membership Types you have uploaded to your Web Database.
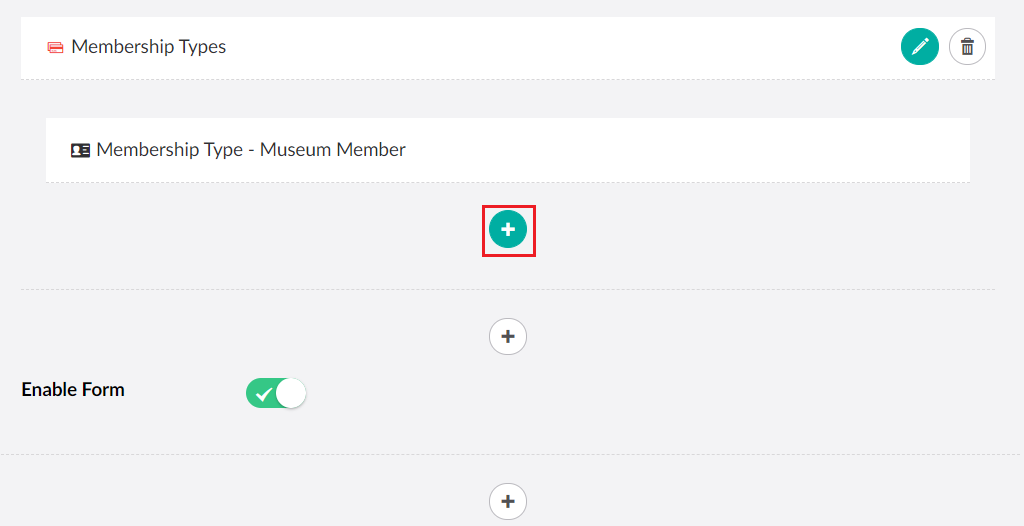
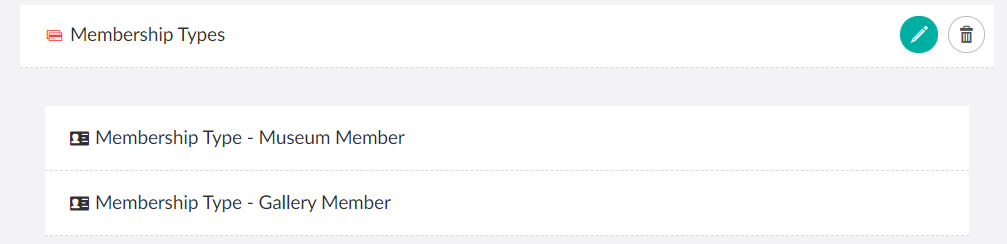
1.Click the + under the Membership Types object:
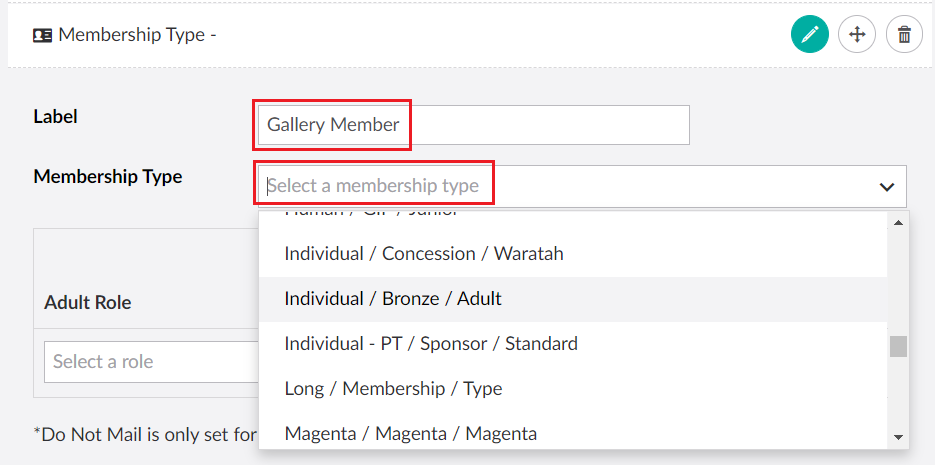
2.Enter a Label to name the membership
3.Select the Membership Type from the drop down:
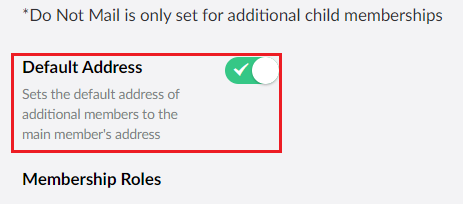
| 4. | If applicable set the Default Address toggle if you want the address for the additional members to be the same as the main member's address: |
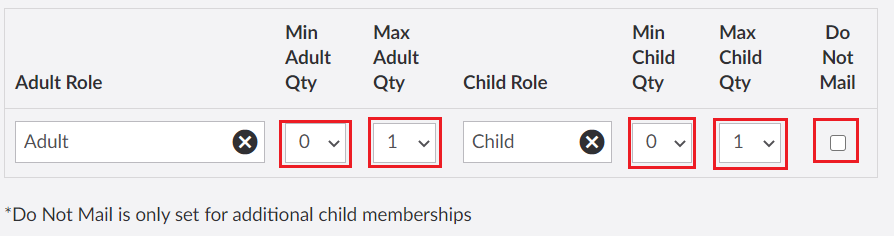
| 5. | Select the roles for this membership. The roles must exist in the membership to be selected. If there can be extra adults these can be selected as well, if there are any children that can be added to the membership you can select the role associated with this: |
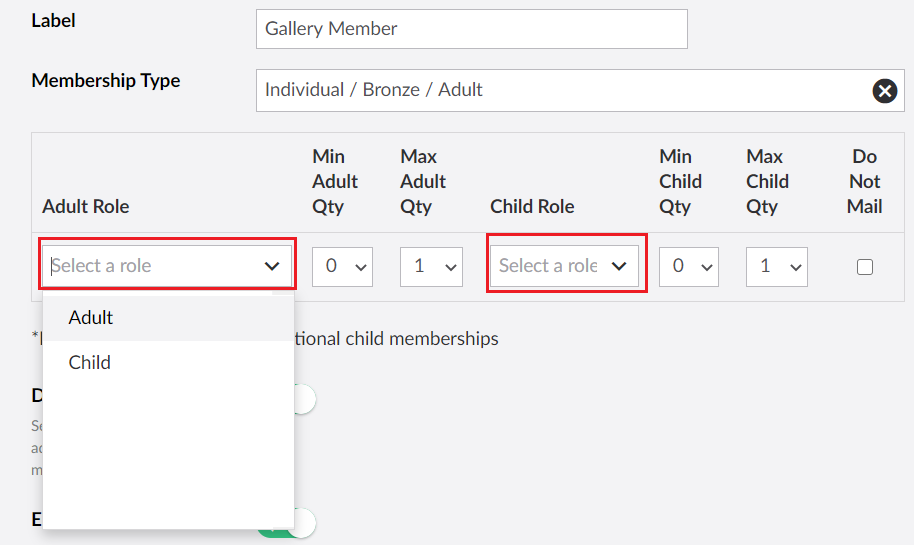
| 6. | Select the Minimum and Maximum Quantity of Adult and Child Roles and if applicable set the Do Not Mail checkbox. Note if you set a minimum number above 0 this will make the role mandatory to select on the page: |
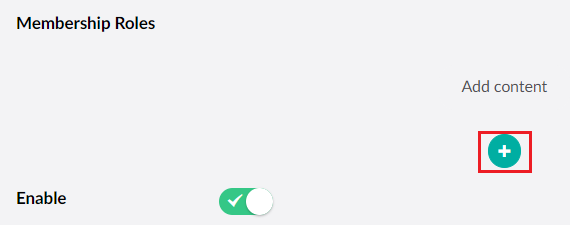
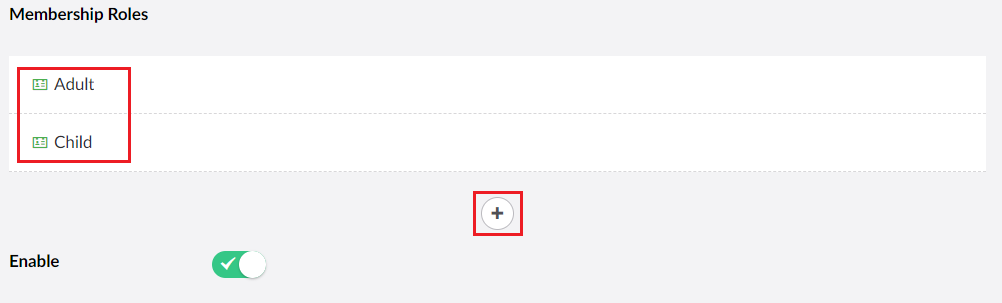
| 7. | Add Membership Roles that the contact is allowed to purchase by selecting the + icon below Membership Roles: |
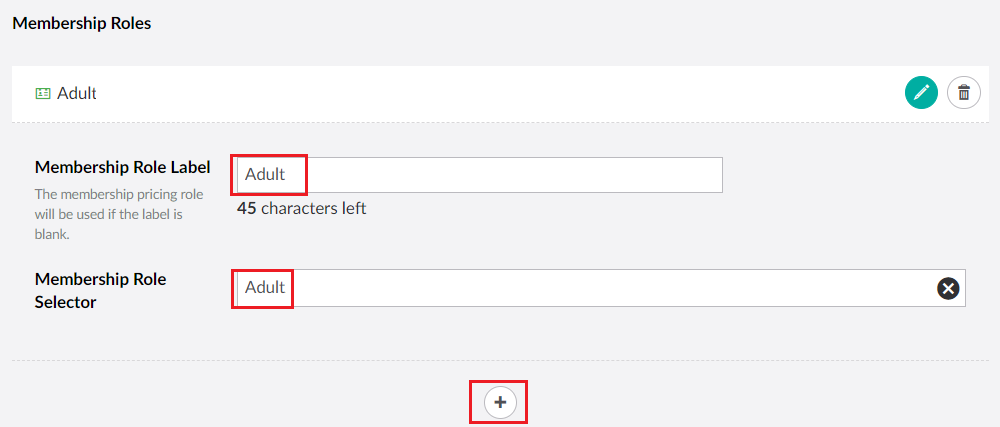
| 8. | Set the Membership Role label and the membership role in thankQ that the user can select. Use the + icon to add more Membership Roles as need: |
| 9. | Repeat steps 1 to 8 to add more memberships: |
| 10. | Please note that for Additional Memberships Roles to work correctly you must also have an Additional Membership page. See Add Additional Memberships for instructions on how to set this up. To change the roles for the Primary Membership you will need to add a Membership Roles Placeholder as well. |
| 11. | Click Save and publish when you have finished adding Memberships. |