thankQ Help
When a contact has already made a booking, you can provide them a link to the login page which will let them view or change their booking. This is what they will see when they go to the Event Portal.
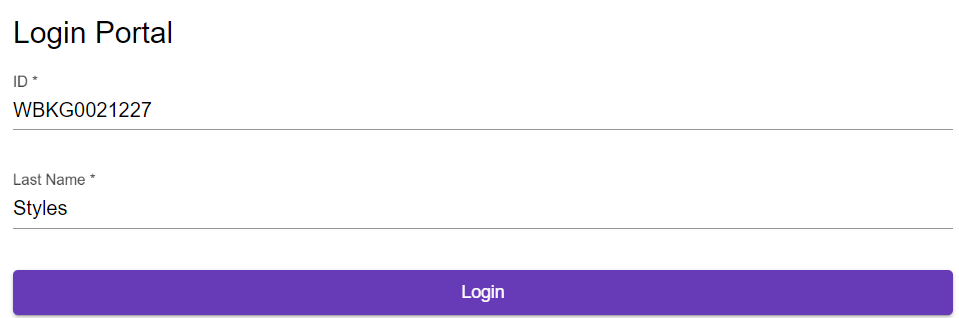
1. To login they will need to enter the Booking ID and the Booker Surname that they were provided initially, then they click Login.
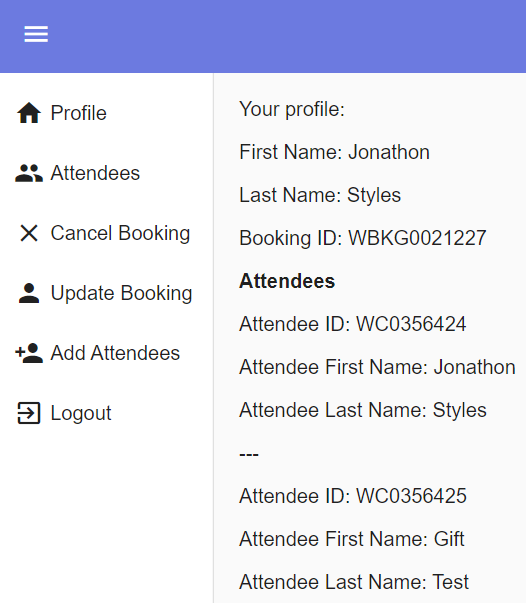
2. They will then be presented with the Event Portal page which will show the user the options that you had setup. The first page is normally the profile page.
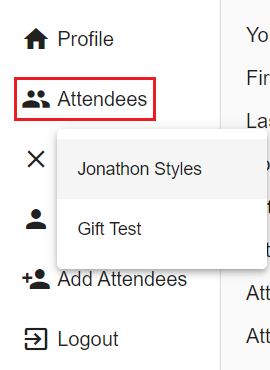
| 3. | If the user has a booking with multiple attendees they will be able to choose which one they want to view the details for. They can then choose to update them if they want to. |
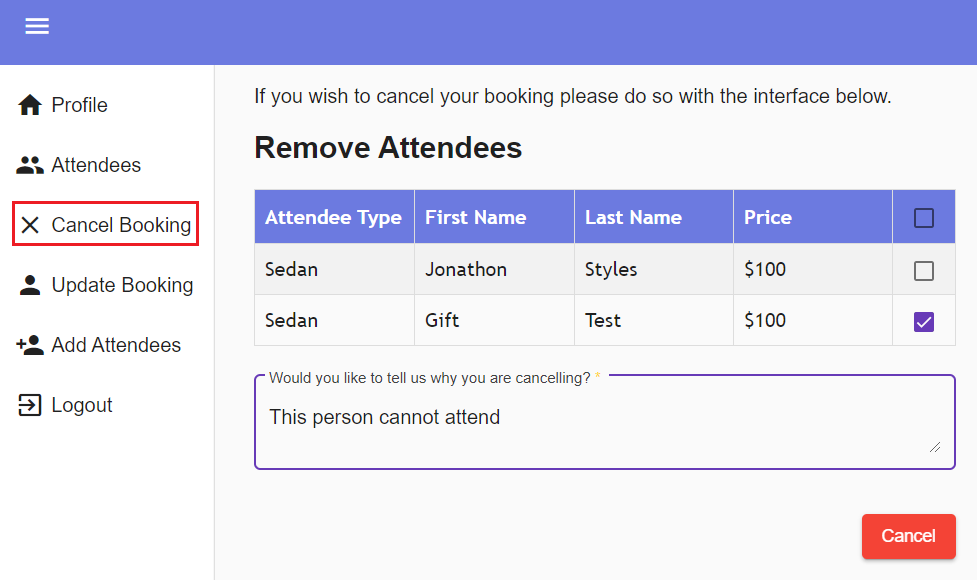
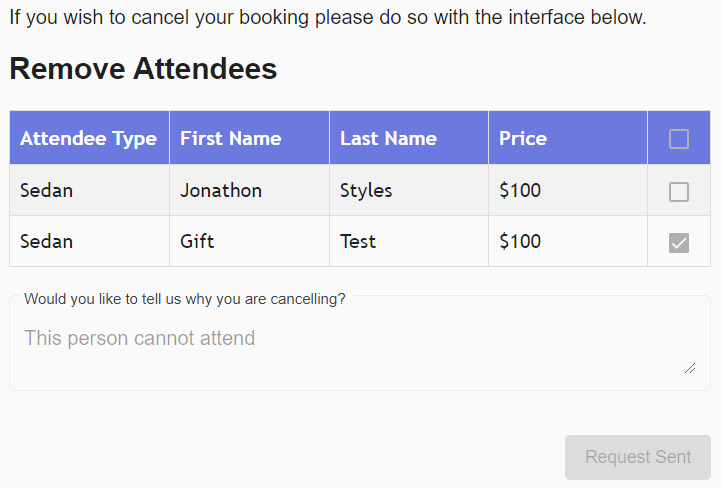
4. If the user wants to cancel their booking they can select some or all of the attendees in the booking as well as give a reason for canceling.
5. When the booking is canceled a confirmation email will be sent to the email address of the booker.
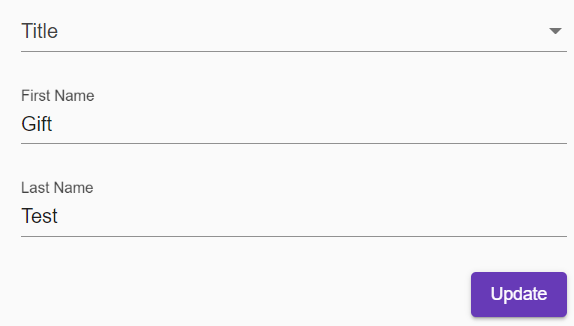
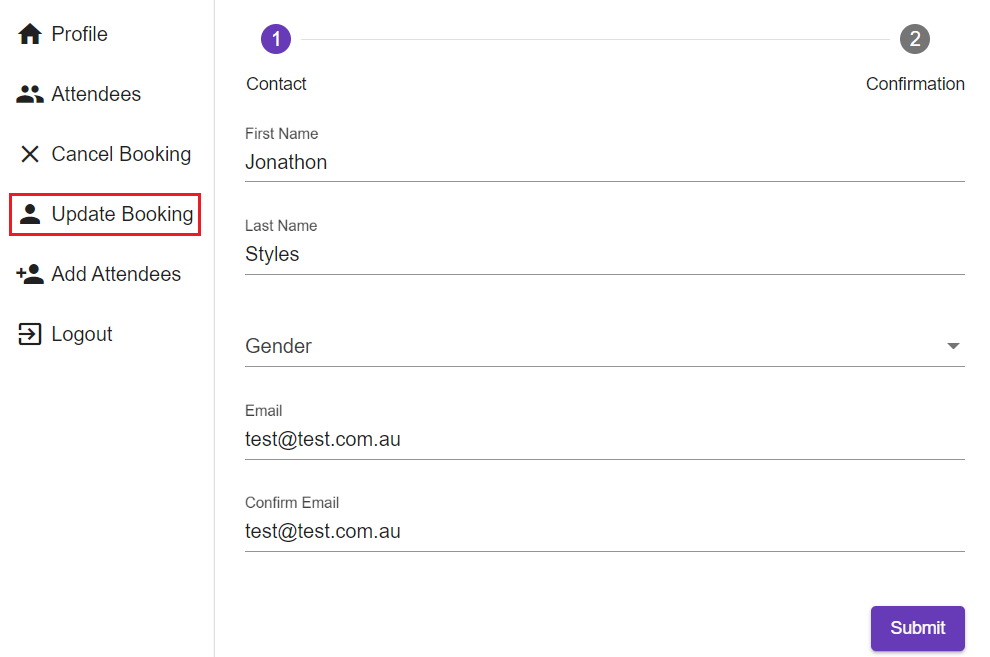
| 6. | If the user wants to update their booking details they can do so here. This particular page has been set up with just the registration fields and a confirmation page. It can, if need be set up with additional pages as well. |
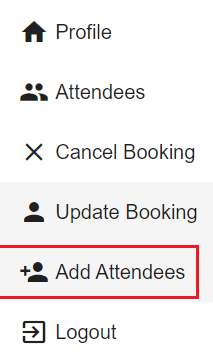
7. The user can if need be add an Attendee to the booking if this option is available.
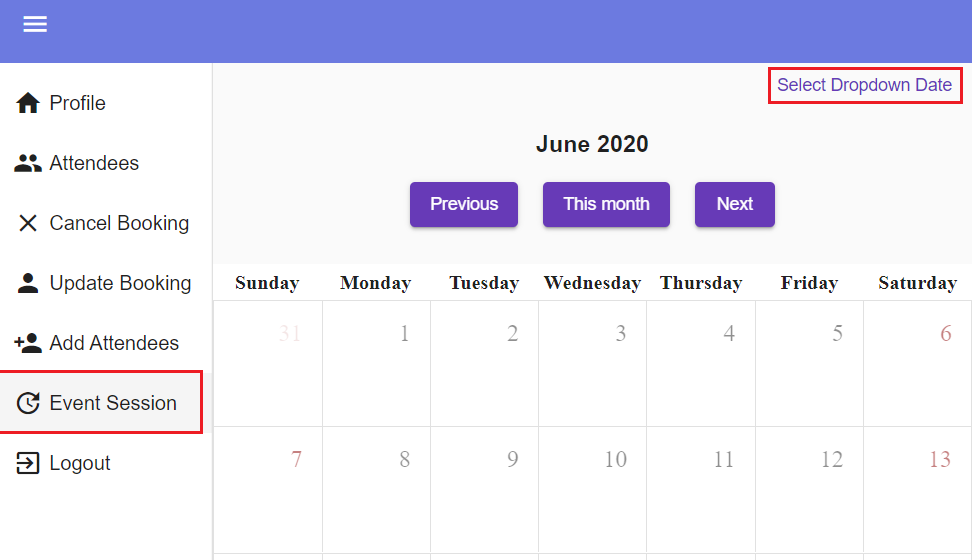
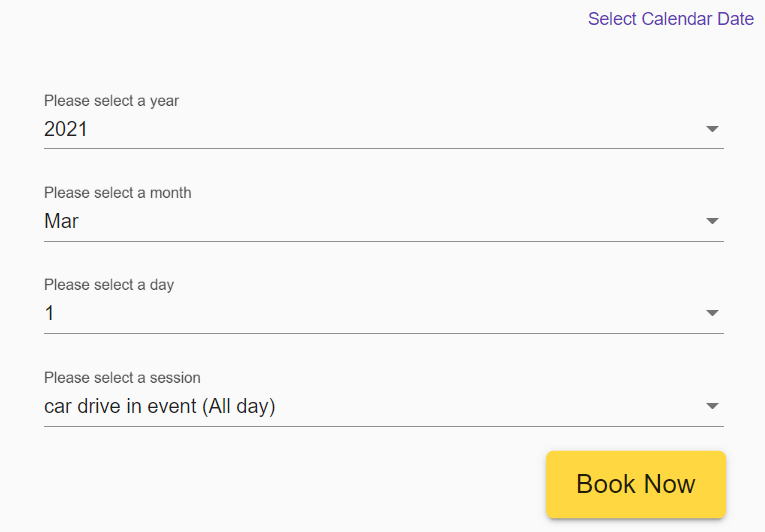
8. When logged in to a booking with an Event Session you can also change the date of the Event Session.
9. When the user is finished they can then select the Logout button to return to the initial login interface.