thankQ Help
The following are the steps to import new contacts with payment history into thankQ. Records will be created for the contacts and monies loaded into a new batch for processing.
A spreadsheet with two sheets is required and a supporter id created to link the contact to the payments.
First Sheet

Second Sheet

1.Click Create on the tool bar of the Data Import form
2.Click the ellipse on the Excel Input File line

3.Locate and select the import file
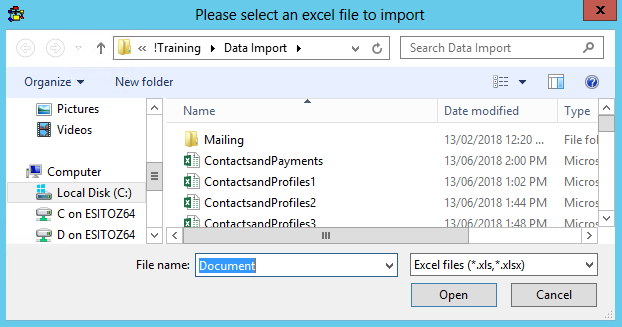
4.Enter an Import Description
5.Select a Configuration if applicable

6.Double click on A Cell above Ownercode to map to the thankQ field
7.Select Contacts from the drop down
8.Click O to locate fields starting with O
9.Double click on Ownercode
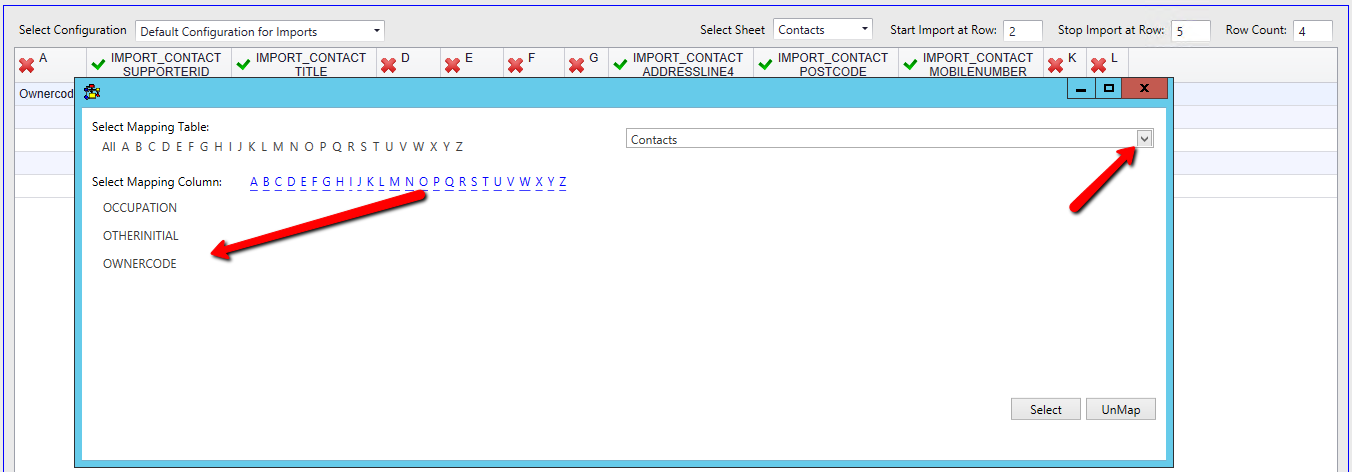
10.Continue to map all the fields
11.Select the second excel sheet and map the fields with an X

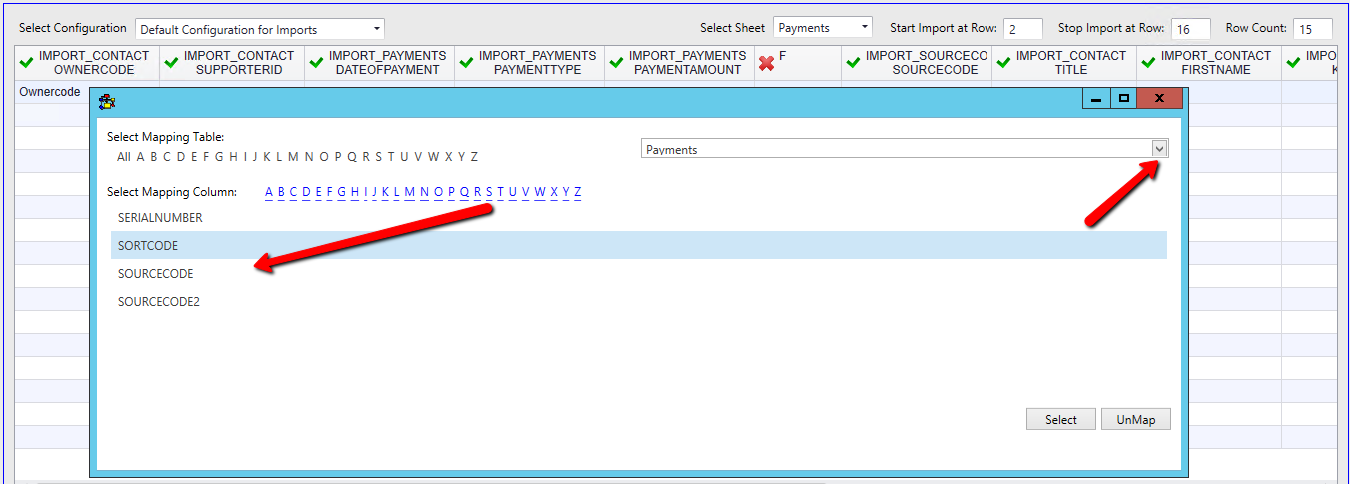
The Source Code has mapped to the Source Code table instead of the Payments table
12.Double click on the Source Code header cell
13.Click UnMap
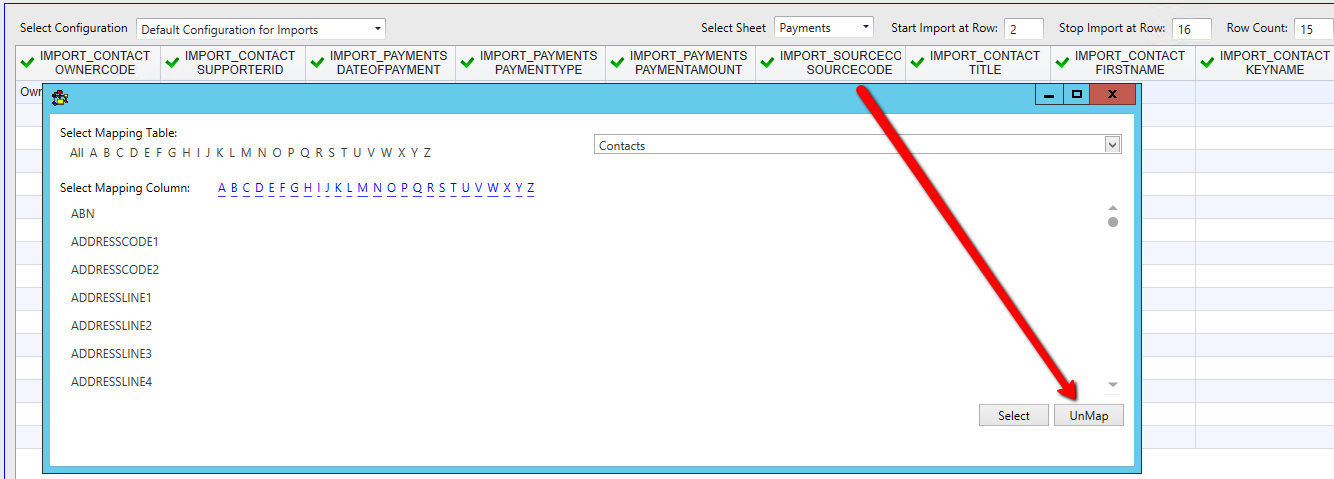
14.Double click on the Source Code header
15.Select Payments from the drop down
16.Click S on the Select Mapping Column row
17.Double click on SourceCode
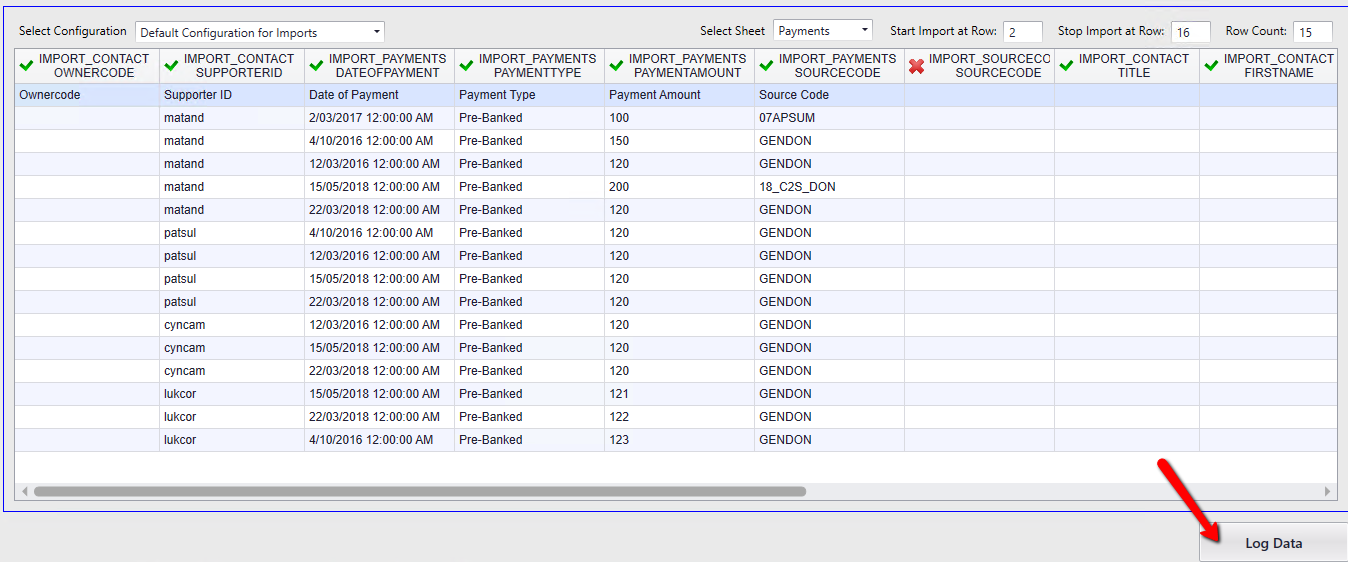
18.Click Log Data at the bottom right
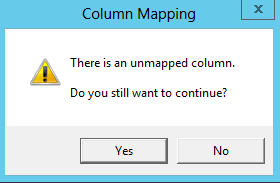
19.Click Yes if this message appears and you can proceed with unmapped fields
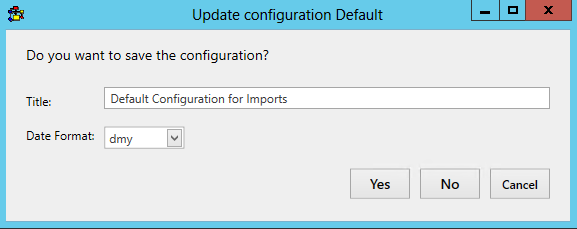
20.Click Yes to save the configuration or No to continue
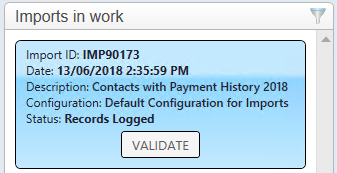
21.Click Validate on the import under Imports in work
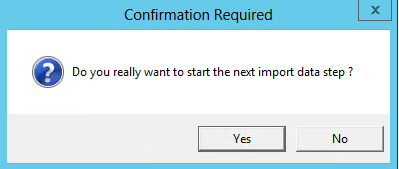
22.Click Yes to continue
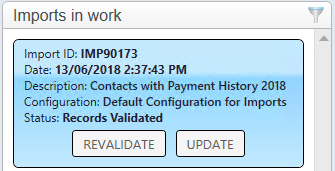
23.Click Update if there are no suspect duplicates or validation errors
24.Click Yes to continue

25.Click Import
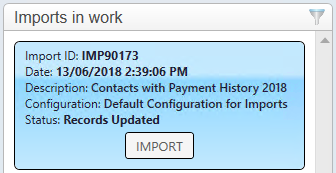
26.Click Yes to continue

If there are no errors the import can be found under the Recently Completed window
