thankQ Help
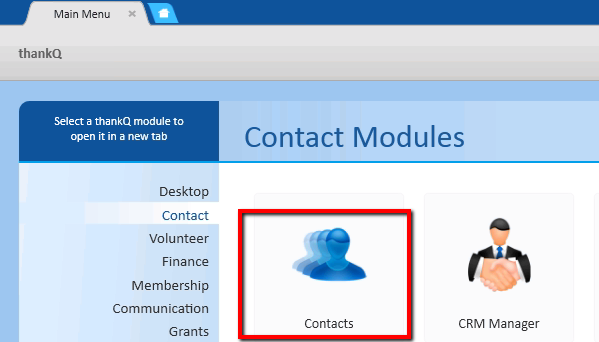
1.Click on the All Contacts button under the Contact module
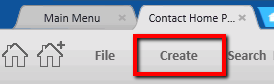
2.Click on New Contact on the Contact Home Page tab
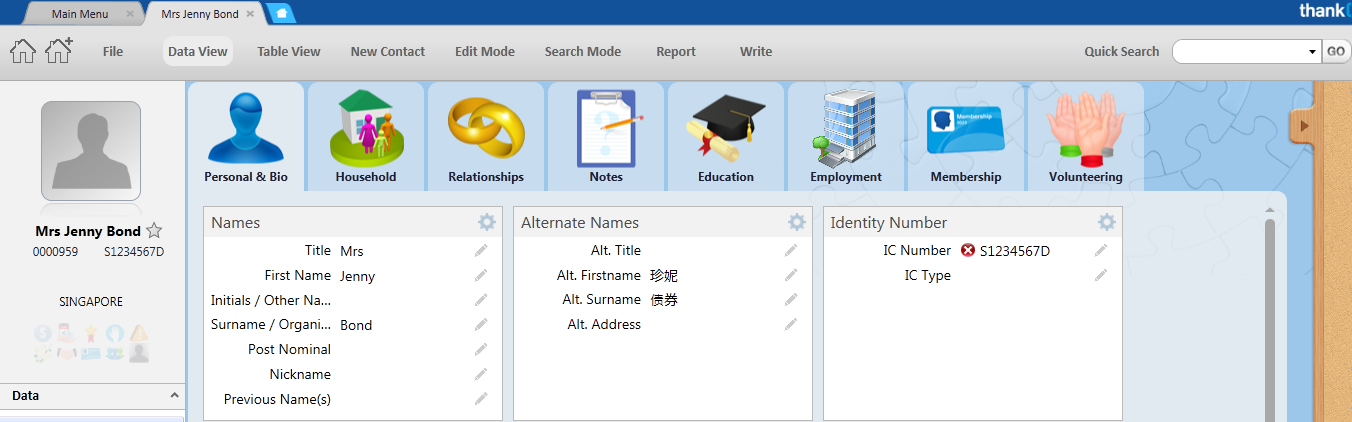
The contact form is broken into panels for Names, Addresses, Telephone Numbers, Details, Salutations, Preferences, Contact Source, Relationship Management, Electoral Divisions, Other Details
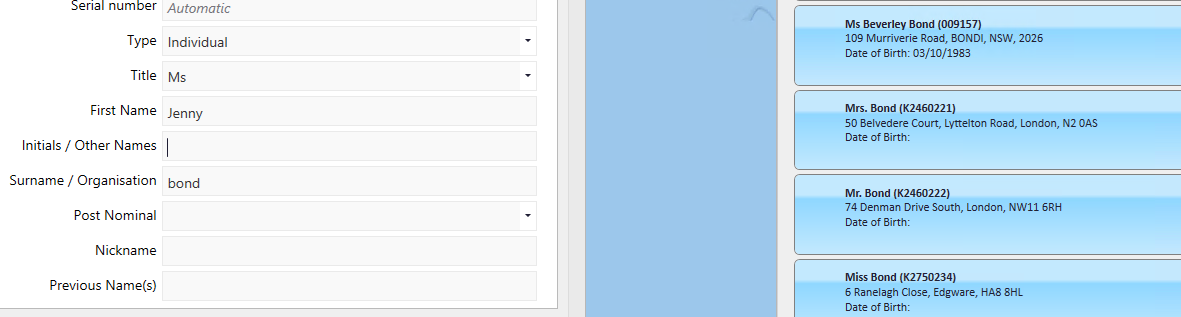
3.Enter an IC Number

4.Select the Type of contact eg Individual or Organisation from the drop down
5.Select the Title from the drop down
6.Enter the First Name, press the tab key
7.Enter Initials or Other Names, press the tab key
8.Enter the Surname or Organisation name, press the tab key
Once clicked out of field or the tab key is pressed a list of possible duplicates will appear on the right
9.Enter any Alternate Names. Character types can be entered from the keyboard or copied and pasted into the fields
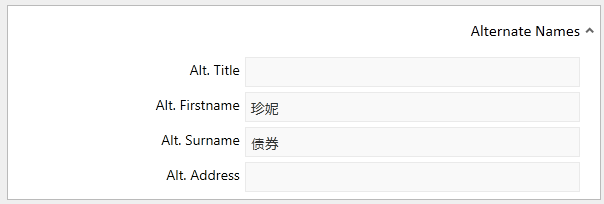
Alternate Names will only appear if the Lookup Value is set to Yes under Contact Form Admin / Show Alternative Name Panel

10.Continue entering any information known moving down and selecting Address Type and address details
11.Enter Telephone numbers
12.Select Position, Occupation, Date of Birth from drop downs
13.Enter any Preferences eg Preferred Method, Do Not Mail
14.Enter Contact Source eg Primary Category, Source
Primary Categories Primary Categories help identify the different types of contacts in thankQ. Every contact must have a Primary Category. Only one Primary Category can be assigned to a contact. Examples of Primary Categories include Supporter, Member, Volunteer, Business, School or Church. Your thankQ Administrator can create further Primary Categories to suit the needs of your organisation. When a contact is created, a default Primary Category will be entered automatically. To change this, click on the Primary Category drop down arrow and choose a different value from the list. |
15.Continue through the form and enter any known information
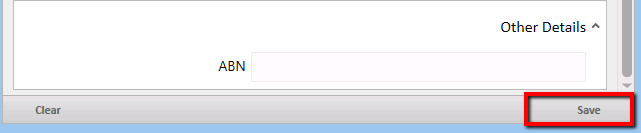
16.Click Save at the bottom
If this contact has a relationship or association with another contact on the database you can relate them now or if you are not sure you can relate them once they are on the database.
17.Click Yes

18.Select a contact from the list (we will cover searching later in the training), click OK

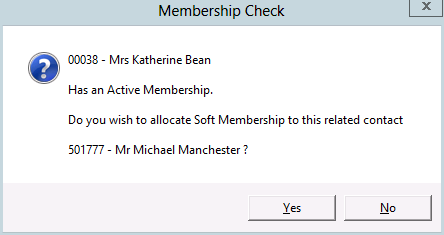
19.Click Yes to confirm

20.Select Cousin from the drop down. Make sure you read the Relationship message.

21.If a message appears similar to below click No if you do not want these details to appear on the new contacts record
The Contact record is created with a named tab. Tabs can be closed by clicking the x on the relevant tab.