thankQ Help
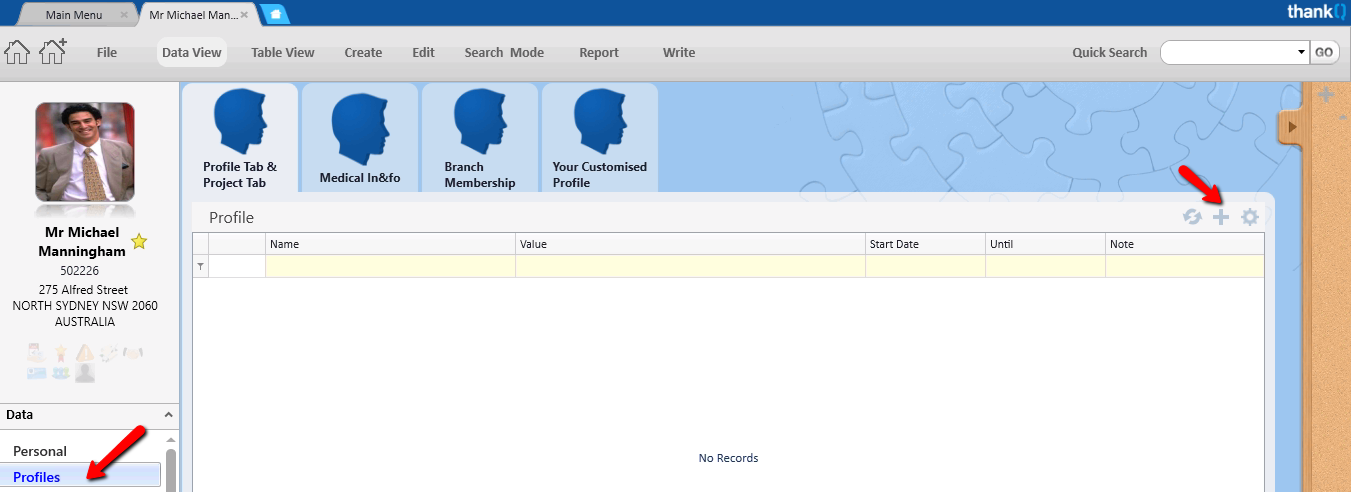
1.Click on the contact’s Profile Tab under Profiles option menu
2.Click on the 
 |
The following information can be included:
Parameter Name |
the type of characteristic you wish to record for the contact e.g. classification, country of origin, religion. Select from the drop down list. |
Parameter Value |
the value for that type of characteristic e.g. Country of Origin: Australia, New Zealand or United Kingdom. Select a value from the Pick List or type a value directly into the Value field. |
Priority |
priority for the profile e.g. urgent, high, normal, low |
Date From and Date To |
if the profile is only valid for a certain period of time, set a date range by entering a date into the Date From and Date To text boxes. Use the Pick List button to select the date from a calendar |
Notes |
further information regarding the profile |
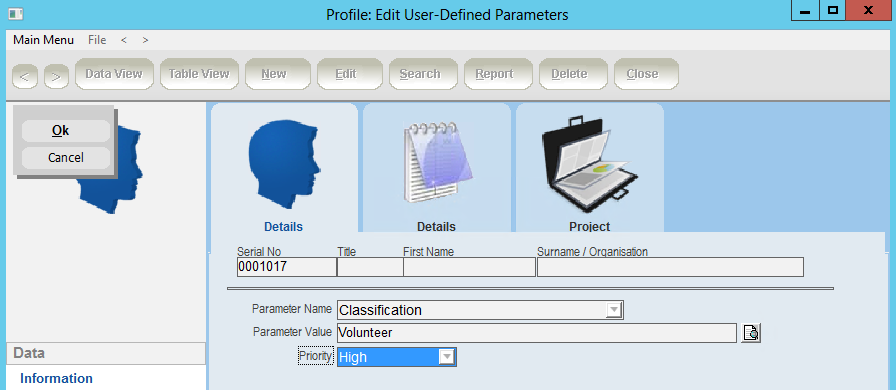
3.Select a Parameter Name from the drop down list
Your thankQ Administrator will be able to add additional profile names to the drop down list to suit your organisations requirements.
4.In the Parameter Value field, click on the pick list button and select a value from the list. If the required value is not on the pick list, it can be entered directly into the Parameter Value field.
5.The Priority field will default to Normal. Changing the Priority will make the profile appear in a different colour so it stands out amongst the others.
Urgent = Bold, High = Red, Normal = Black, Low = Green
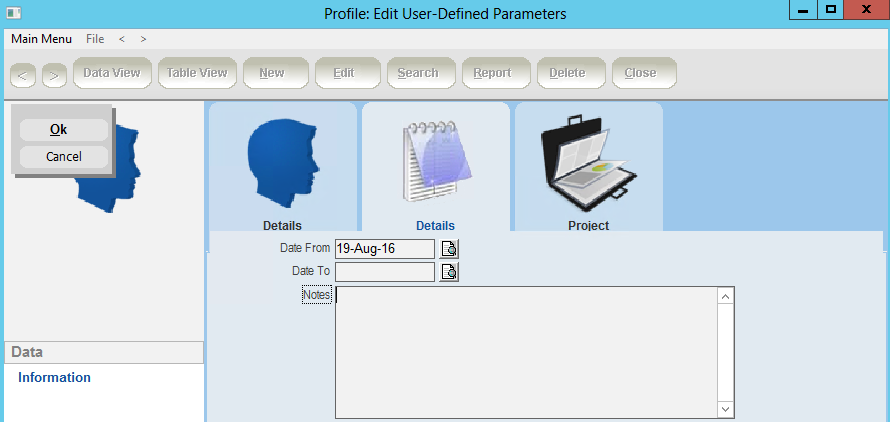
6.Click the Details tab. The valid date and Notes information can be found under this tab.
Some profiles will only be valid for a certain period of time. For example
•Employees – The Date From field could be used to record an employee’s start date. When they leave, their last working day can be recorded in the Date To field. The relationship could also be changed to Ex-Employee/Ex-Employer. If these do not exist the thankQ Administrator can create these under Lookup Values.
•Courses Attended – Use the Date From and Date To fields to record the course dates.
The Date From field will default to today’s date. This can be changed if necessary.
Dates can be entered directly into the Date From and Date To fields. Alternatively, use the Pick List button to select the date from a calendar.
If the profile does not have a date range, then leave the Date To field blank.
The Notes field can be used to add additional information.
7.Click OK to create the Profile
8.Close the Profile form by clicking Close or the cross  in the top right hand corner
The new profile will appear on the Profile tab. If not click the Refresh button.
