thankQ Help
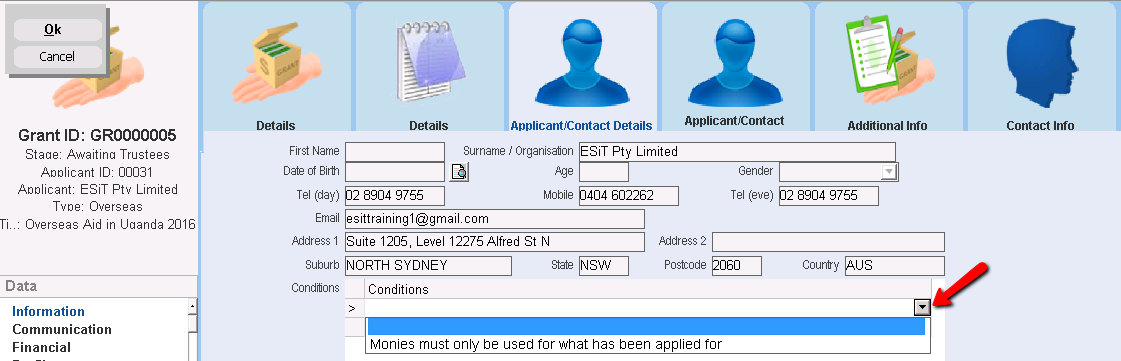
Further details about the person(s) or organisation that is receiving the grant can be entered in the Applicant/Contact Details tab.
The grant Applicant contact details are entered automatically if you have selected the Applicant ID.
The Contacts table is used to record contacts that you will be dealing with regarding the grant application. For example, if this was a family grant requesting funds to assist with children’s school fees, those children can be entered and then selected in the Payment Schedule showing that the funds being paid are for them.
If the grant is for a single Applicant only, this step is not required.
1.Go to the Contacts sublist and right click to open the options and select Add a Contact (or Add a Related Contact).
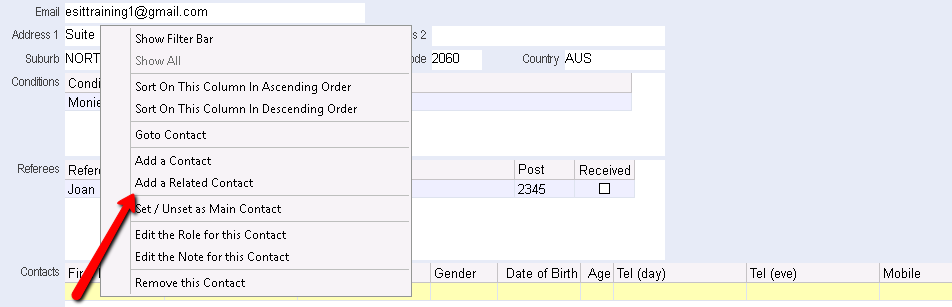
2.Select the relevant contact and click OK.
If there is more than one contact to choose from, a list of contacts will appear. The option for related contacts will bring up the list of contacts related to the applicant only.
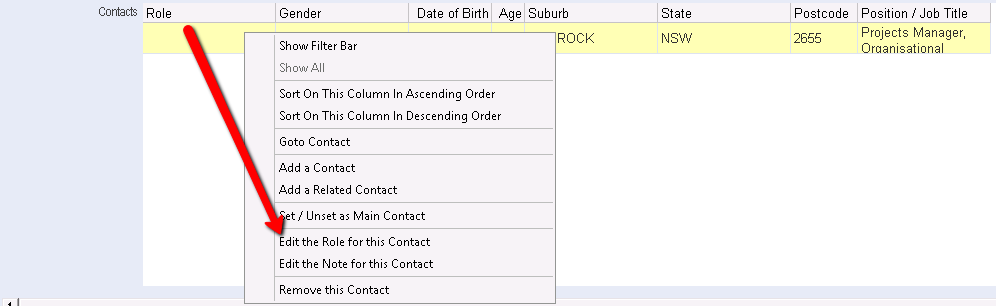
The contacts selected will now appear in the contacts table. Fields from the contacts form such as position, Gender, Date of Birth, Suburb etc will also appear in this table automatically. Further information can be found under the Contact Info tab.
3.Information can be entered in the Role field for each contact by right clicking on the relevant contact record and selecting Edit Role for this Contact.
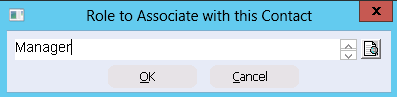
4.Enter a name for the role or select a role from the pick list. Click OK.
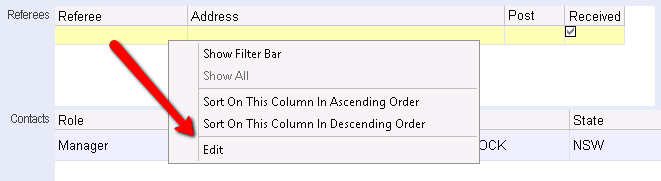
5.If you need to record Referees, right click in the Referees sublist and select Edit. You can type their name, address and postcode directly into the Referees table.

6.If any Conditions were setup under Lookup Values, these can be selected by clicking on the first row and then from the drop down select a condition.