thankQ Help
Your event may have a number of parts. For example your event may have workshops or you may have a cocktail party before your dinner.
Using Sessions, you are able to segment your event into different parts.
You can book individual contacts onto different sessions, depending on what they have decided to attend.
You may also want to add a separate cost to each Session on top of the basic ticket price.
Extra costs will be added to the attendees booking total and payments will be processed through the finance module.
1.On the Sessions tab under the Information menu, right-click in the window and select Add Session
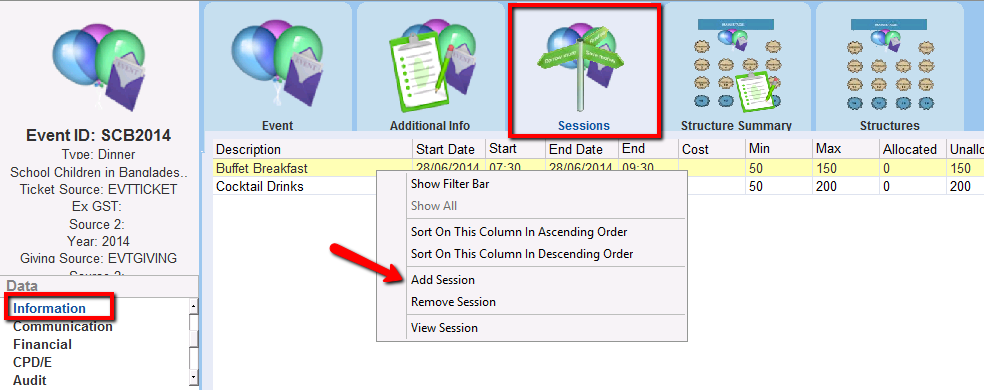
The Event Session Details form will appear.
2.A Session ID will be automatically assigned.
3.Enter the details for the session, Click OK
Type |
select the Type of Session |
Description |
a description for the session e.g. cocktail party, leaders |
Cost |
the cost of the session which is added to the ticket price, if applicable |
Start Date and End Date |
the date of the session will automatically default to the date of the event. If necessary, edit these dates. Click the Pick List button to select the start date from a calendar |
Start Time and End Time |
the start and end time of the session. Enter the start time and end time in 24-hour time format |
Minimum Places |
the attendance requirement for the session. For example, 50 people are needed for the session to go ahead |
Maximum Places |
the maximum number of people allowed at the session. For example, the room has a capacity of 150 people |
Places Filled |
this field will be calculated automatically as people are booked on to a session |
Notes |
any additional information about this session |

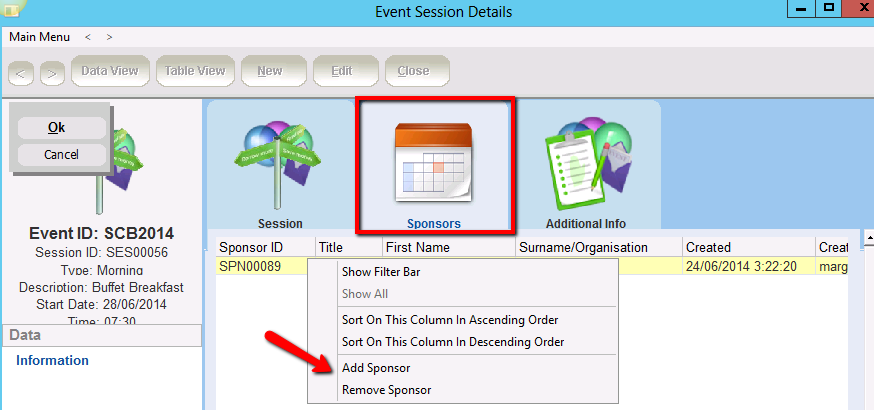
4.Sponsors tab – Right click to add a sponsor to this Session. You can only select a sponsor for each session from the list of sponsors for the whole event.
These sponsors are initially added under the sponsorships tab on the main Event Details form.
If there is more than one sponsor for the event, a list will appear for you to select from.
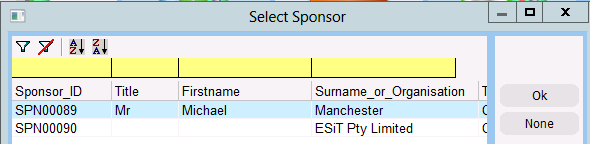
If there is only one sponsor available, their details will automatically populate on the sponsors tab
5.Additional Info tab – Right click to add any additional information for that particular session e.g Art work detail.
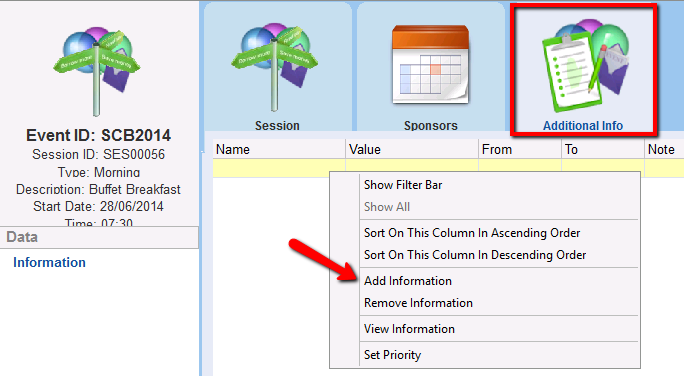
The Session Additional Information Details form will appear.
6.Enter or click on the Pick List to select the Name
7.Enter or click on the Pick List to select the Value
8.Select Date From and Date To
9.Enter any Notes
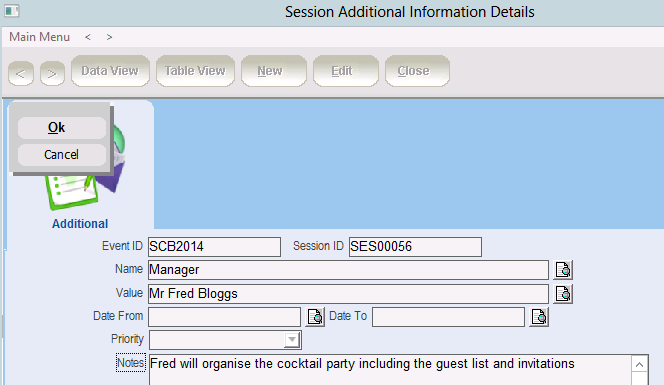
10.Click OK to save and Close to return to the Event Session Details form
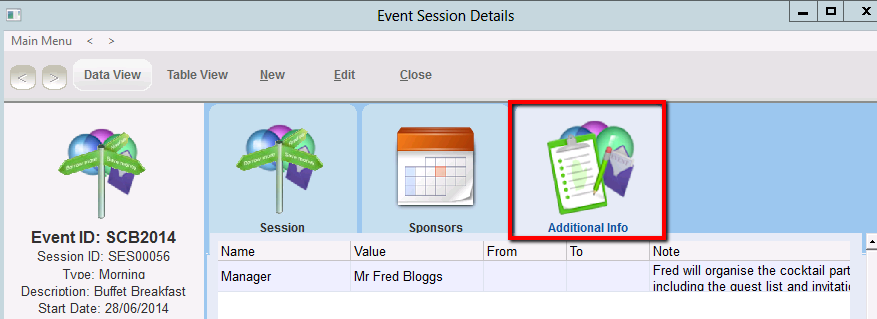
11.Close the Event Session Details form by clicking Close or the cross (x) in the top right hand corner.
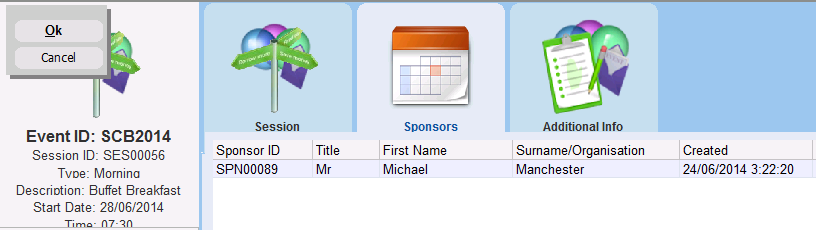
The new entry will appear on the Sessions tab.
