thankQ Help
| 1. | The donation template already has the Contact Details in it, configure these as you would for a registration page (see Setup a Registration Page for more details). A donation page is effectively already a registration page with a financial component added on top of it, as a result Contact Details are a requirement for the donation page so do not remove it from the Page Content tab. The donation component should already be in the template you have just created, however if it is not then you will need to add the Page Stepper and then add the donation page to that stepper as demonstrated below: |
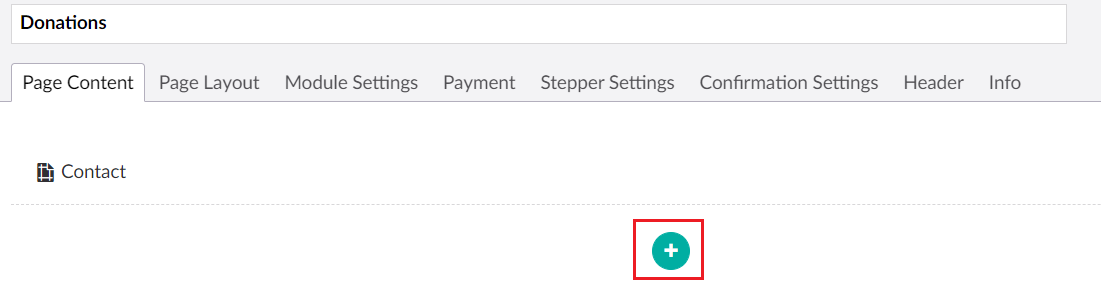
2. Give your step a name and then add the Donation Component.
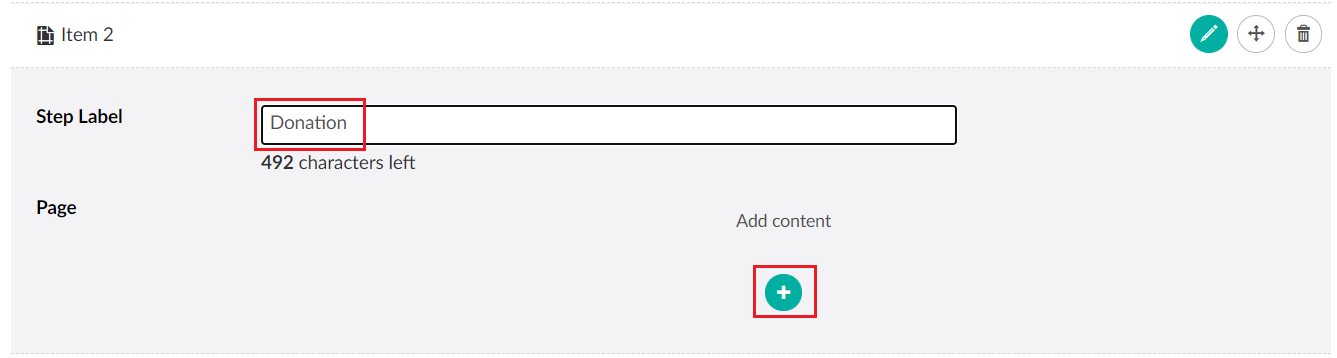
3. Select Donation
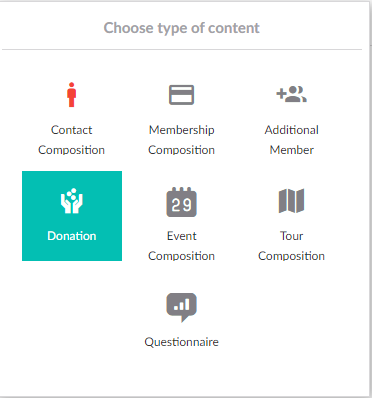
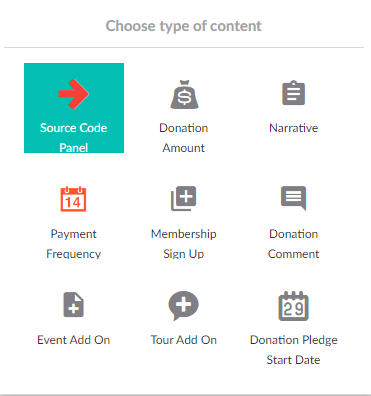
4. Start adding content to the Donation Form.
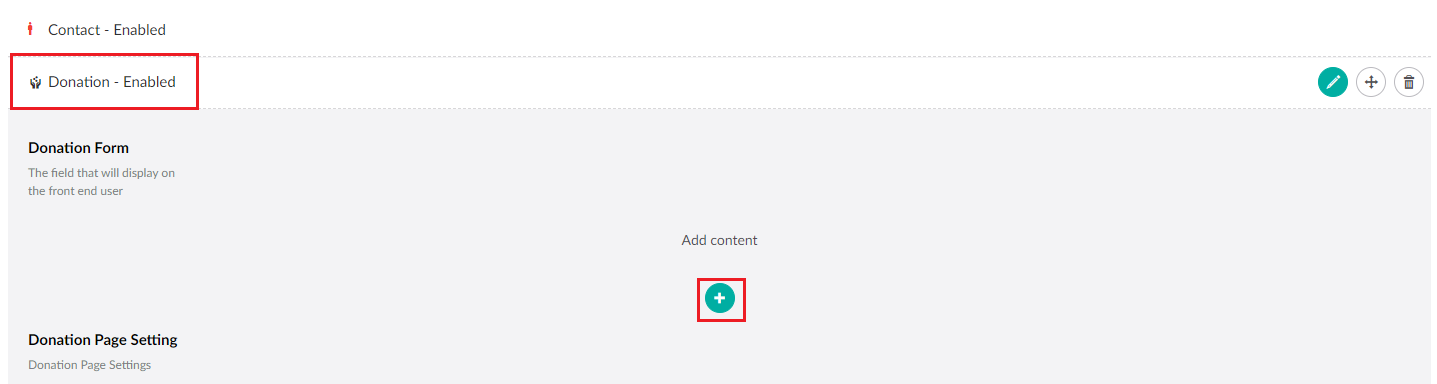
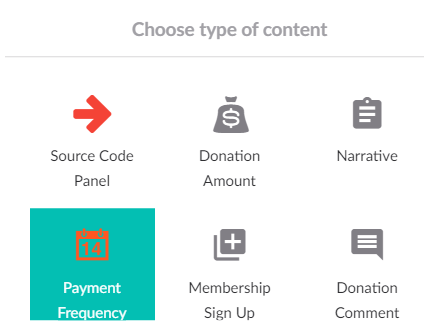
| 5. | From here you can add various forms of content. Start by selecting the Source Code Panel if it has not already appeared in your template. Note: Source Code is required for your donation page. |
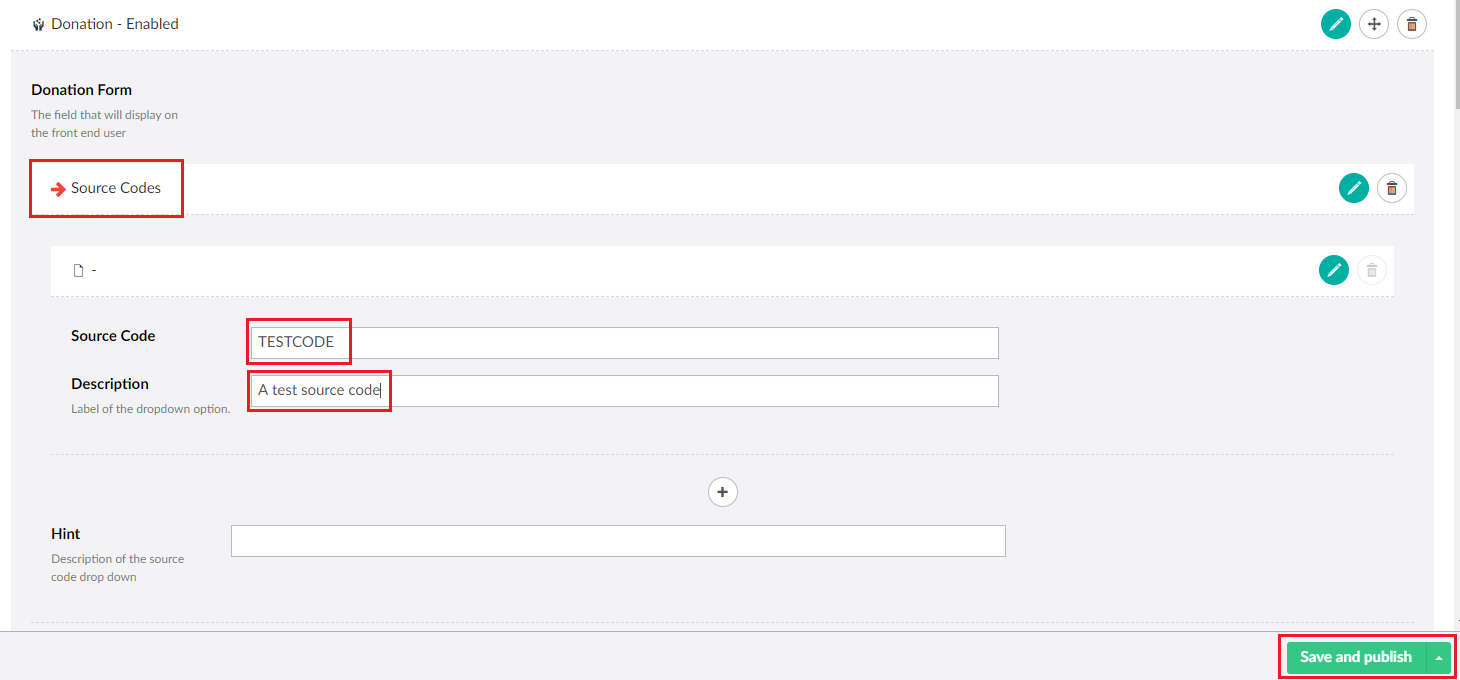
| 6. | Configure the Source Code as follows. Remember to use the + icon if you want to create more Source Codes. If you only have one source code then this part of the page will not be displayed for users and all of their payments will be allocated to that single source by default. |
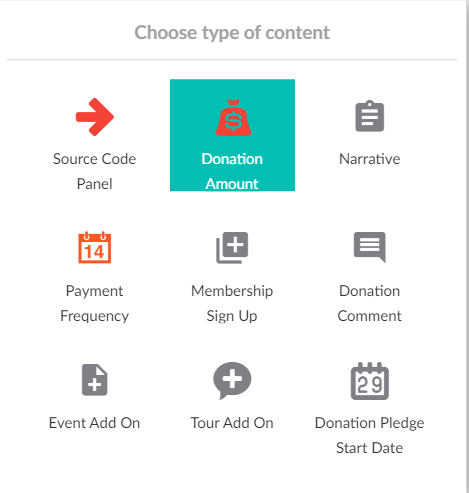
| 7. | When you have finished with Source Codes you should then add the Donation Amount content, if it has not appeared in your template. Donation Amount is required for your donation page. |
| 8. | Enter anything you want into the Donation Amount field which can give the user a suggestion on how much to donate. To add a predetermined amount click the + icon to add a new label and use the pencil button to save that change. |
| 9. | When you have finished with Donation Amount you should then add the Payment Frequency content (if it does not appear in your template) to edit the options for when a donor can make their payments. Payment Frequency is required for your donation page. |
| 10. | Tick or untick the frequencies that are relevant. |
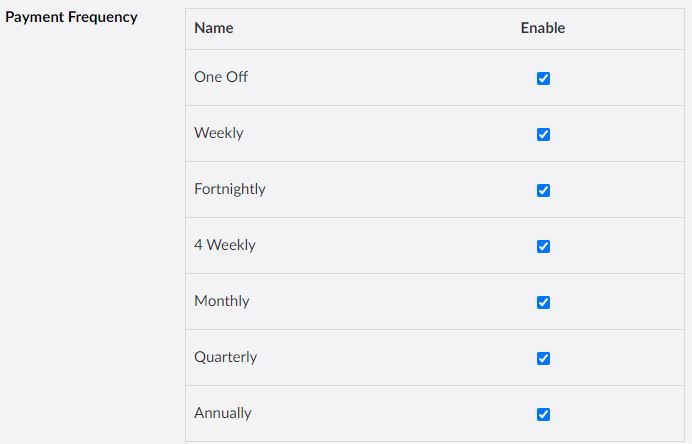
| Note that you can also change the order that these frequencies will appear in the dropdown if you click and drag the payment frequency options: |

| 11. | Optionally you can create a new narrative for your donation as follows: |
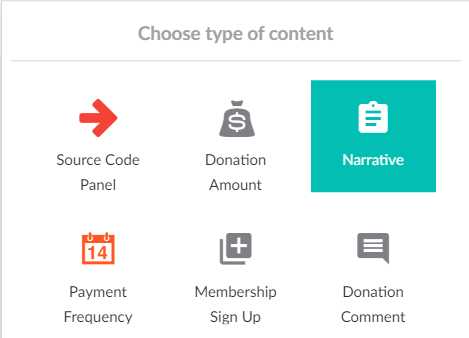
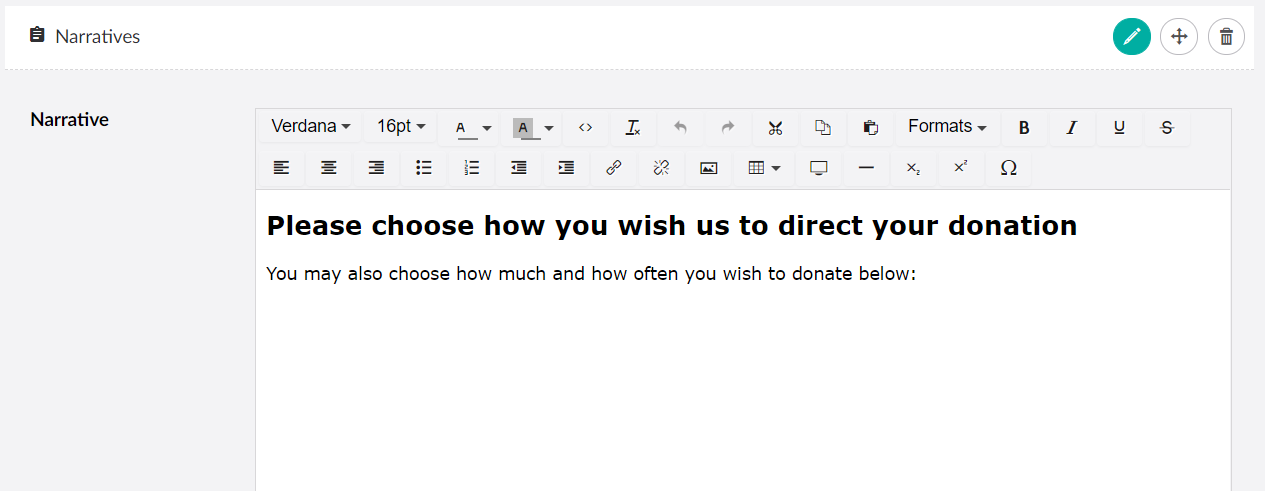
| 12. | Click on Narrative to open and edit the text. |
| 13. | You may optionally also create a form for users to make a comment about their donation as follows: |
| 14. | Edit the label for the comment and if you require a comment to be left then tick Mandatory and enter a validation message. |

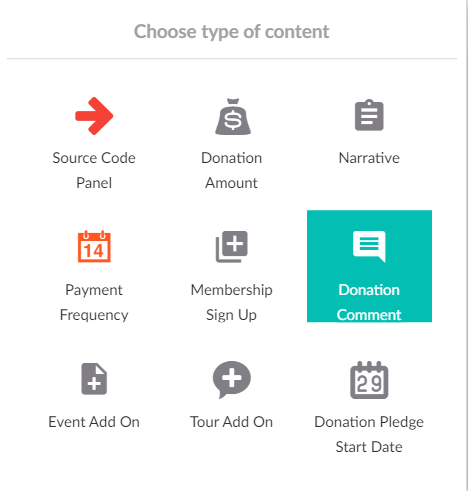
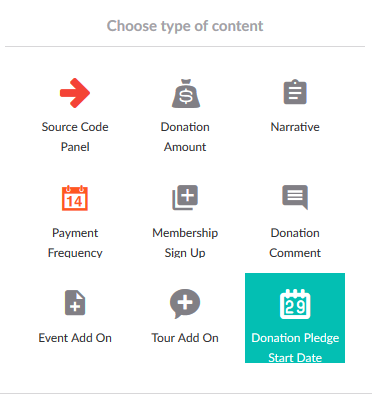
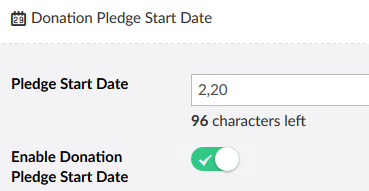
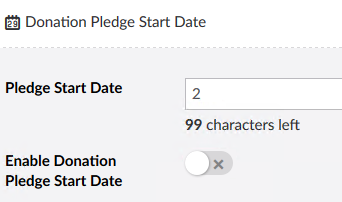
| 15. | Click the + to select the Donation Pledge Start Date (if you are accepting regular giving and you have specific days of the month in which you run these pledges). |
| 16. | If you have different days of the month that the user can start their pledge then separate each day with a comma. For example 2,20 will allow a pledge to be processed on either the 2nd or 20th of a month. |
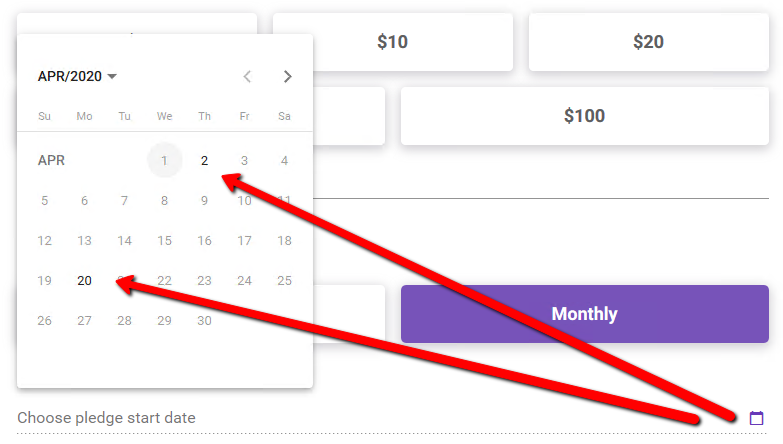
This will allow the customer to click on the calendar icon and only select the days you have nominated.
| If you wish to start the pledge on a particular day of the month but do not want to display this, you can still set the day and not enable the start date. In the following example the next instalment will always start on the 2nd of the next month. |
| 17. | Once you have added the content you have a few additional options for the donation form as follows: |
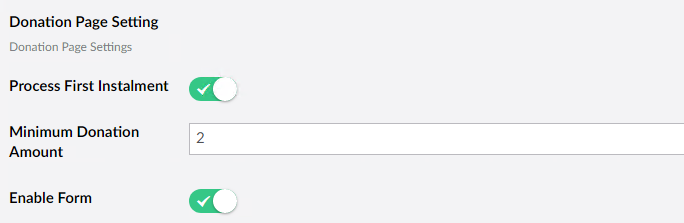
| 18. | Click the Process First Instalment to disable if you do not wish to use the donation amount paid on the web as the first instalment payment if regular giving is selected. If you do not process the First Instalment amount this will be deemed as a donation amount. The first instalment will need to be loaded into a batch with the Load Due Payments workflow, before the instalment is paid. |
| 19. | Enter the Minimum Donation Amount if you want to put a floor on the amount users can pay. |
| 20. | Click Enable Form to disable or enable the donation form. |
| 21. | Click Save and publish when you are finished. |