thankQ Help
Source Code 2s are not linked to other codes directly.
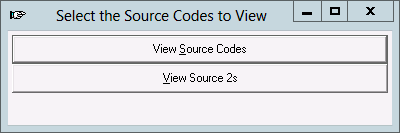
1.Click on the Source Codes icon under the Finance module.
2.Click on View Source 2s.
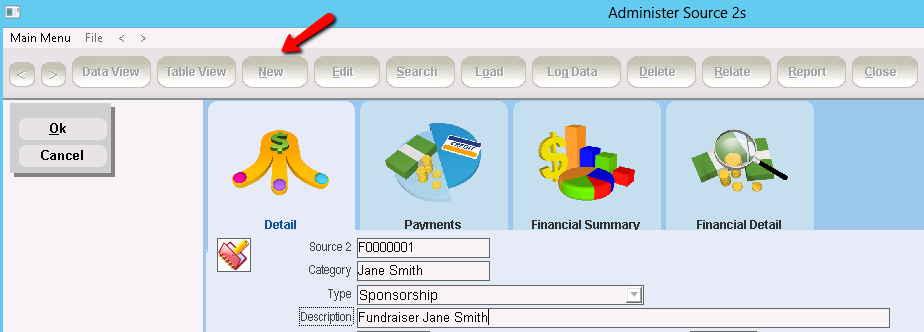
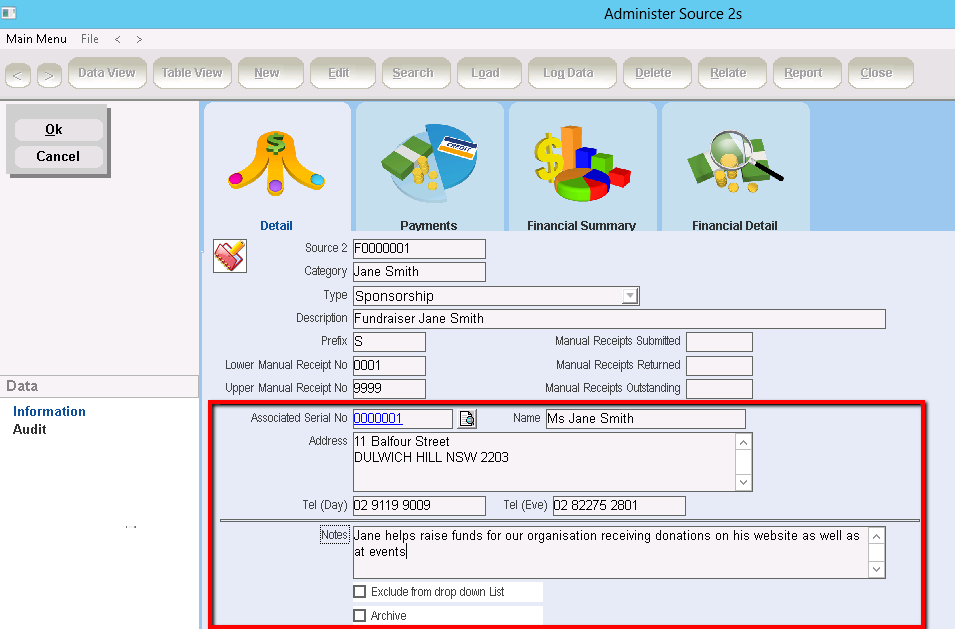
3.Click New on the tool bar.
4.Enter a Name, Category, Type and Description for the source code.
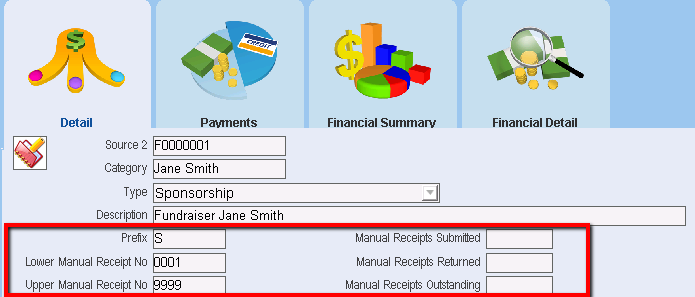
5.The Source Code 2 can automatically link to payments using Manual Receipt numbers.
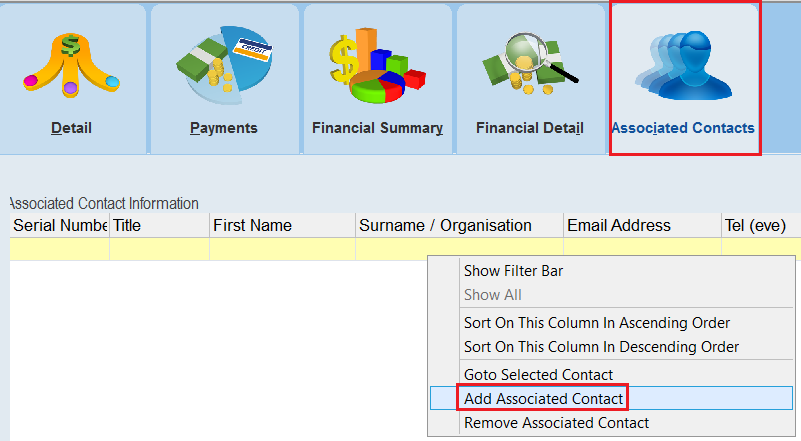
6.You can also associate Source Code 2 to a Contact by selecting the contact’s serial number from the Associated Serial No. Pick List.
 |
 |
7.You can also add any other relevant Notes to your Source Code 2.
|
It’s important to remember Source Code 2 may be on your system for a long time. Use the Notes field to explain why the code was set up and how it is to be used. |

8.Click on OK when you have finished.
Assign a Default Source Code 2 to a Contact
You can allocate an individual Contact with a Default Source Code 2.
9.In the Main menu click on the Contact.
10.When the Contact Details form opens, find the contact that you wish to assign a default Source Code 2 to.
11.Click on the Payment Summary Tab.
12.Click the pencil icon on the tool bar and enter a Default Source 2.
