thankQ Help
Before setting this up make sure that you have created Tours in thankQ and that you have used the Web Sync option to upload them to the web. Once you have done this you can create the Tour List on the CMS side as follows:
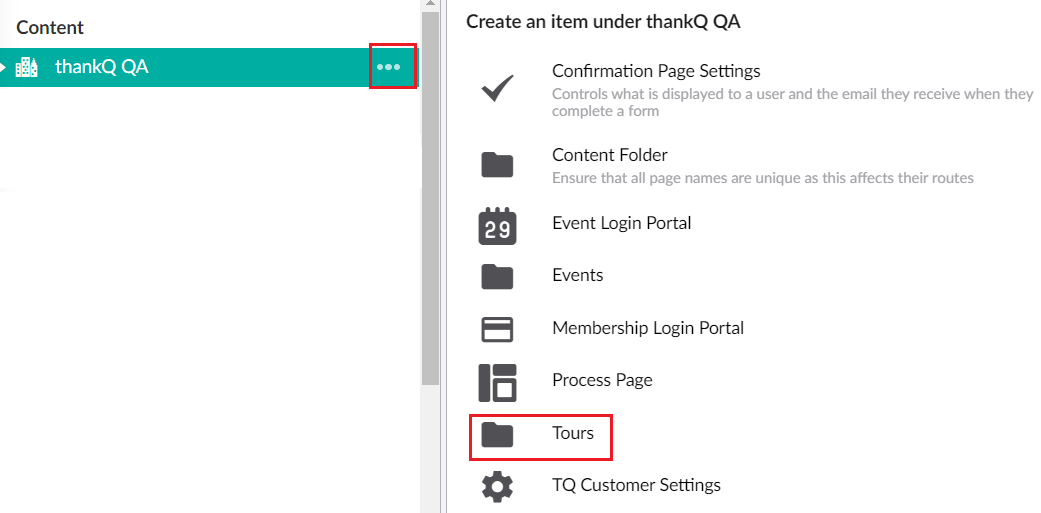
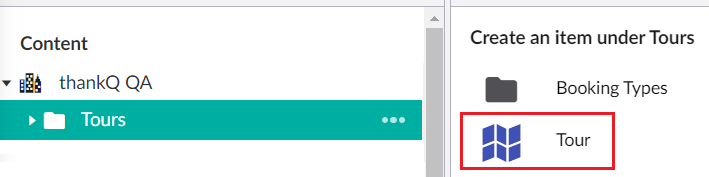
1. Select your company code and select the three little dots on the right and then select Tours.
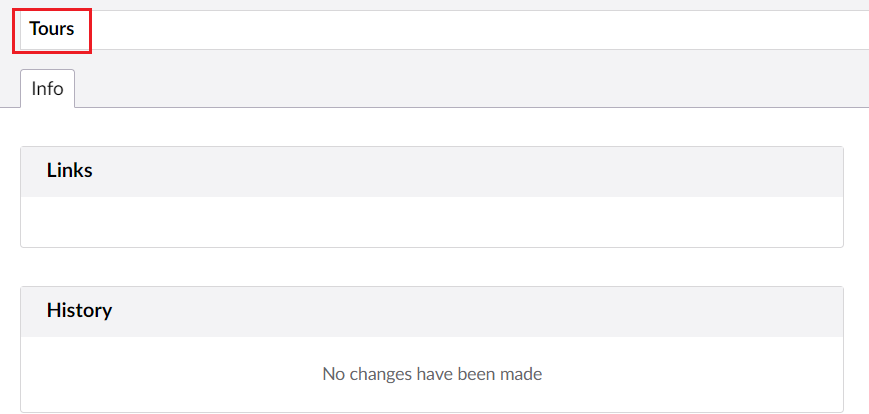
2. This will create a folder that tours can be added to.
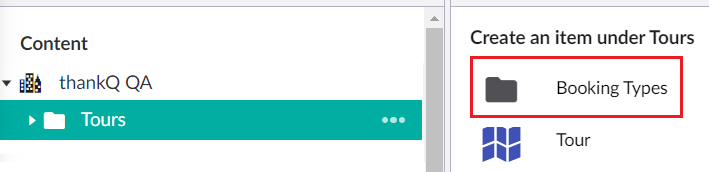
3. Before adding Tours themselves you will first need to create a folder for the Booking Types within this folder. To do this select the Tours Folder and then add a Booking Types folder.
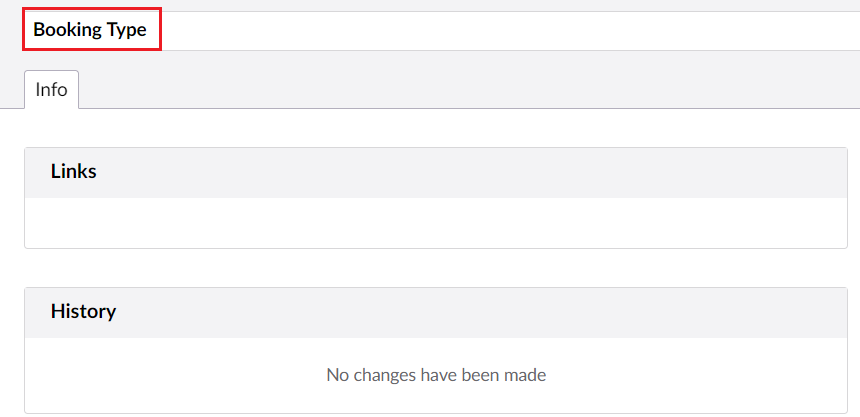
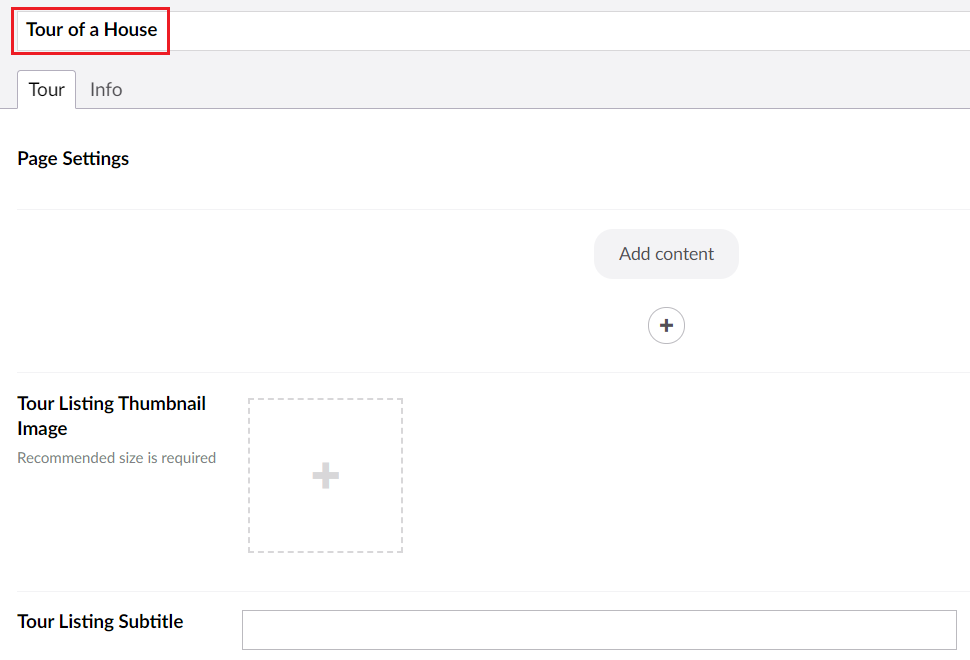
4. Don't forget to give this folder a name and to Save and Publish the changes.
Note currently it is not possible for thankQ Web users to add Booking Types to this folder. This is currently only possible by thankQ staff. Please contact thankQ to add Booking Types to this folder. This issue will be resolved in a later release of thankQ Web.
5. To add Tours select the Tours Folder and then add a Tour.
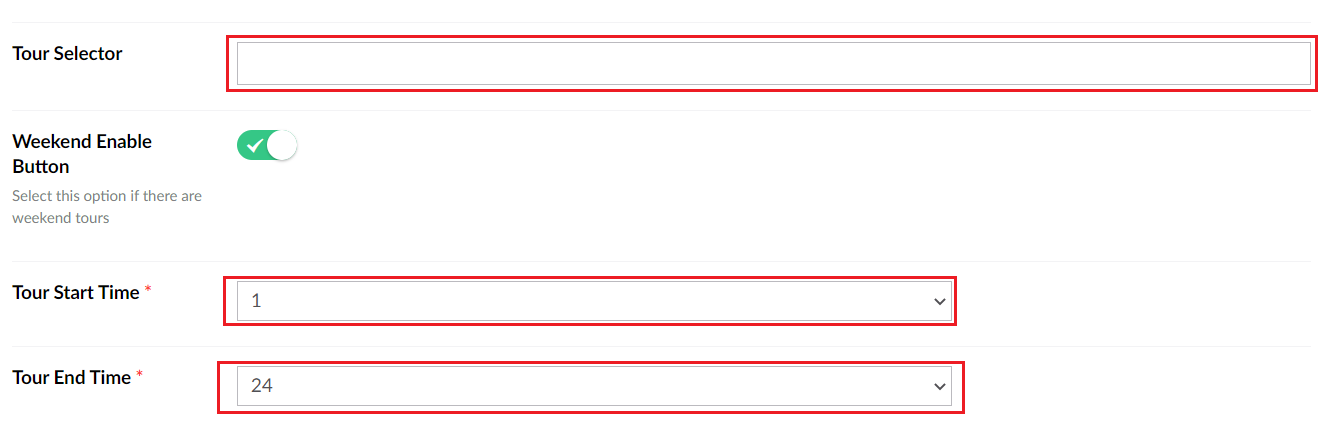
6. Give the Tour a name and then add details to it including the Start Time, End Time and Tour Selector. Note if the Tour Selector does not display any tours, use the Save and publish button and then try selecting it again.
7. To see what other details are available to add to a tour see Add Tour Details to a Tour.