thankQ Help
You can add two main pages for an event. These are the Tour Description Page and the Tour Booking Type Nested Content. Detailed descriptions on how to set these up is provided below.
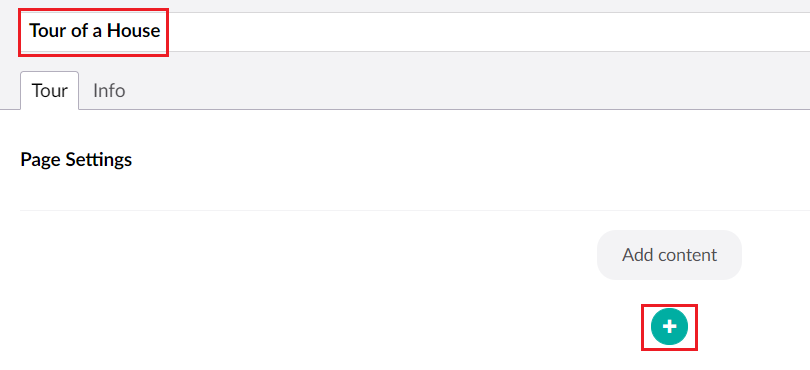
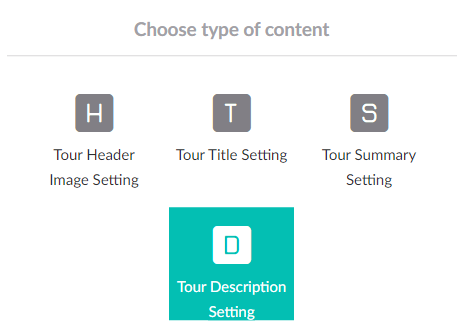
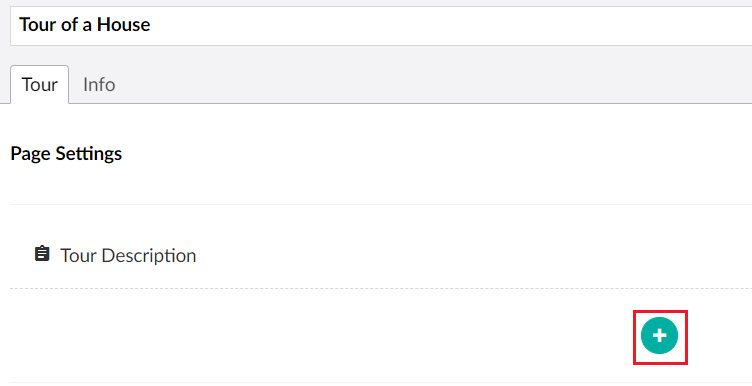
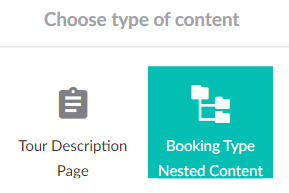
1. Open the Tour and use the + button to add details to it.
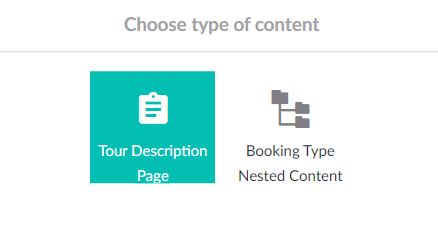
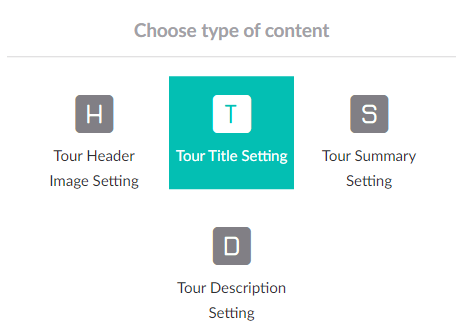
2. Select Tour Description Page.
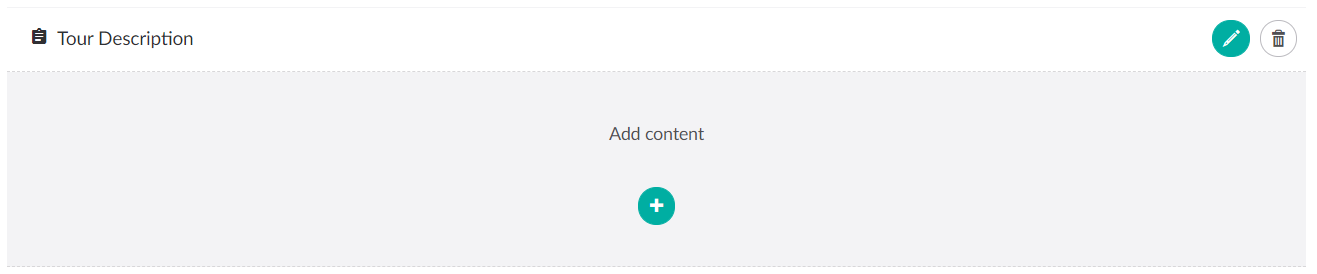
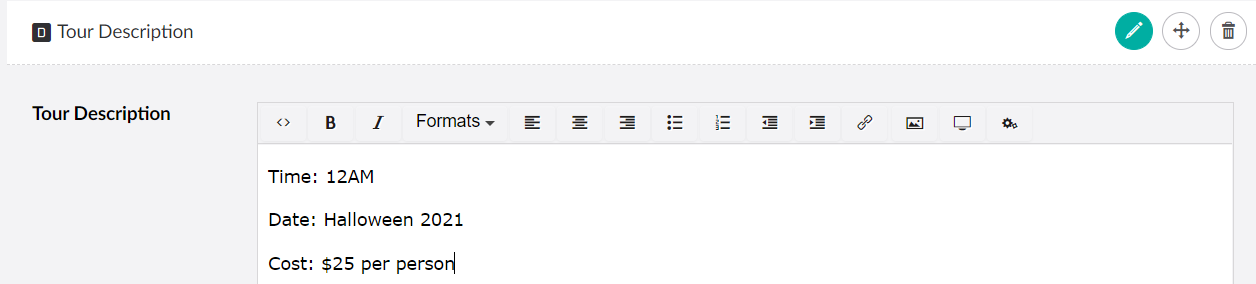
3. Add details to the Tour Description.
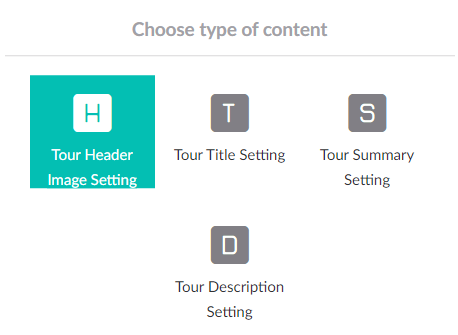
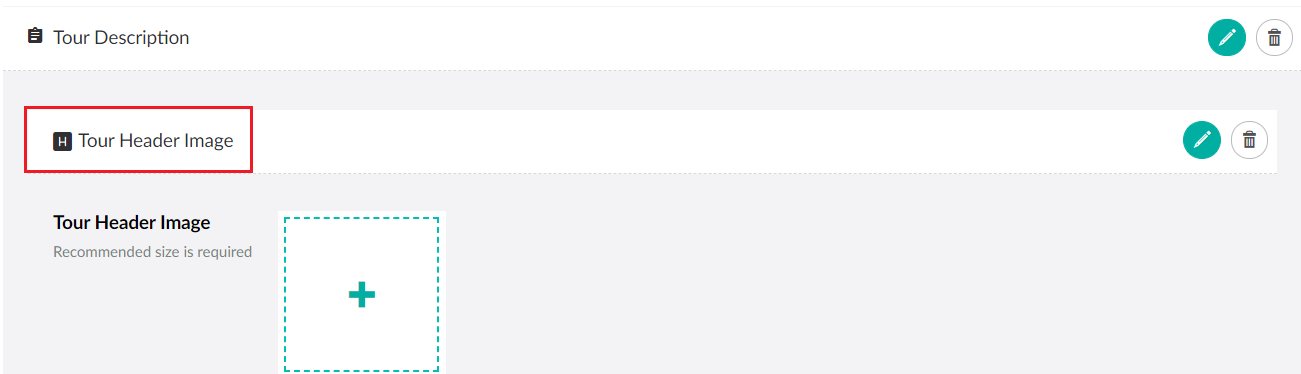
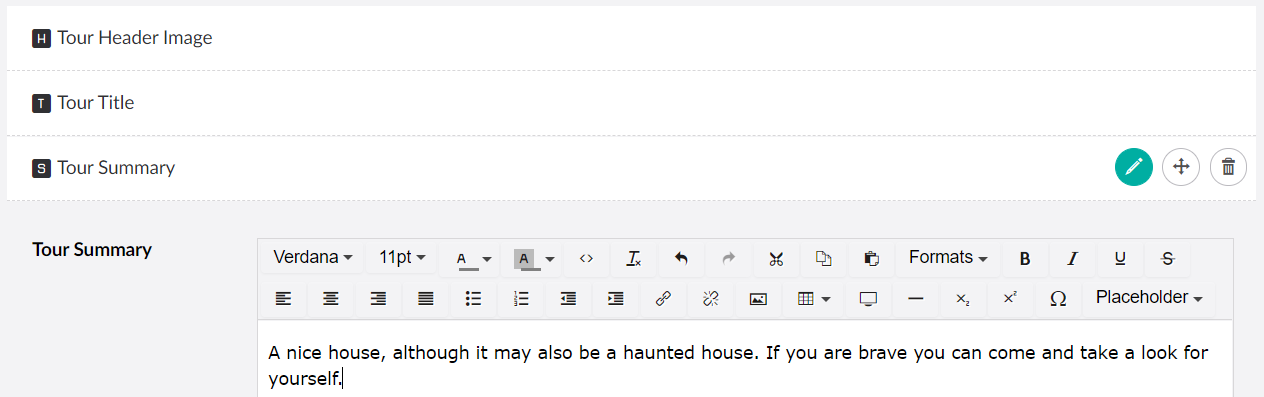
4. Add a Tour Header Image if you want an image to be displayed at the top of your page.
5. From here you can drag and drop an image or select an existing one from the media folder.
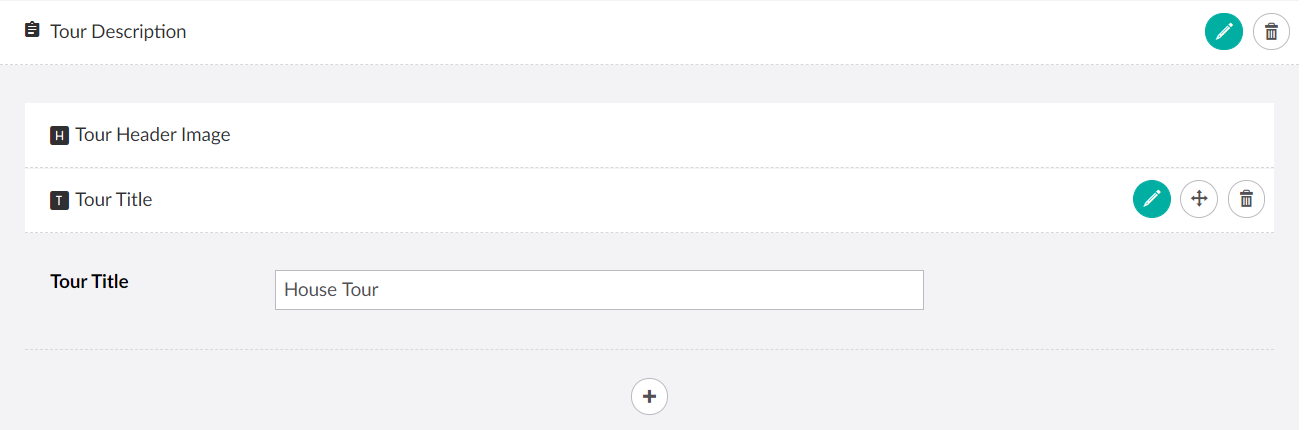
6. Now you can give your Tour a Title.
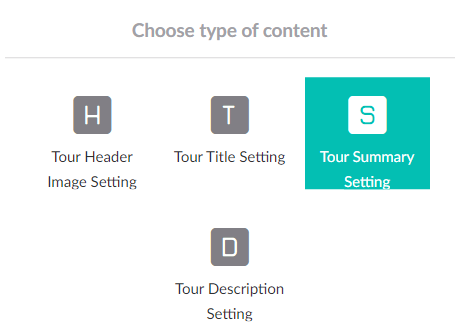
7. Once you have a title and banner you can then summarise your tour.
8. You can then add a full and detailed description of your event.
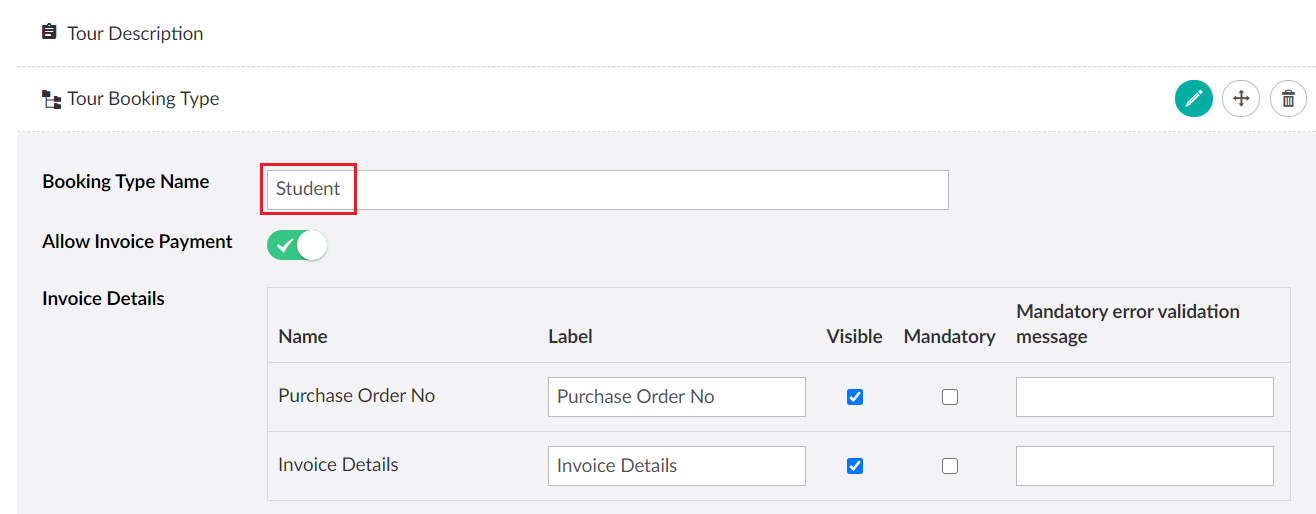
9. Once you have added all of the information you want to describe your Tour you may then add Booking Type Nested Content to your tour.
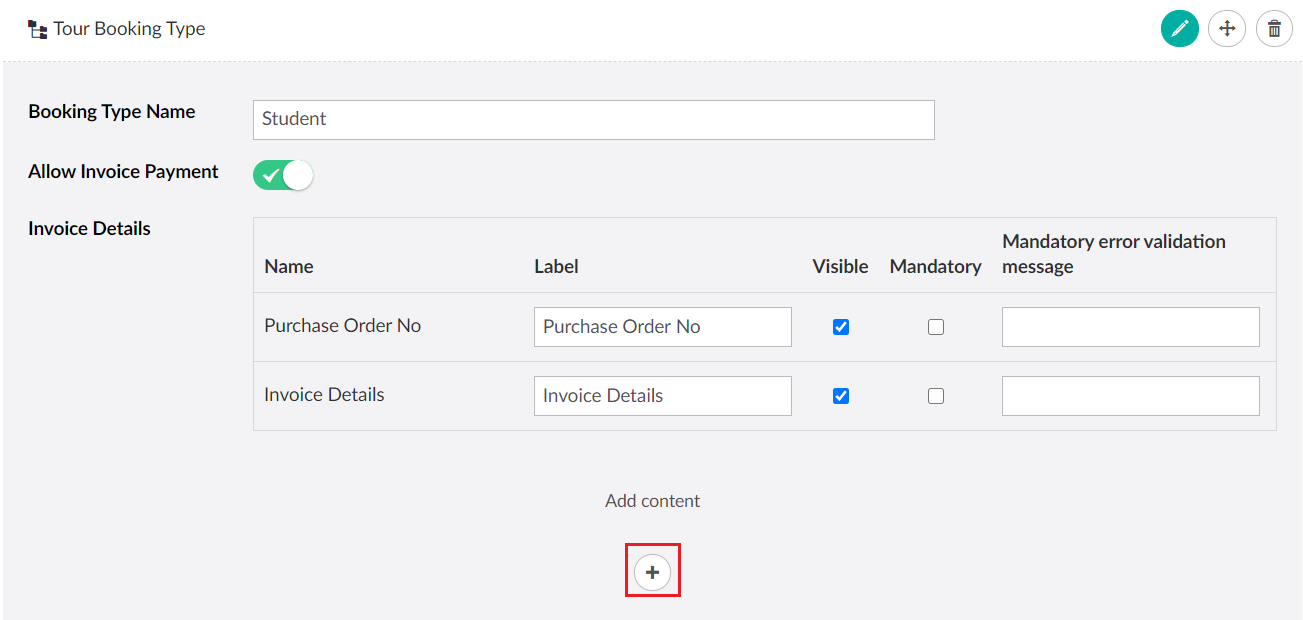
10. Give your Booking Type a name and adjust any other details you want for this tour.
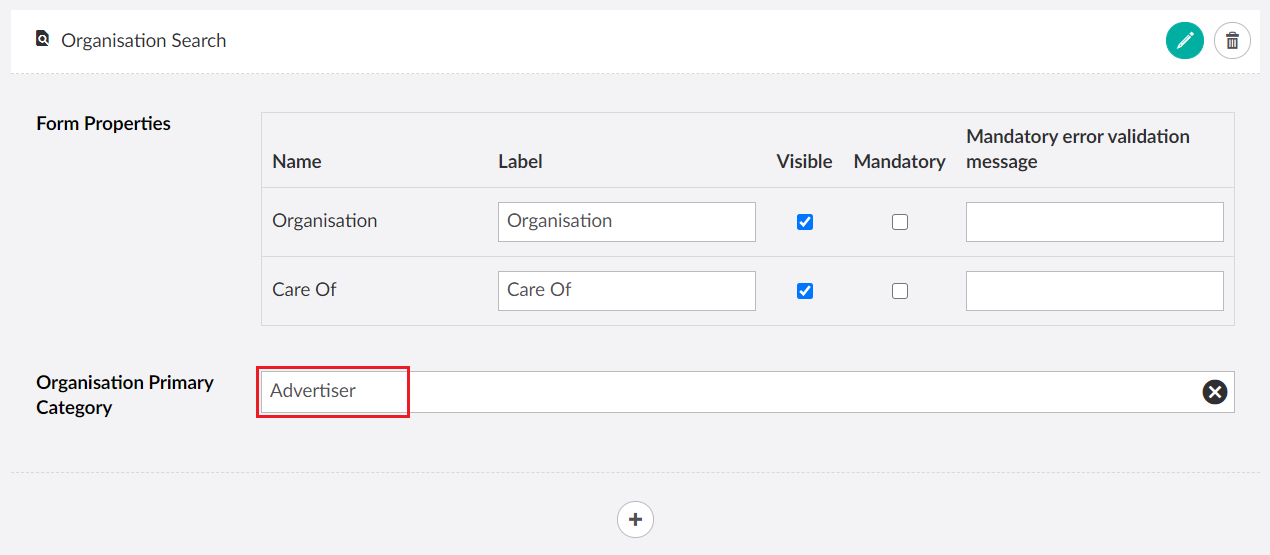
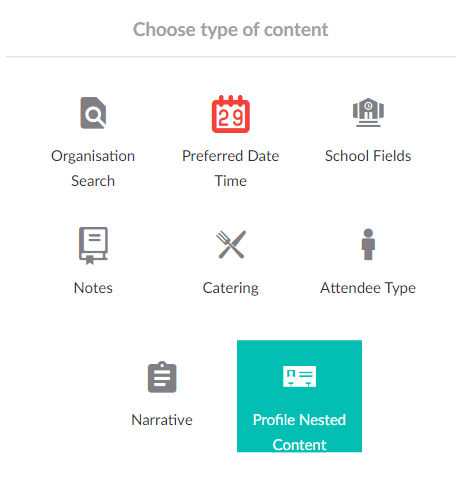
11. You can then add additional content to this Tour, starting with Organisation Search.
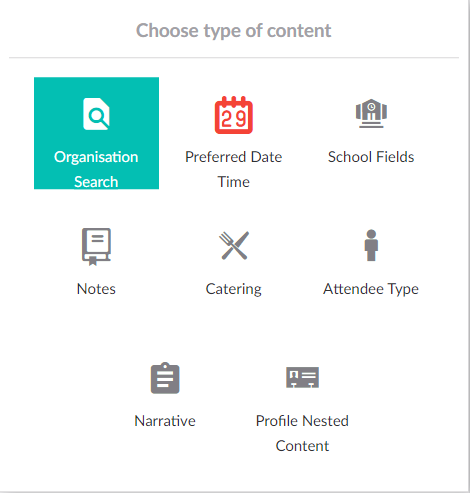
12. Fill in the details of your Organisation Search including the Primary Category.
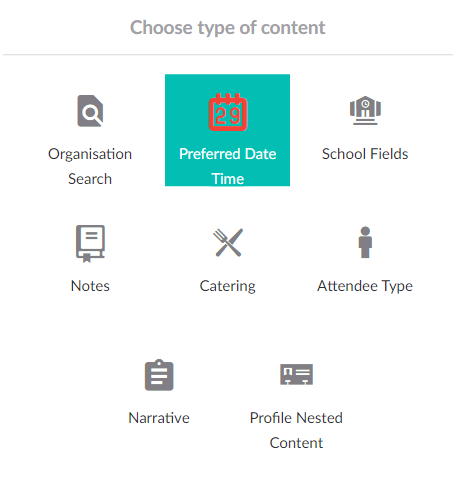
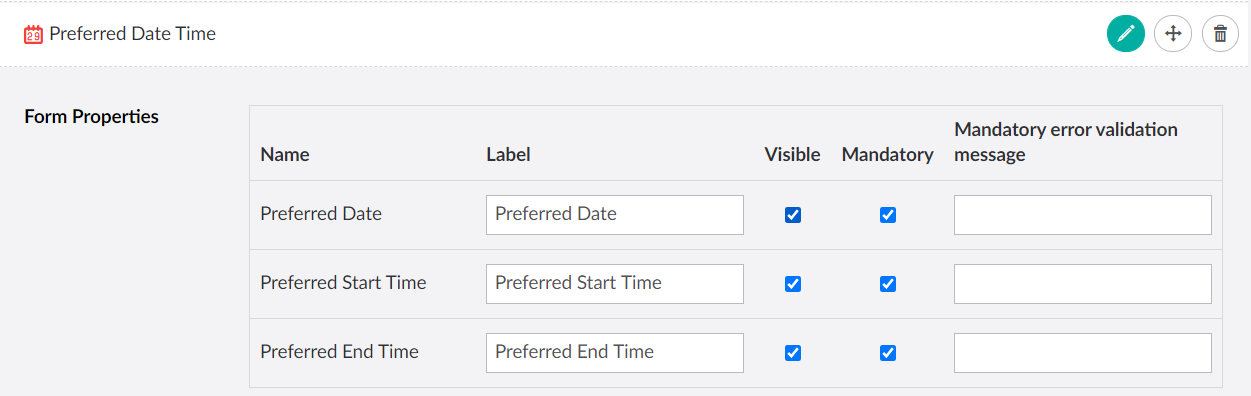
13. Add a Preferred Date/Time for your Tour and change the labels to anything you want. This is required.
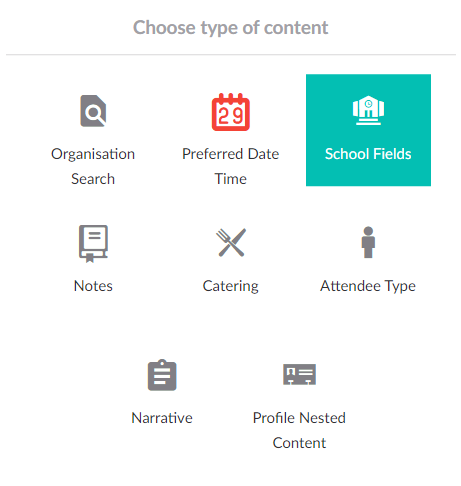
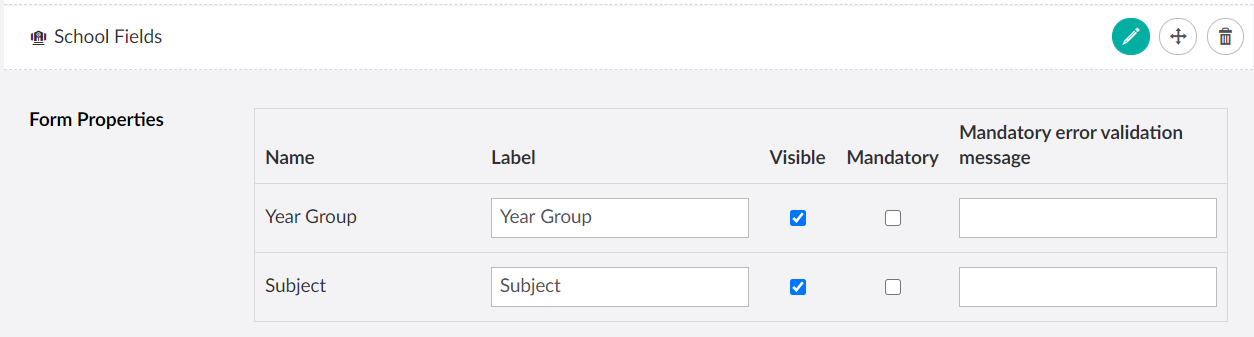
14. Add School Fields (if applicable).
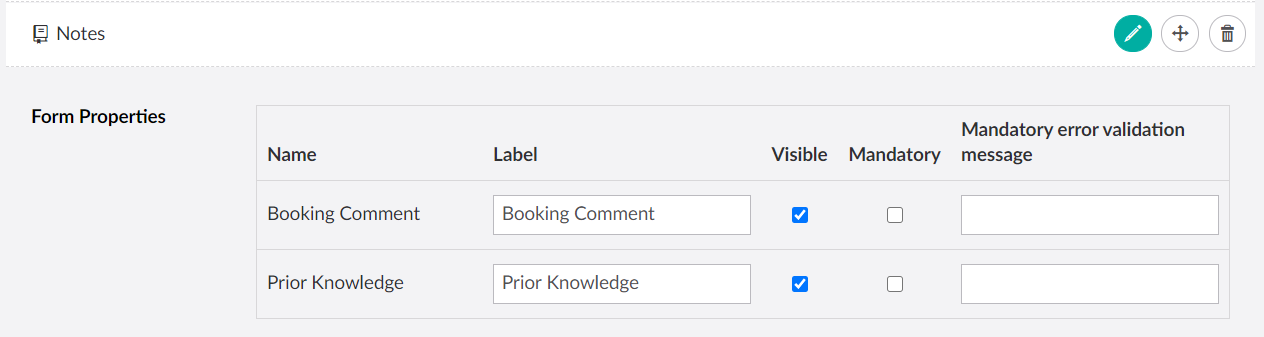
15. Add Tour Notes if you want to collect special information regarding your Tour.
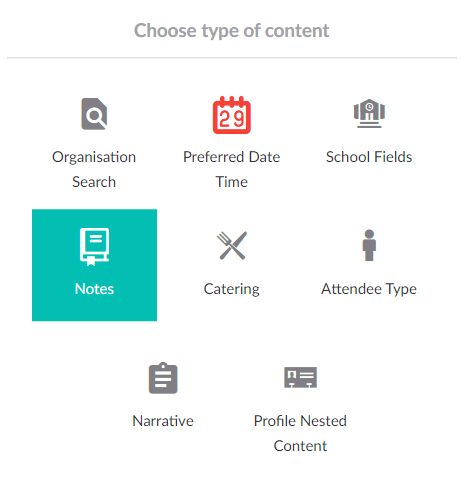
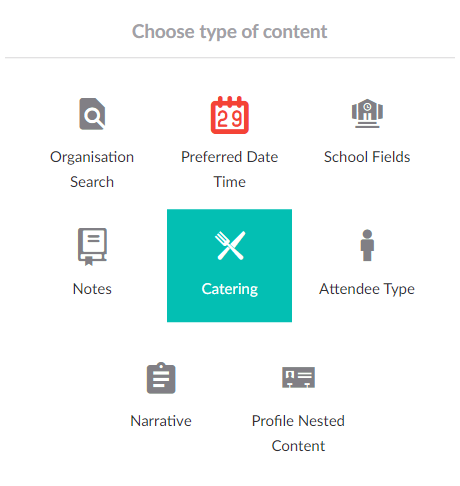
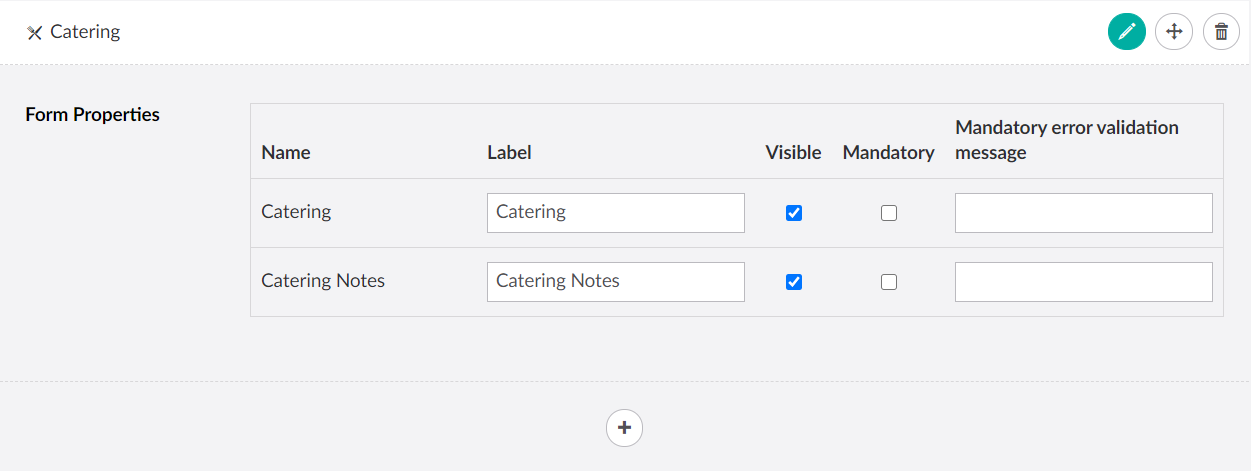
16. Add the Catering info to the Tour if applicable.
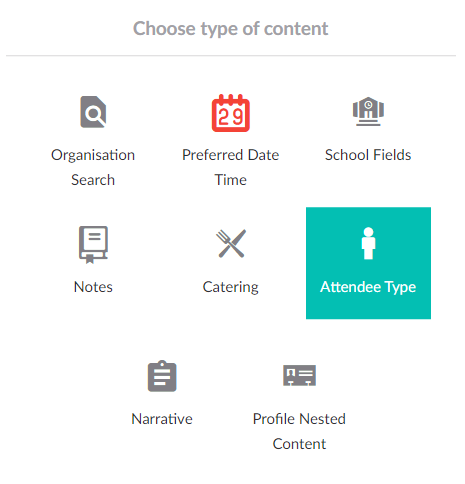
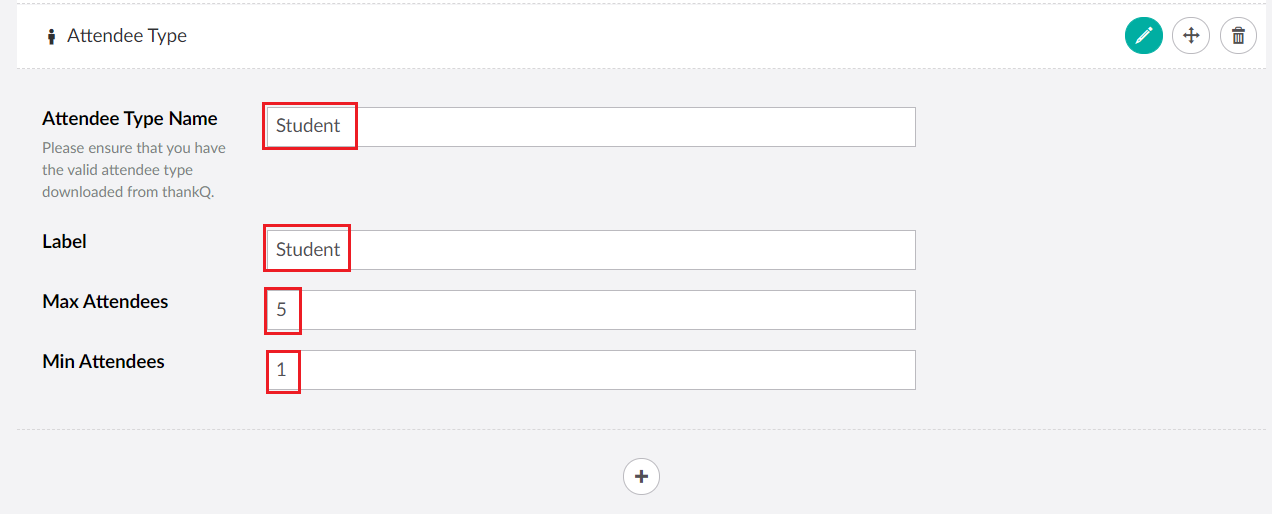
| 17. | Your Tour will also need an Attendee Type. Create this and then make sure that the Attendee Type name matches the one that currently exists for your Tour in thankQ. |
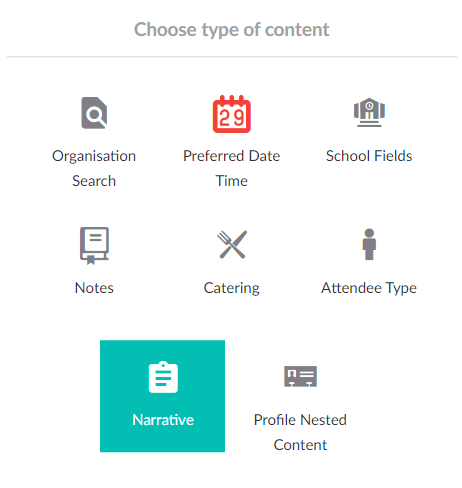
18. Add a narrative to your Tour if you want to describe a particular section of your Tour outside of the other fields such as Description.
| 19. | If you want your Tour to include a Profile then add the Profile Nested Content. For info on how to setup a profile please see the following section: Add Profile Content. |
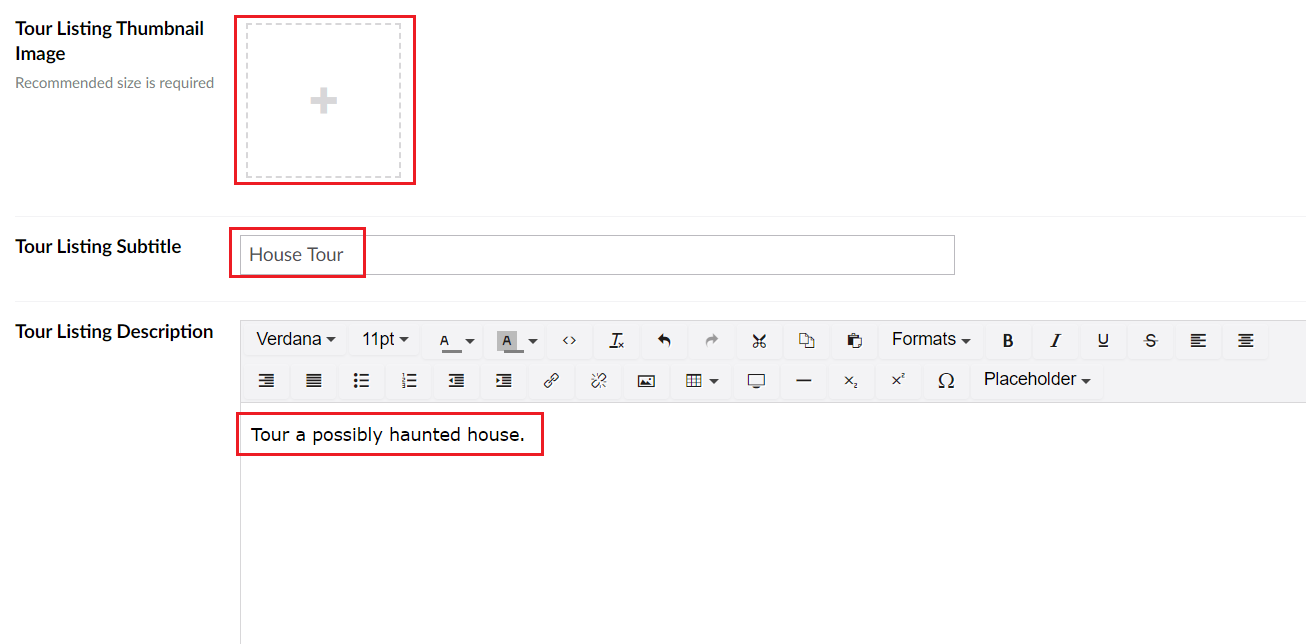
| 20. | You can also add other content to this Tour including the Listing Thumbnail Image, the Listing Subtitle and the Listing Description. All of which will be displayed when this Tour is listed on the initial landing page for the user. |
21. Once everything has been setup don't forget to use the option Save and publish