thankQ Help
To setup your list of raffles make sure that you have first created raffles in thankQ and have used the Web Sync option to upload them to your website. The following steps will assume that you have completed this step.
1. Select your company code and select the three little dots on the right and then select Raffles.
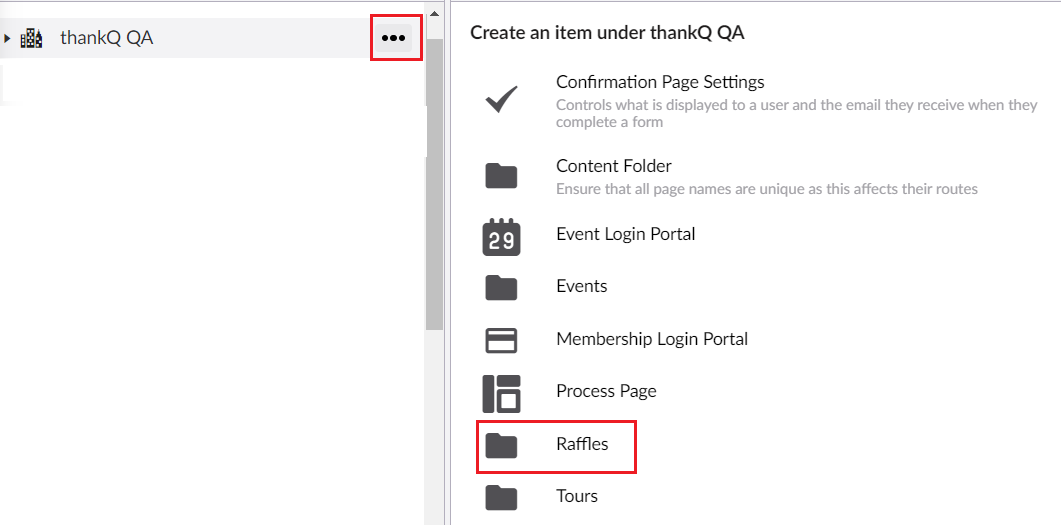
2. This will create a folder that Raffles can be added to.
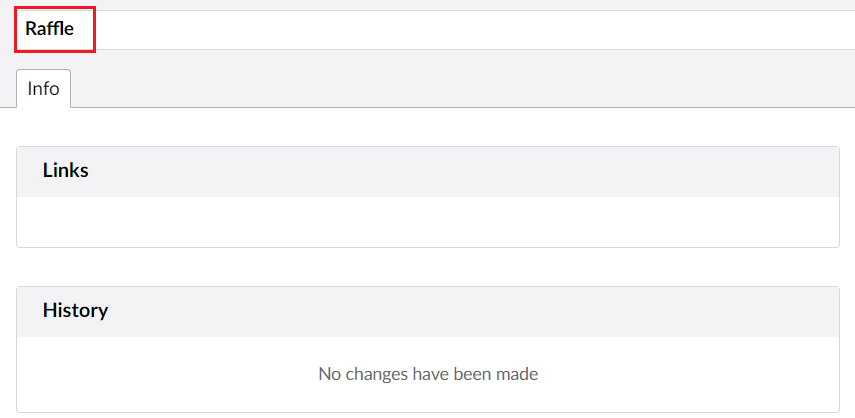
3. To add Raffles select the Raffle Folder and then add a Raffle.

| 4. | Give this Raffle a name and then select Save and publish BEFORE you open the Raffle Picker, otherwise the raffles will not be displayed in the picker. |

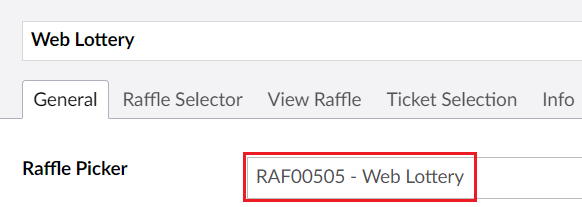
5. Once you have saved the Raffle open the Raffle Picker and select the raffle you have uploaded from thankQ via Web Sync.
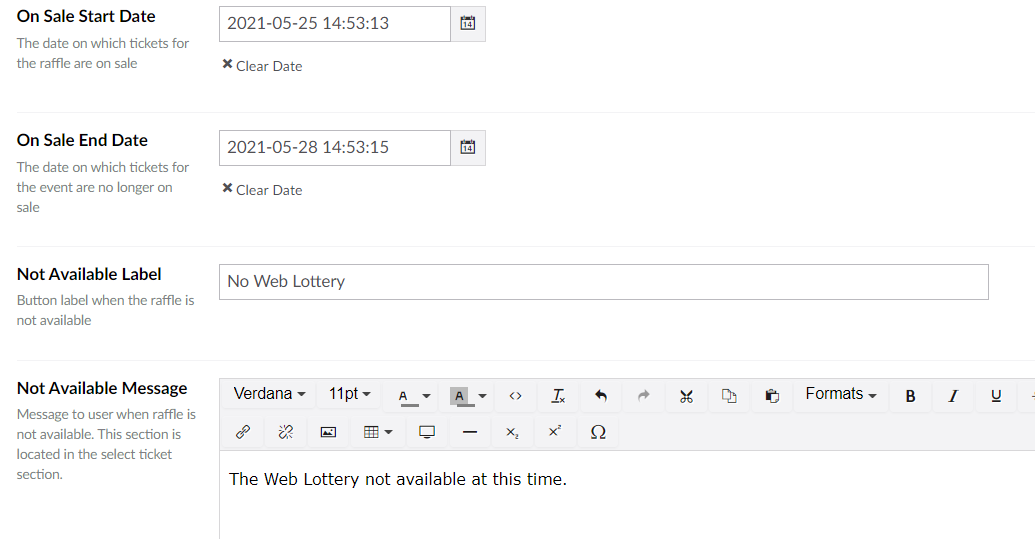
6. You can optionally also set the On Sale Start and End Dates (along with the Start/End Time) as well as the Not Available label and message.
| 7. | Now that you have selected the raffle you wanted you can now configure it for the web page. All of the following settings are optional for individual raffles. First you should configure the Raffle Selector which will determine what is displayed to the user about this raffle on the first page. |

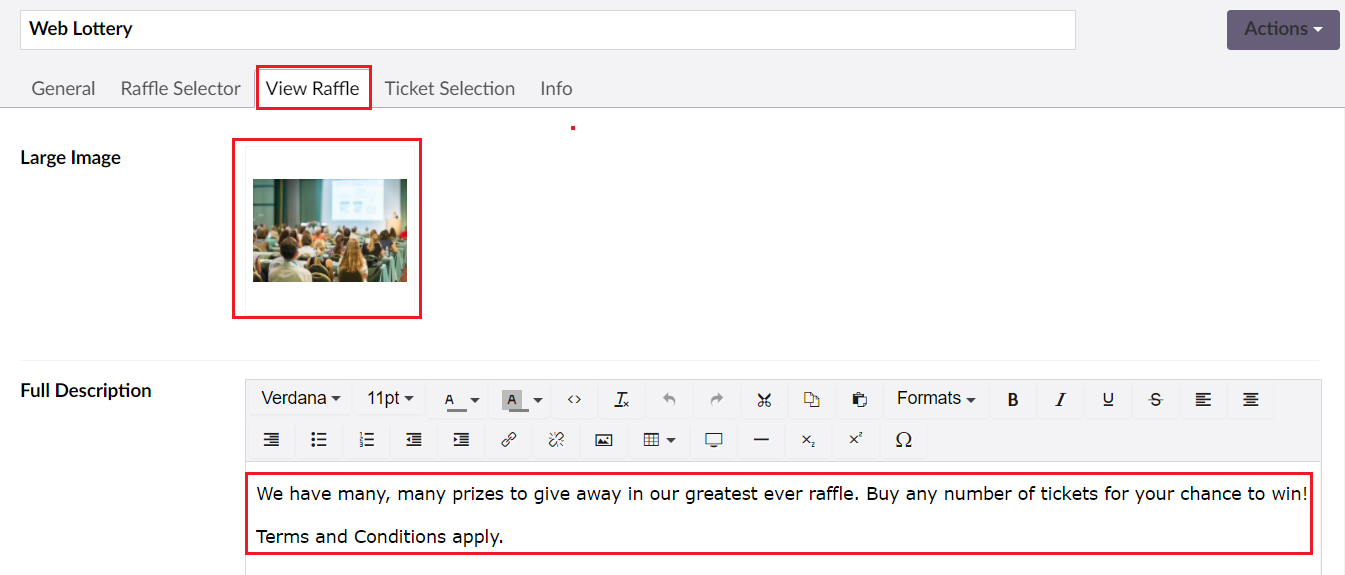
8. Once the user has selected this raffle you can give a much fuller description and a larger image by configuring the fields in View Raffle.
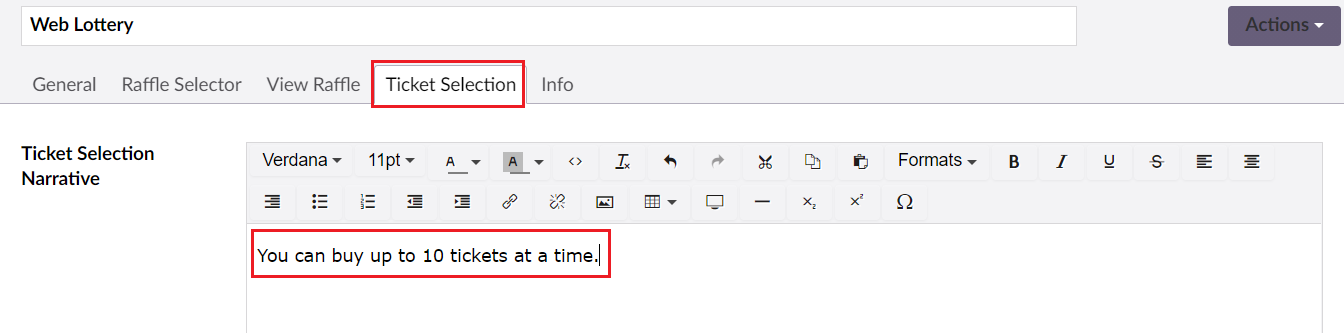
| 9. | When the user is purchasing tickets you can add a narrative in Ticket Selection. |
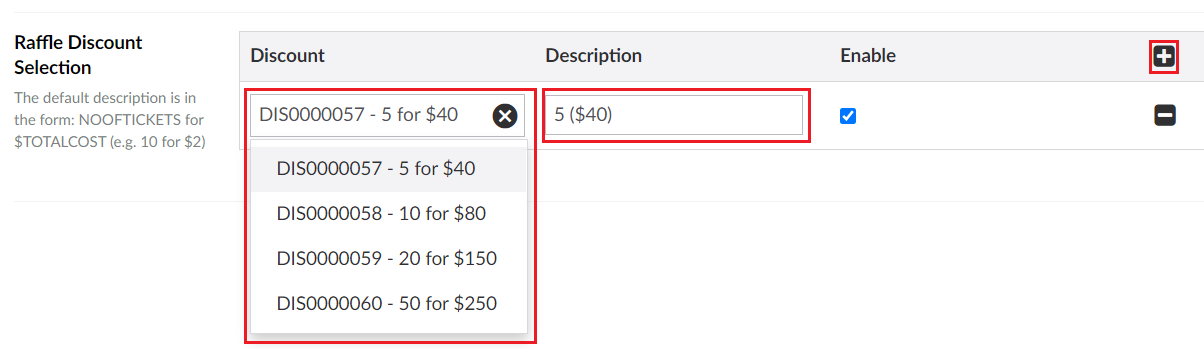
| 10. | In addition you can also add the discounts to your lottery including a text label via the option Raffle Discount Selection. You will need to set the discount records in thankQ and Web Sync them first however. |
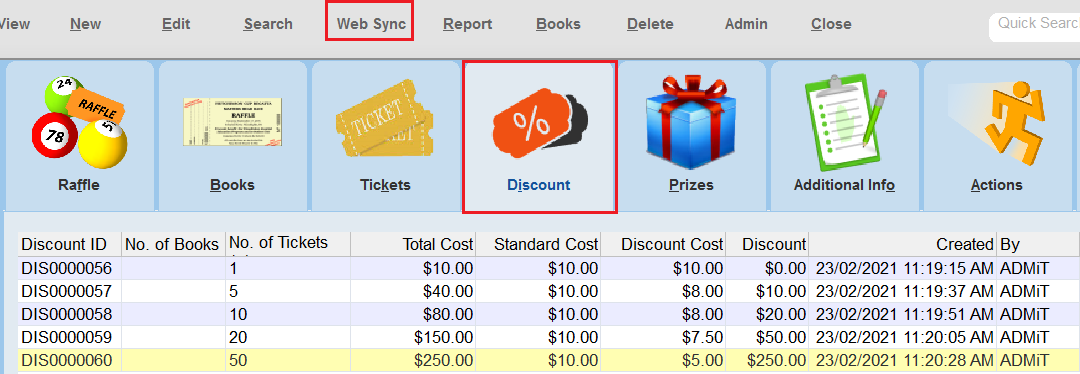 |
| Once you have done this you will then need to add the discounts that you want on the web. You can choose to have no discounts for the web, some of them or all of them if you want. |
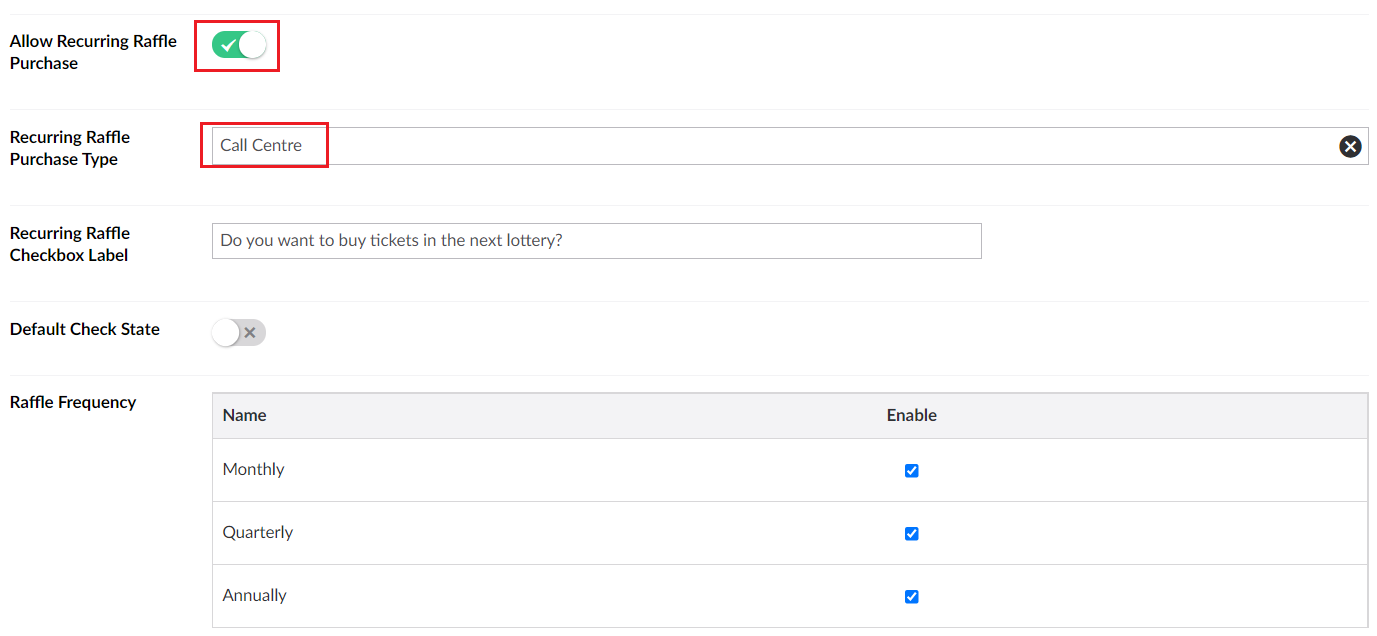
| 11. | If you want to make this into a Recurring Raffle select the option Allow Recurring Raffle Purchase and select a Recurring Raffle Purchase Type from the dropdown. Don't forget to also add a label for the checkbox and decide if the Recurring Raffle option should be set for the users by default or not. Finally set configure the options for how often the user wants to pay for their recurring raffle ticket purchases. |
 |
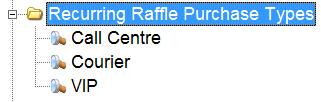
| Note that Recurring Raffle Purchase Types can be configured in thankQ via Lookup Values under Event --> Recurring Raffle Purchase Types: |
 |
12. Select Save and publish when you are finished and for additional raffles please repeat steps 4 to 10 as many times as required.