thankQ Help
Setup a Scanning Page as follows:
1.Select your company code and select the three little dots on the right and then select Process Page.

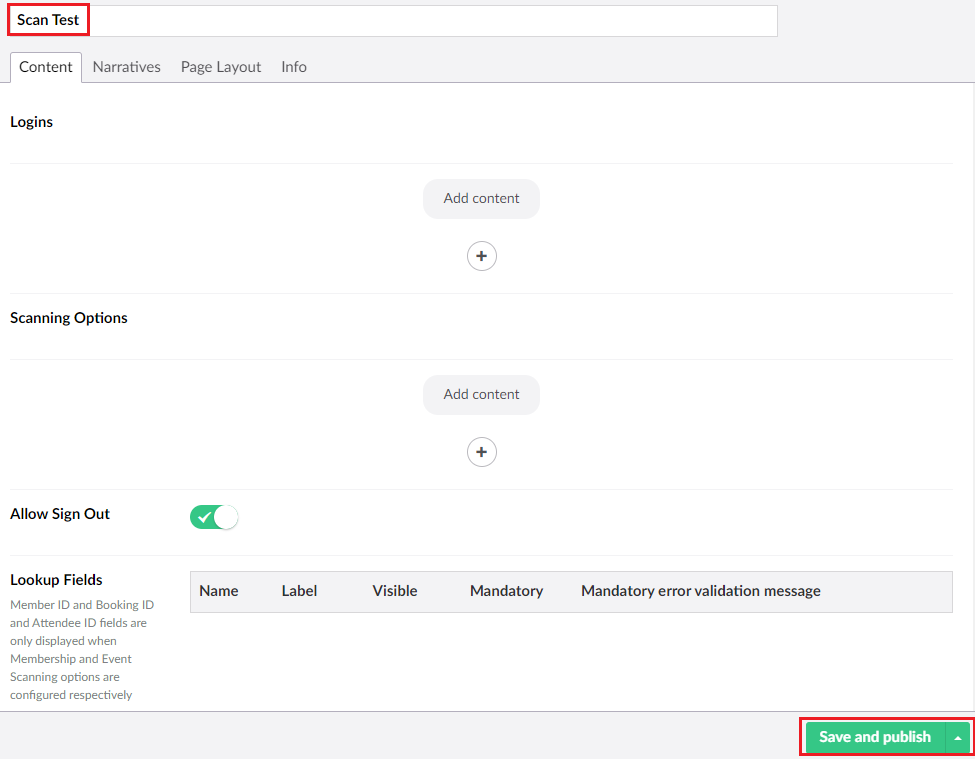
2.Set a name for your scanning page, then select Save and Publish.
3.Now that you have the page you will need to add a few other features to get it working. The first is to create one or more user logins. These logins will enable your staff to login to the page so that they can make authorised changes to the page. These logins do not have have to have any connection to the thankQ users or your login to the Umbraco site.

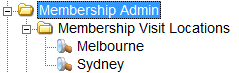
4.Be sure to also set the location of this user as well as toggling if this user will be handling Event Bookings or not. The location can be set in the thankQ Lookup Values under Membership Admin --> Membership Visit Locations.
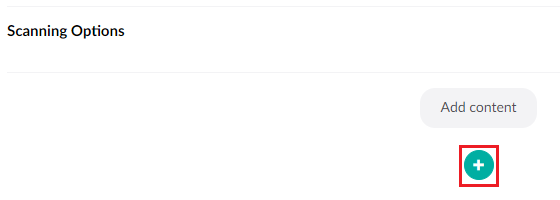
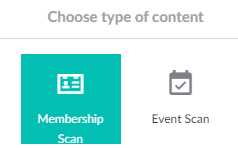
5.Once your users are set you must then add a Membership or Event Scanning Page.
6.In the Membership Scan you add optionally add the Purpose or Duration of the membership, corresponding to details about how long the member intends to stay as well as the purpose of their visit. These data fields can be removed or made mandatory. You will also need to add the Membership page you are connecting this scanning page to.
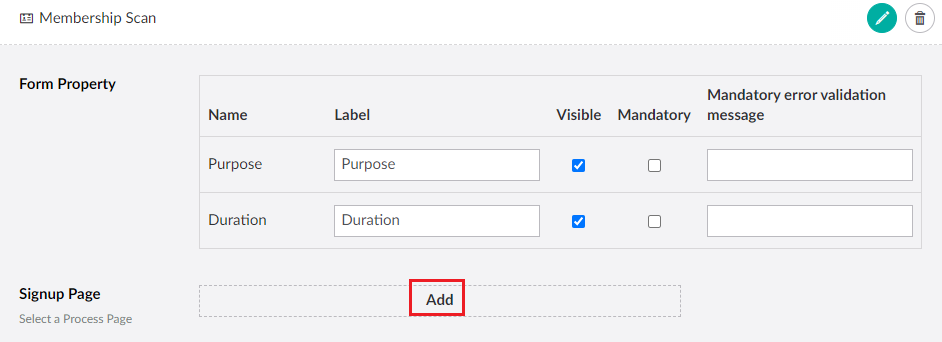
7.You may then add a Scan in Narrative along with a Sign Out Narrative.


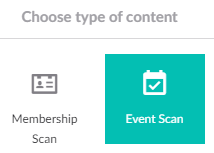
8.You can also choose to add an Event Scan instead of or in addition to the Membership Scan.
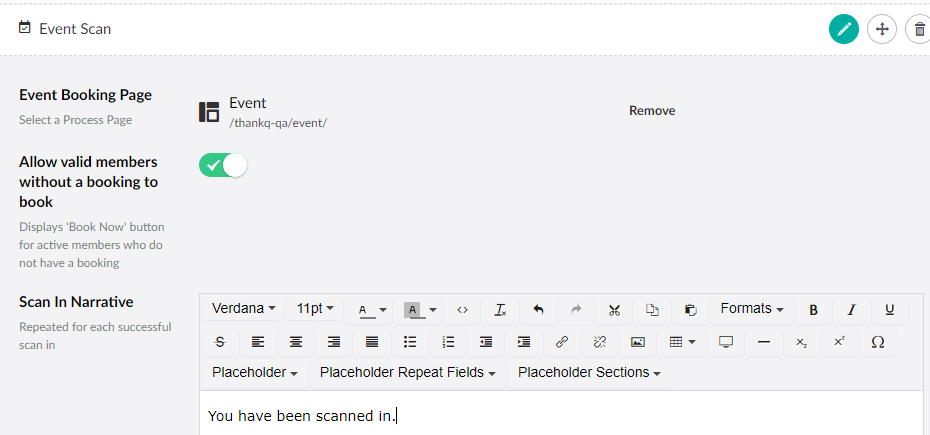
9.On this page make sure you have selected an Event Booking page, you can also allow members without a booking to make a booking on site. Be sure to also set a Sign and Sign Out narrative with the same process as the Membership Scan page.
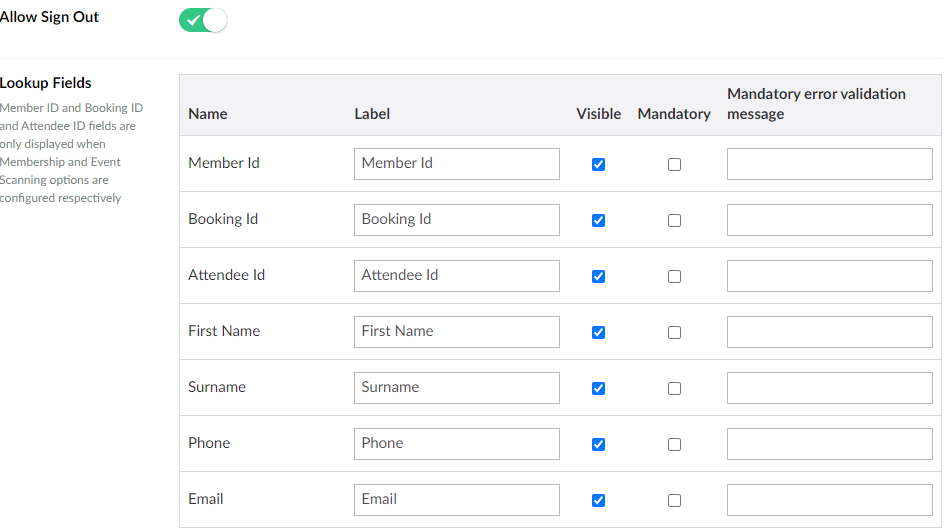
10. Once you have setup either the Membership or Event Scan page you should then check which lookup fields you want to be visible and which ones to make mandatory. You can also choose whether to allow Signouts to occur or not.
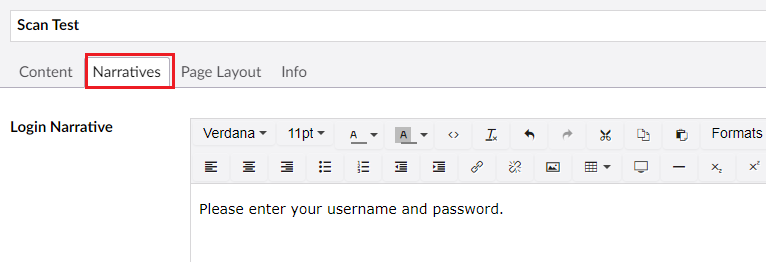
11. Optionally you can also add a narrative to the login page.
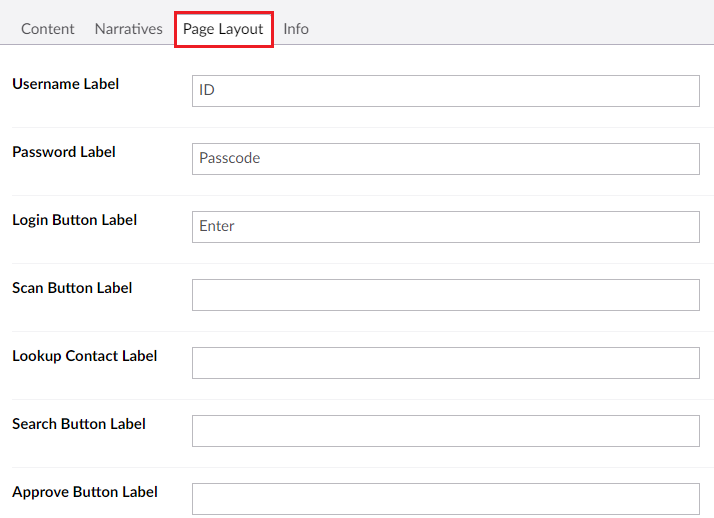
12. And you can also change the labels for the buttons or labels on the page or just leave them as the default.
13. Once finished select Save and Publish.

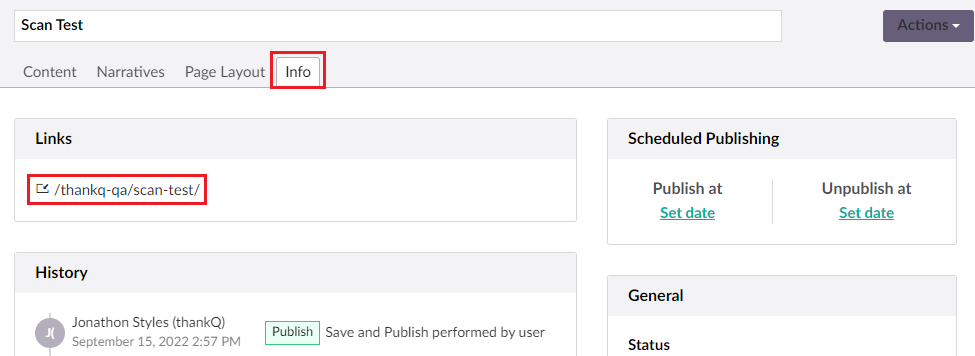
14.Preview the page by selecting Info and then opening the link.