thankQ Help
Panels can be created so links from other modules can be inserted onto a custom panel.
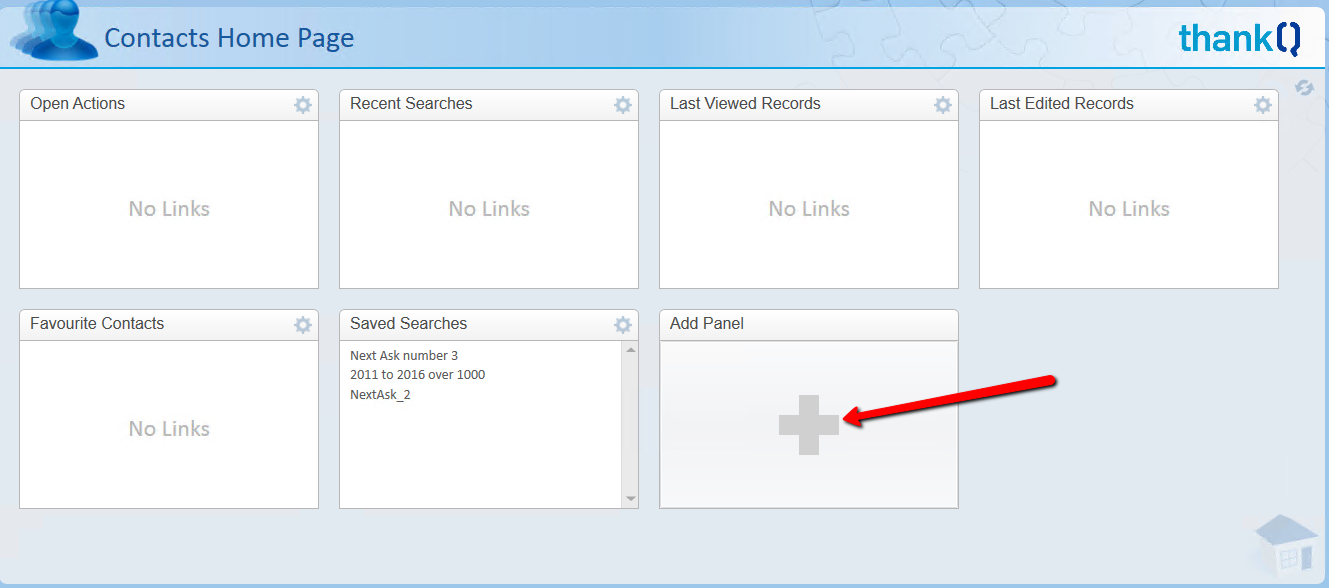
1.Click the + in Add Panel
2.Click the Pencil and highlight the wording in the Panel
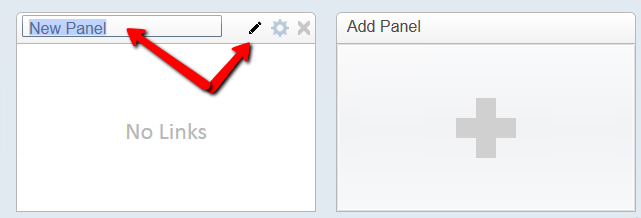
3.Enter a Name for the Panel and click the Pencil to save
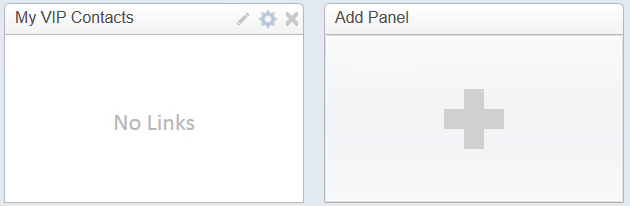
4.Enter a Name for the Panel e.g. My VIP Contacts and click the Pencil to save
5.Repeat the process to create a Reports Panel
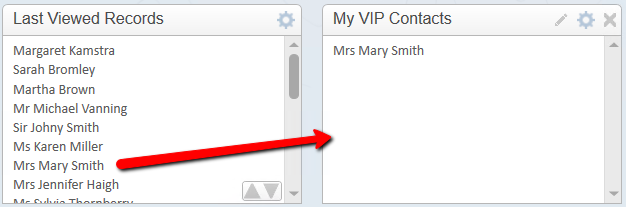
Add Contacts to a Custom Panel
You may be working with a contact and you are wanting to quickly locate them when you get to the Contact Home Page. If the contact is displayed in a panel already you can drag the link into your custom panel. If the contact is not in a panel you can search for them in the Quick Search field. When the contact opens a link will be inserted into the Last Viewed panel on the contact home page. You can also make the contact a Favourite by clicking on the star and once back onto the Contact Home Page you can drag the contact’s link to your custom panel.
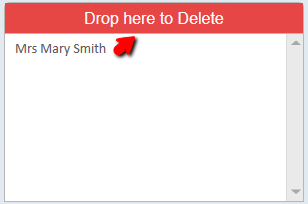
Remove a Contact from a Custom Panel
If you are no longer working with a contact and you want to remove their link from your “working” panel drag their link into the heading of the panel you want to remove them from.
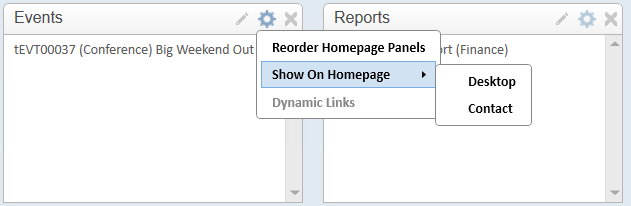
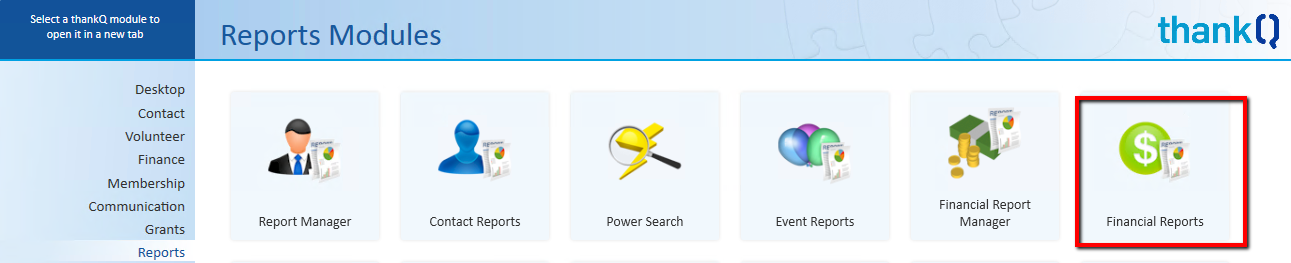
Add Links to Custom Panels from Reports Module
1.Open the Reports Modules and click on Financial Reports
2.Locate the report that is to be saved to the Panel
3.Click Desktop | Add this Report to Desktop on the Tool Bar

4.Double click on the Panel to save the link

5.Click Close on the Tool Bar
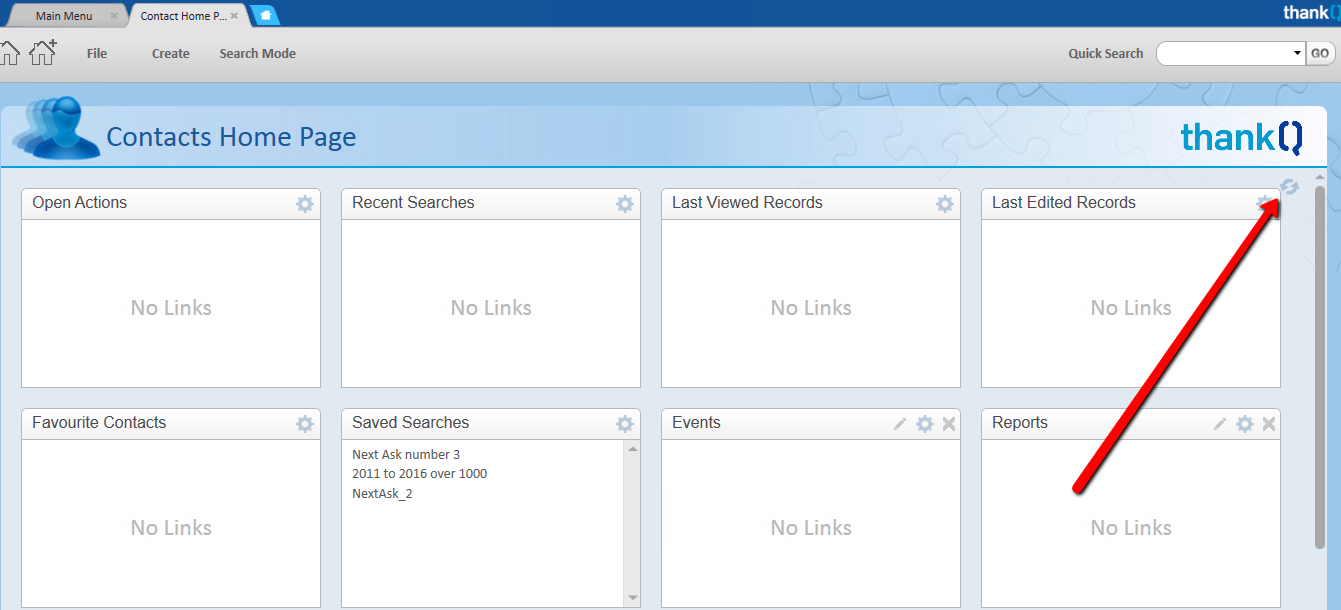
6.Click on the Contact Home Page tab or click Contacts from the Contacts Modules
7.Click the Refresh icon if the links have not appeared
These Panels can also be copied to the Desktop window