thankQ Help
The steps below show how to import into thankQ new and existing contacts from an Excel spreadsheet.
A New Configuration can be selected and saved as a template or if there is an Existing Configuration template already setup this can be used.
First make sure that you have a spreadsheet which contains your contact data. Contacts with Serial Numbers that match existing contacts in thankQ will update those contacts while contacts without matching Serial Numbers will be created as new Contacts. The Supporter ID can be used a unique identifier for your records regardless of if they are new or old contacts.

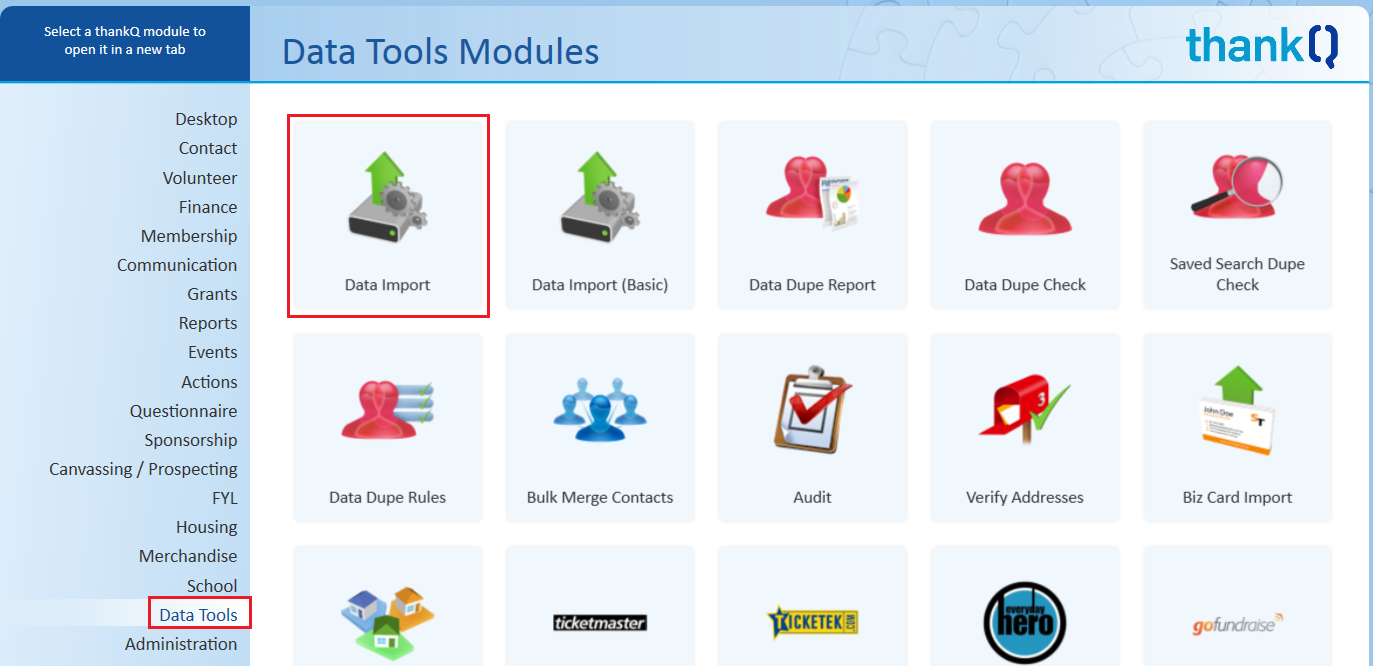
1.Click Data Import under Data Tools.
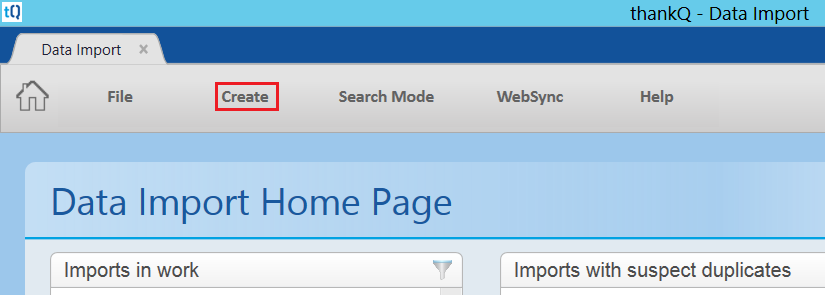
2.Click Create on tool bar.
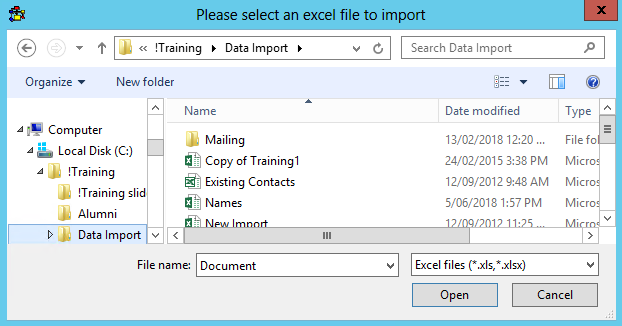
3.Click on the … (ellipsis) at the end of the Excel Input File file.

4.Locate and Select the Excel file.
5.Enter an Import Description.
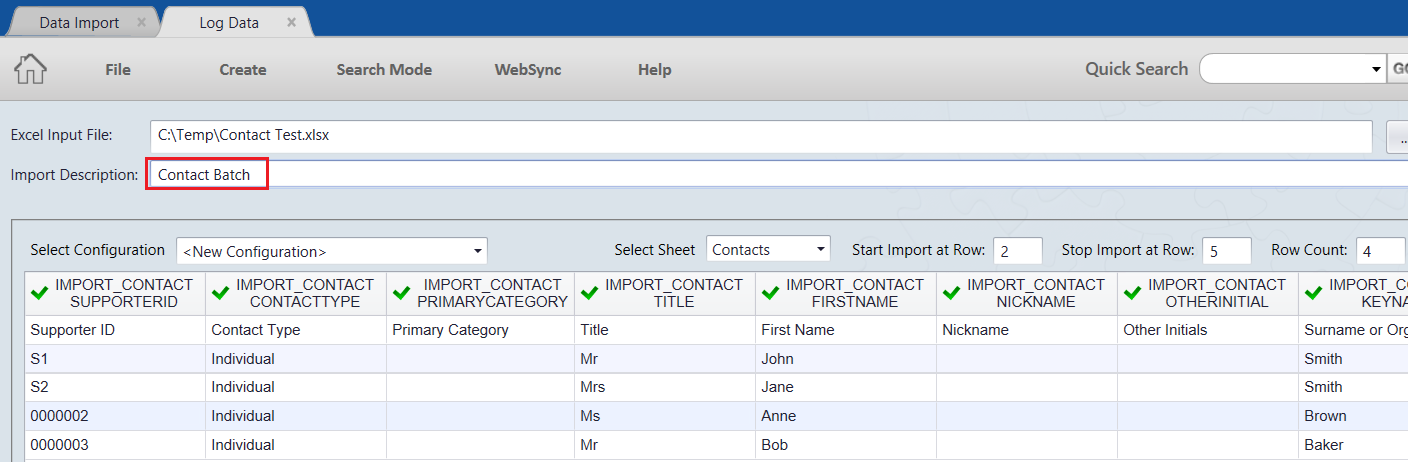
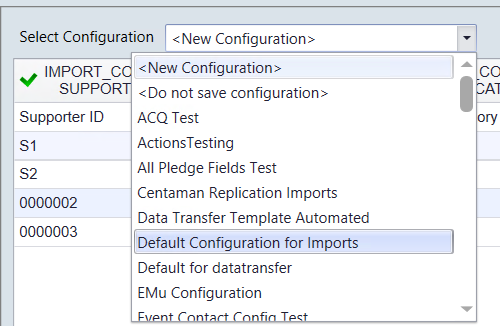
6.If the columns are not automatically mapped already then you can select a saved configuration from the drop down if you have already created one previously. If you have not done this then leave this as New Configuration.
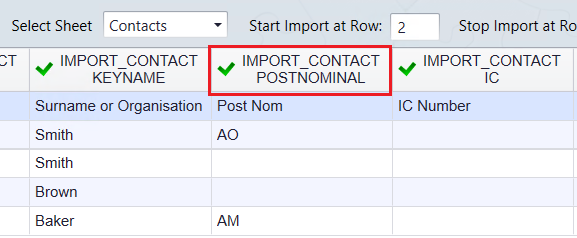
7.Make sure the Header Row and the Start Import Rows are correct for all of the imported columns of your spreadsheet.
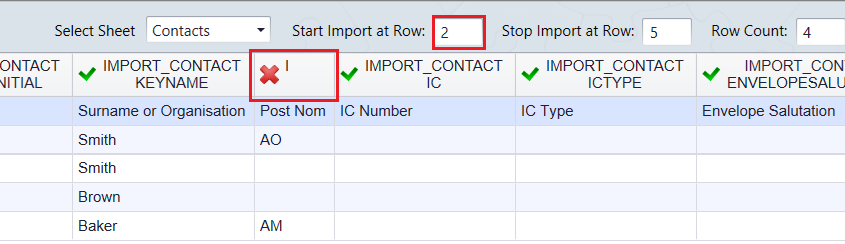
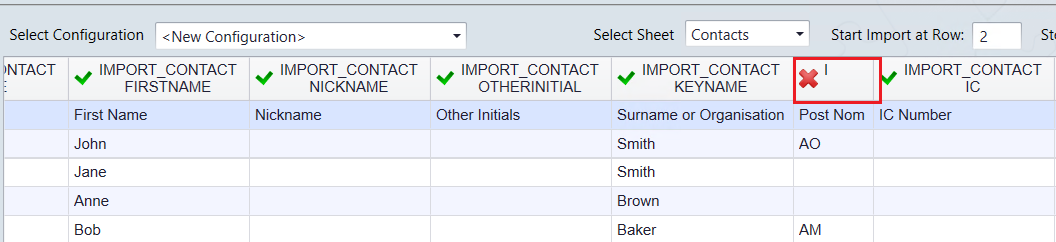
8.If you do find a column which is not mapped then double click on the Row above the header to access the mapping form.
9.Click on the drop down and select Contacts.
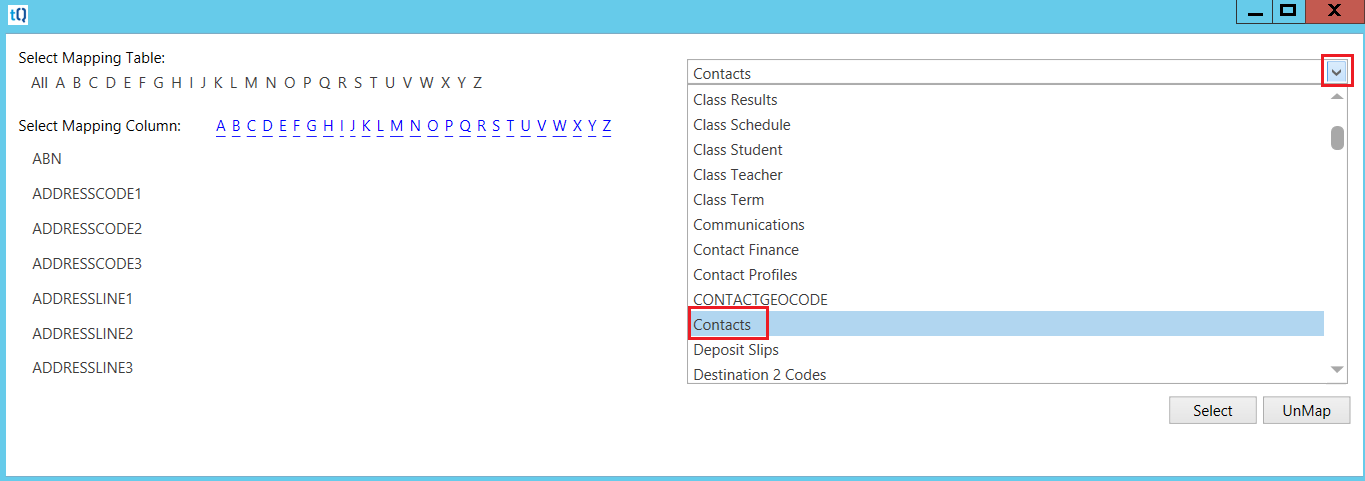
10.Select the alphabetic letter that your field starts with and then locate the field name from the list and then double click (or use the Select button).
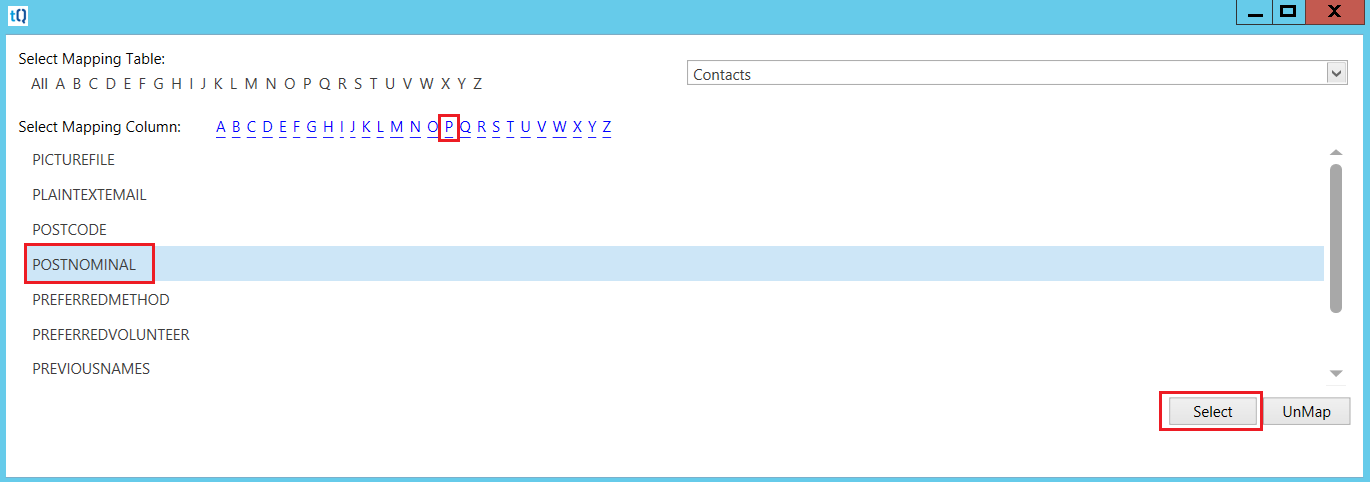
11.The column will now be mapped. Repeat process as often as required for all other columns (Note that you can remap columns with a Green Tick next to them as well if you have made a mistake).
12.When you have finished checking and mapping the data select Log Data to proceed to the next stage.

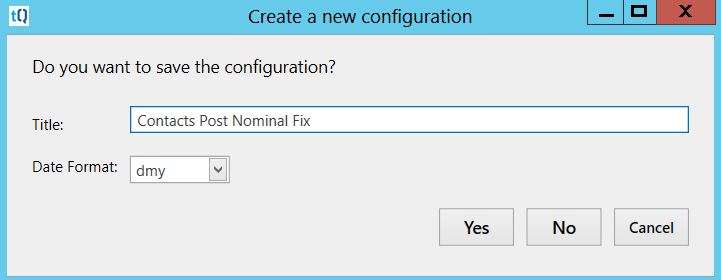
13.If you selected New Configuration you will be prompted to save the Configuration. This will ensure that you don't need to map the columns again the next time you import. Press Yes to save. Press No to continue without saving.
| 14. | Select Validate to begin validating the data. |
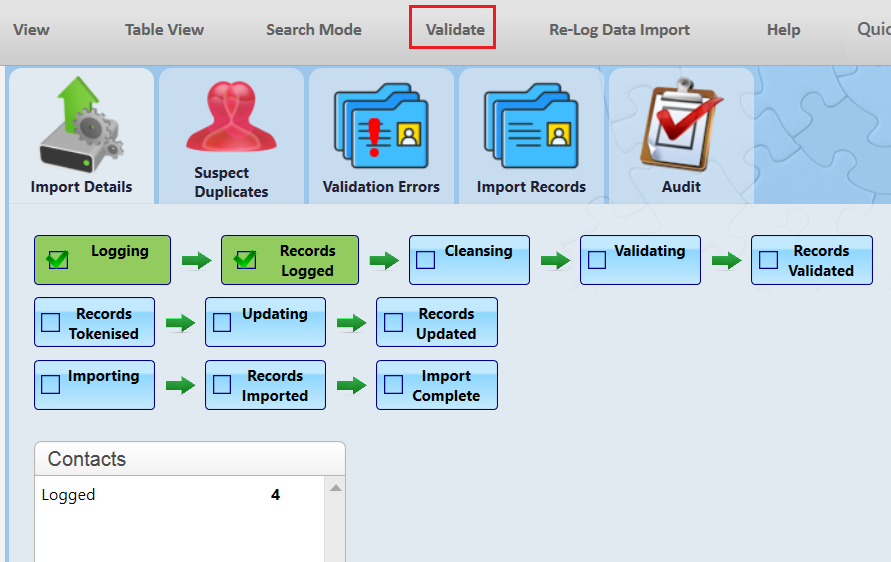 |
| 15. | If there are any validation errors you will need to correct these by either updating the record or deleting it before you can proceed any further. |
 |
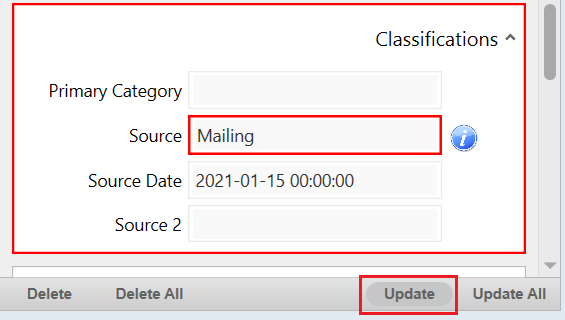 |
| 16. | The same must be done for Suspected Duplicate contacts. These contacts must be either explicitly marked as New or you must select which of the contacts it most likely matches. |
 |
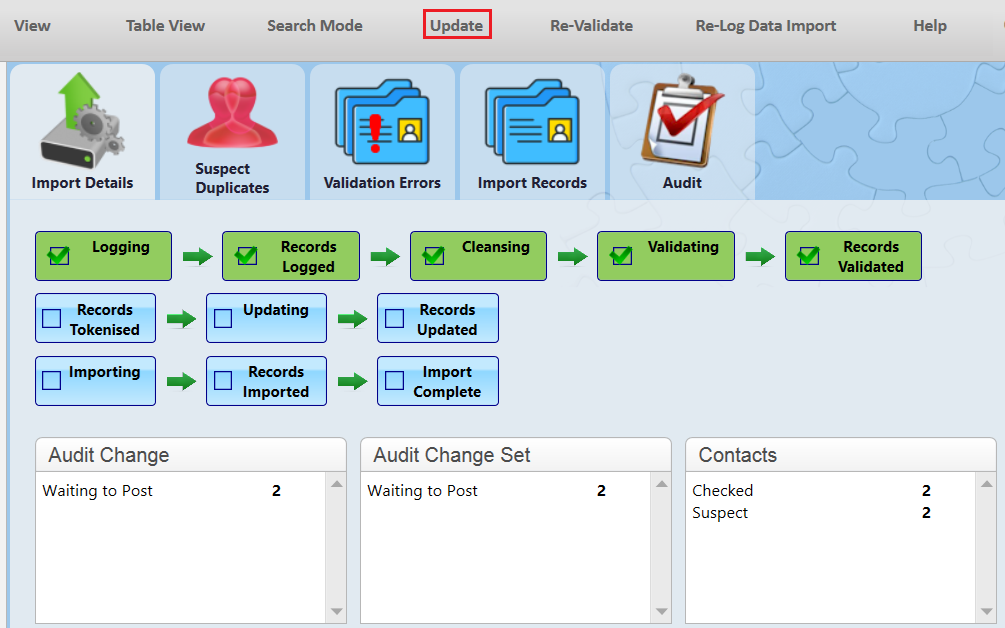
| 17. | Select Re-Validate if you fixed any Validation Errors or created any new Suspect Contacts. If you have no errors then select Update to continue. |
 |
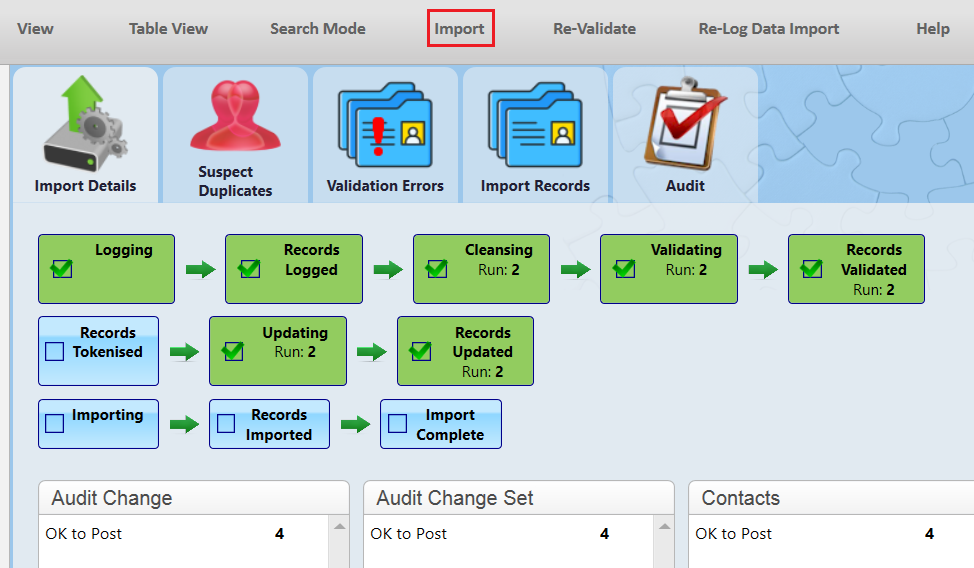
| 18. | All Records should now be marked as Ok to Post. In which case select Import to post them all to live. |
 |
| 19. | When the import has finished you can view the records you have created or updated by opening View and then View Imported Contacts. |
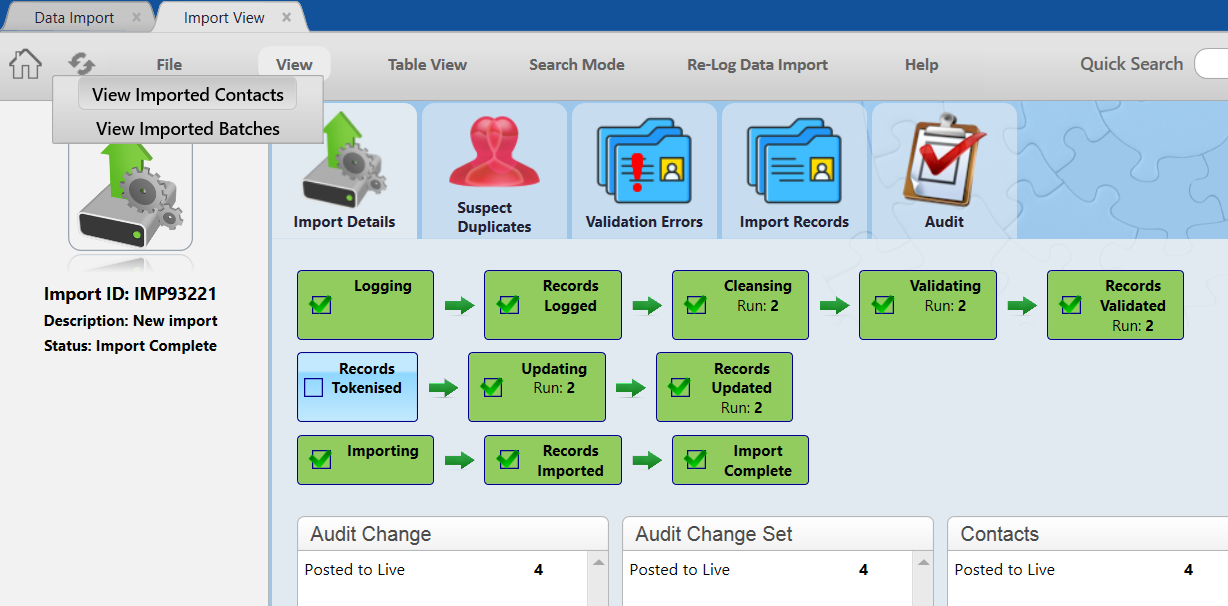 |
| 20. | The Contacts Form will open with the contacts you have imported selected. |
 |