thankQ Help
The following are the steps required to bulk import Event Bookings into an existing Event.
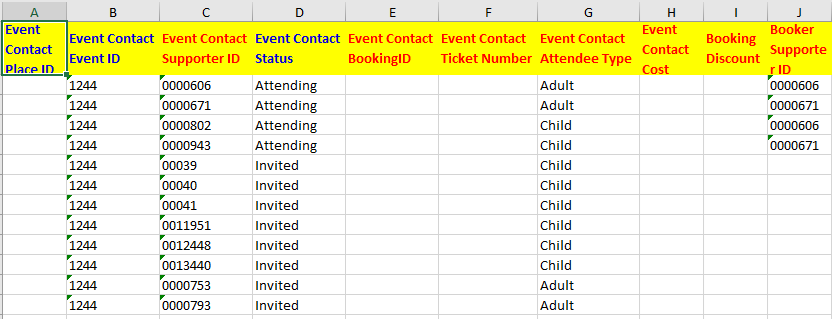
A spreadsheet with the following details will be required to import new bookings:
- Event ID
- Serial Numbers of the Booked Contacts
- Serial Numbers of the Booking Contacts (if this place has been booked)
- Attendee Type
- Event Contact Status (such as Attending, Declined, Invited, etc.)
You can also add other optional details as well such as the Event Contact details (such as name, address, etc.) but these are not required to make a booking.
In the example below several different contacts are being invited or booked to the same event. Two of the adults are attending the booking along with two children and are therefore given the Serial Number of the adult contact in their Booker Supporter ID. All of the other contacts have been invited but have not yet booked and don't have a Booker Supporter ID:
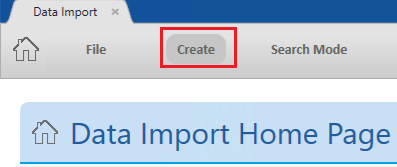
1. Click Create on the tool bar of the Data Import form:
2. Click the ellipse on the Excel Input File line:

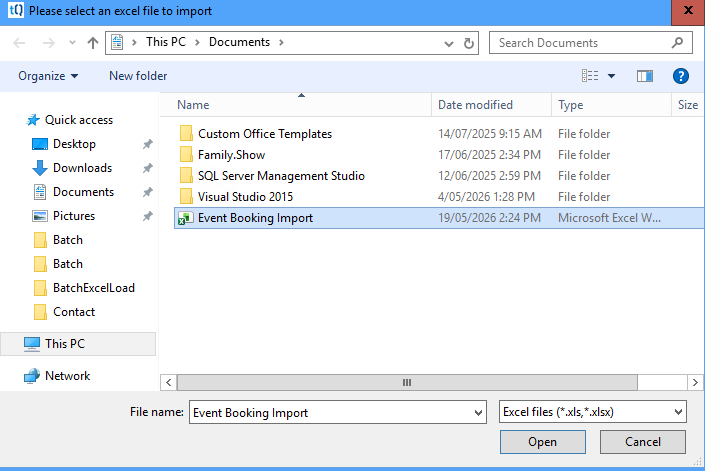
3. Locate and select the import file:
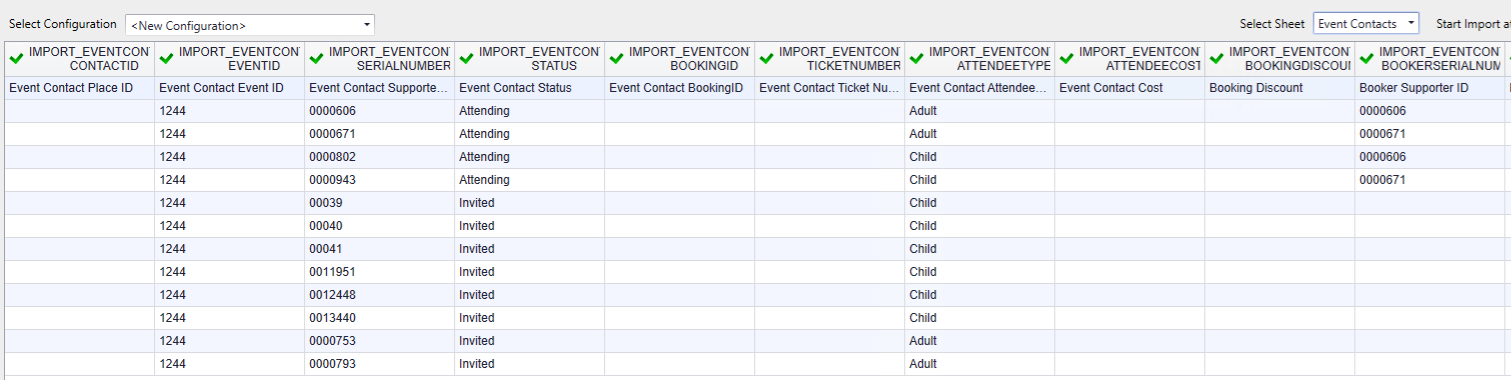
4.Verify that the fields are correctly mapped in thankQ:
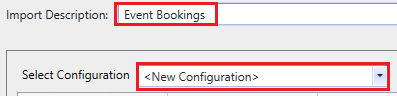
5. Enter an Import Description and then select the Default Configuration or a New Configuration, if applicable:
6. Click Log Data at the bottom right:
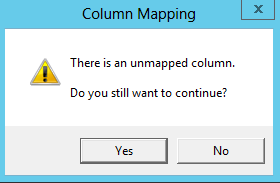
7. Click Yes if this message appears and you can proceed with unmapped fields:
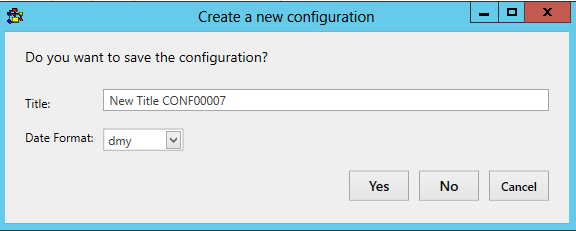
8. Click Yes to save the configuration or No to continue:
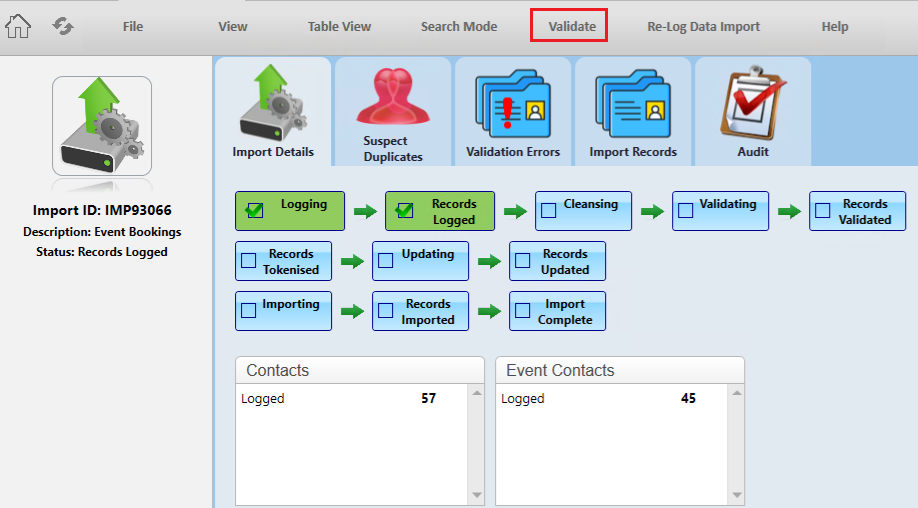
9. Click Validate on the import under Imports in work:
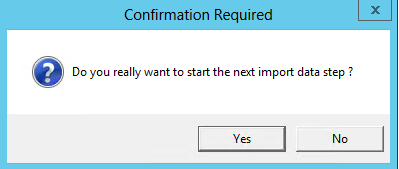
10. Click Yes to continue:
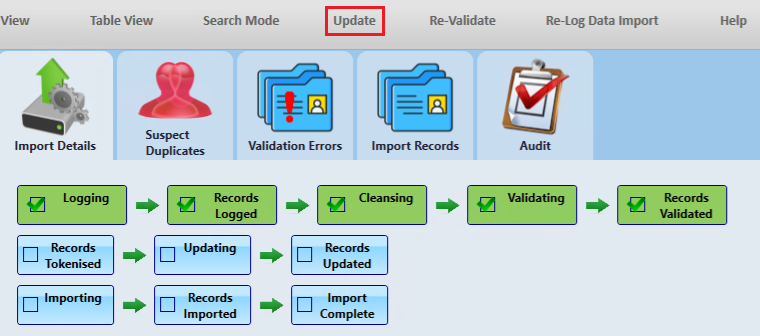
11. Click Update if there are no suspect duplicates or validation errors:
12. Click Yes to continue:
13. Click Import:

14. Click Yes to continue:
The new event bookings will then be imported into thankQ.