thankQ Help
Some options will be different depending on if this is a one off Pledge or several instalments.
1.Locate the relevant pledge and click the Invoice button.

2.Click OK to accept the default Mailing Preference.

3.Click Yes to apply Households or No if you do not want to apply this.

4.In the Enter Start Date field, thankQ will automatically display the due date for the first instalment. It is not necessary to change this date, click OK.
5.In the Enter End Date field, thankQ will automatically display the due date of the last instalment. If you have a lot of instalments, this date can be changed to an earlier date if you wish. If necessary change the date and click OK.
6.You will then be prompted to select the instalments to be invoiced. Place a tick in the check box next to the relevant instalments and click OK.

7.The Select Template dialog box will appear. Select the relevant invoice template and click Open.

8.The Invoice will be created automatically in Word

9.Make any changes to the invoice and then print it.
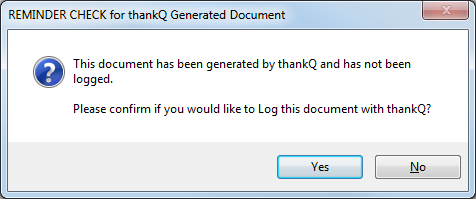
10.Close the document. The following dialog box will appear. Click Yes.

11.Enter a suitable subject for this invoice.

12.Return to the pledge form and the Invoice will be displayed as a sublist entry within the Invoicing tab. This entry includes a unique Invoice ID.
