thankQ Help
You can add two main pages for an event. These are the Event Description Page and the Event Attendee Form. Detailed descriptions on how to set these up is provided below.
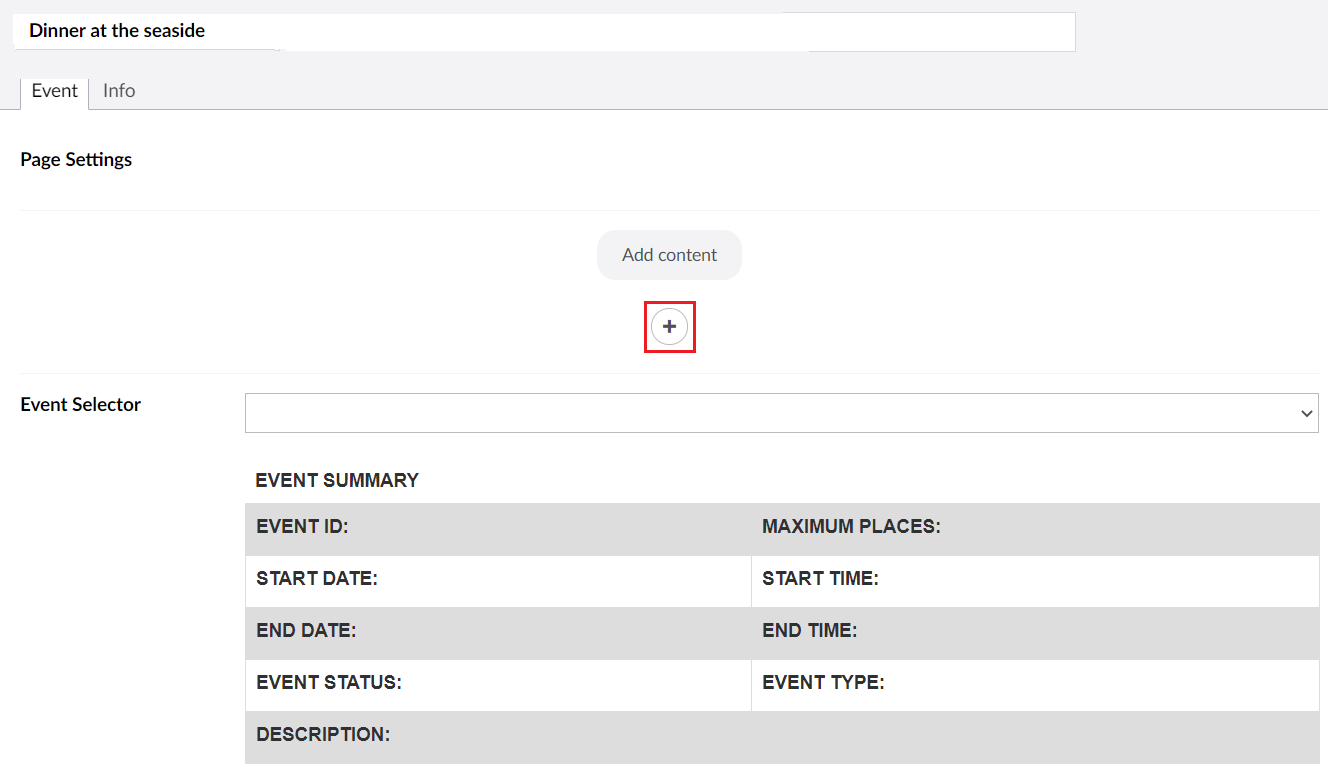
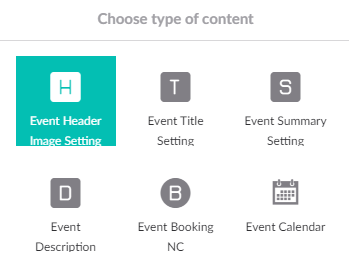
1. Open the Event and use the + button to add details to it.
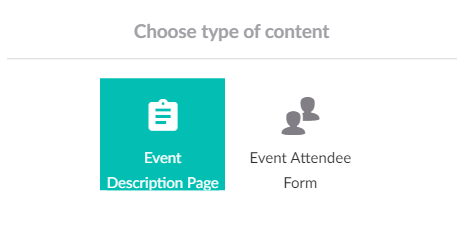
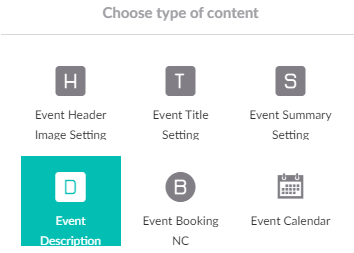
2. Select Event Description
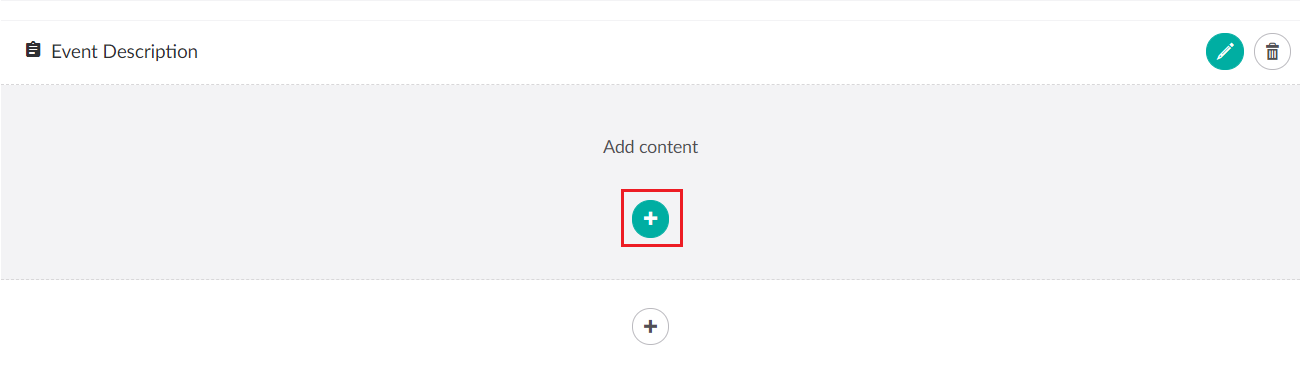
3. Add details to the Event Description
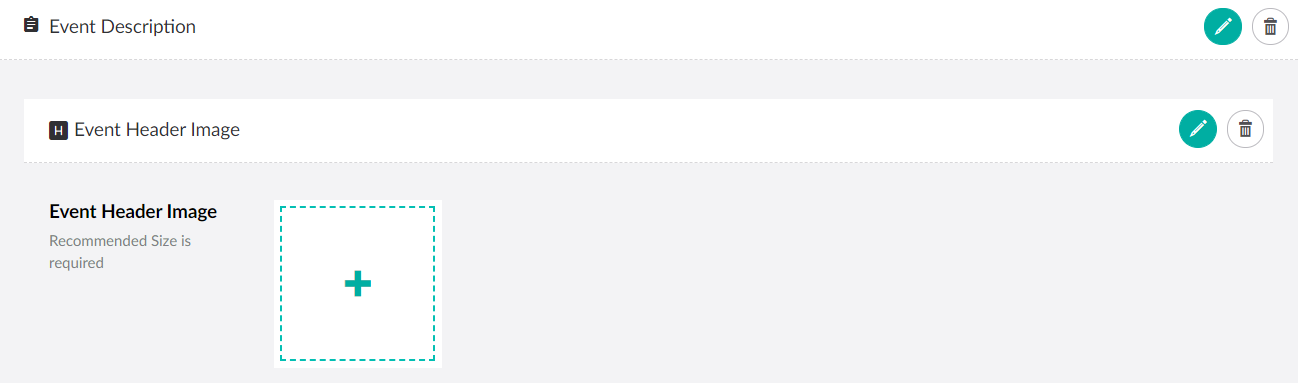
4. Add an Event Header Image if you want an image to be displayed at the top of your page.
5. From here you can drag and drop an image or select an existing one from the media folder.
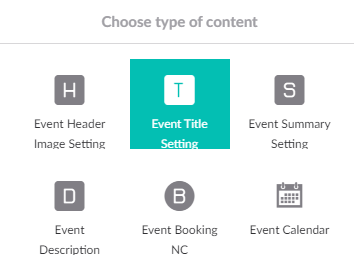
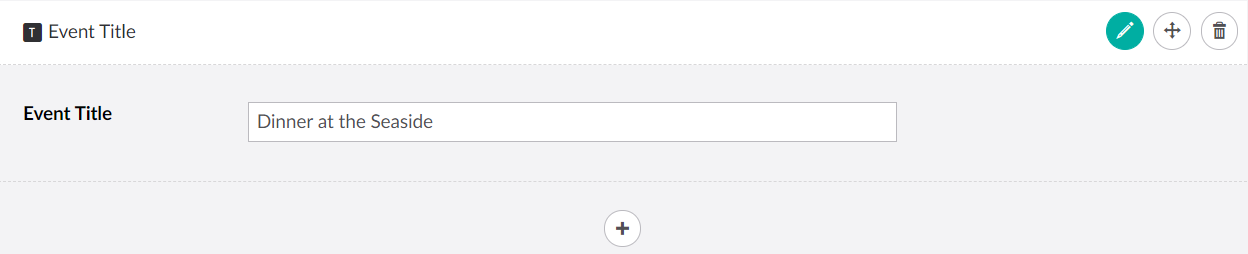
6. Now you can give your Event a Title.
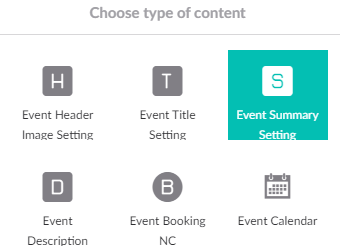
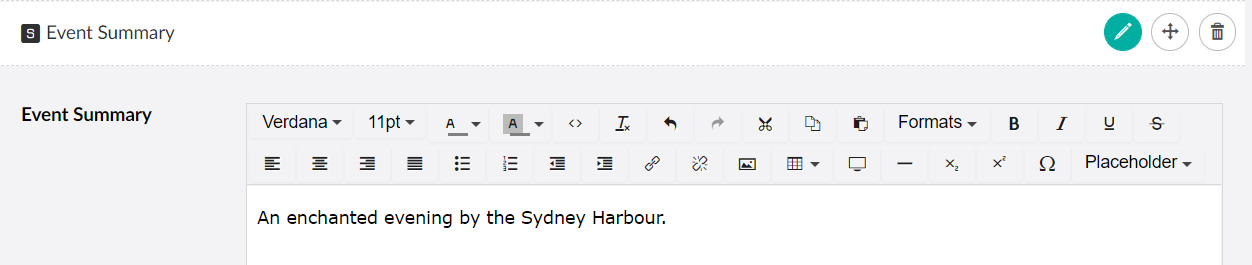
7. Once you have a title and banner you can then summarise your event.
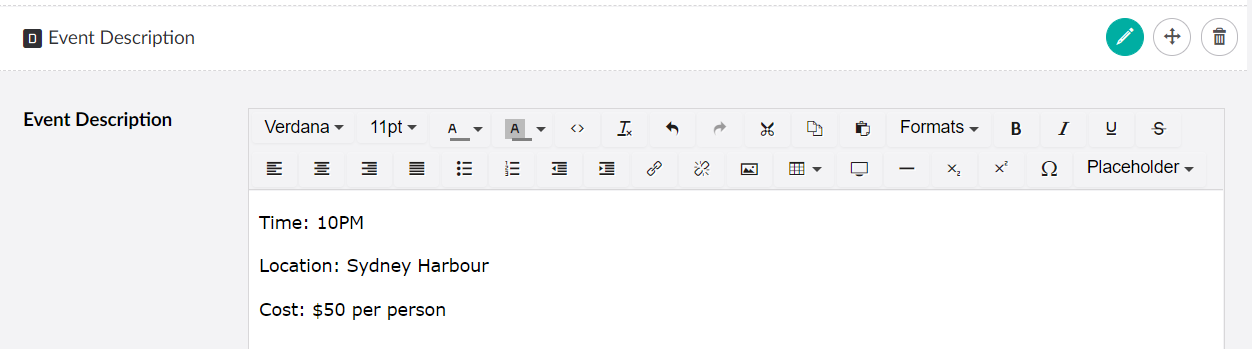
8. You can then add a full and detailed description of your event.
9. You can then add nested content to your event. This lets you change the text of the Event Booking Button.
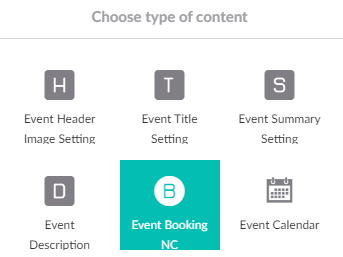

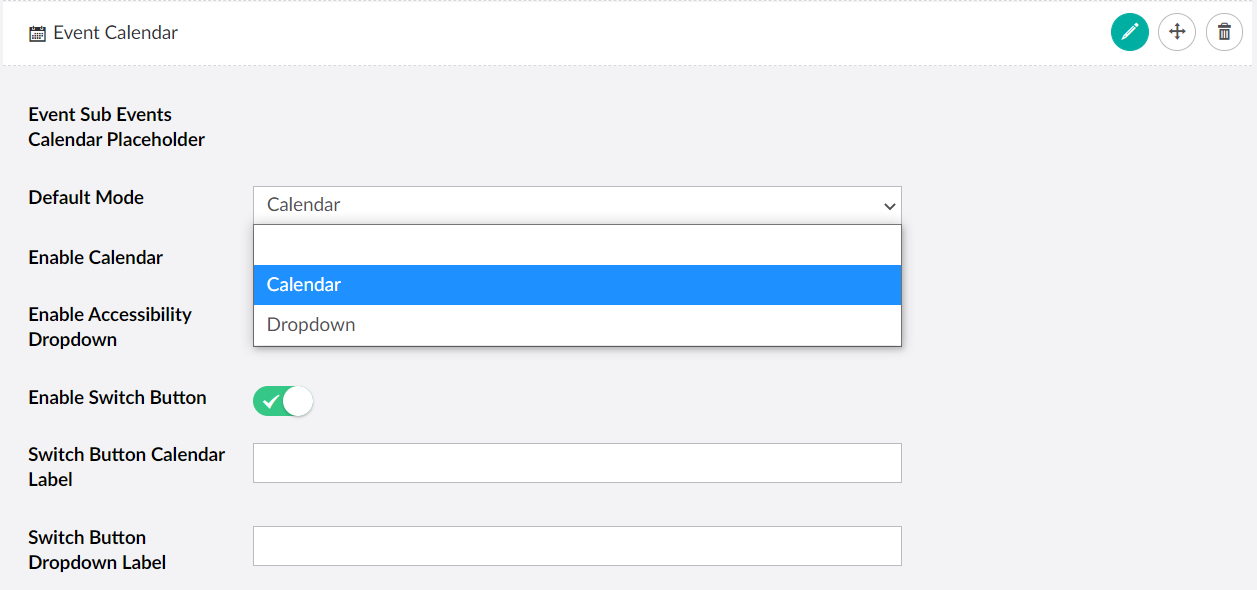
10. You can add an Event Calender to your event.

11. You can then configure the Event Calender to be either in the form of a Dropdown or a Calender
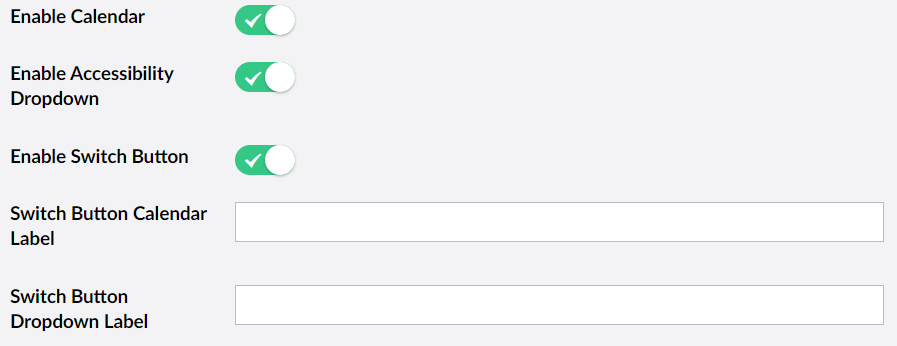
| 12. | In addition you can disable or enable the calender to determine if it will be visible on the page. If it will or will not use accessibility features and if the switch will be visible. In addition the default labels for the switch can be changed. |
13. After setting up the Event Description you will need to set the Event Attendee Settings. Please see the following help article for details on how to set this up:
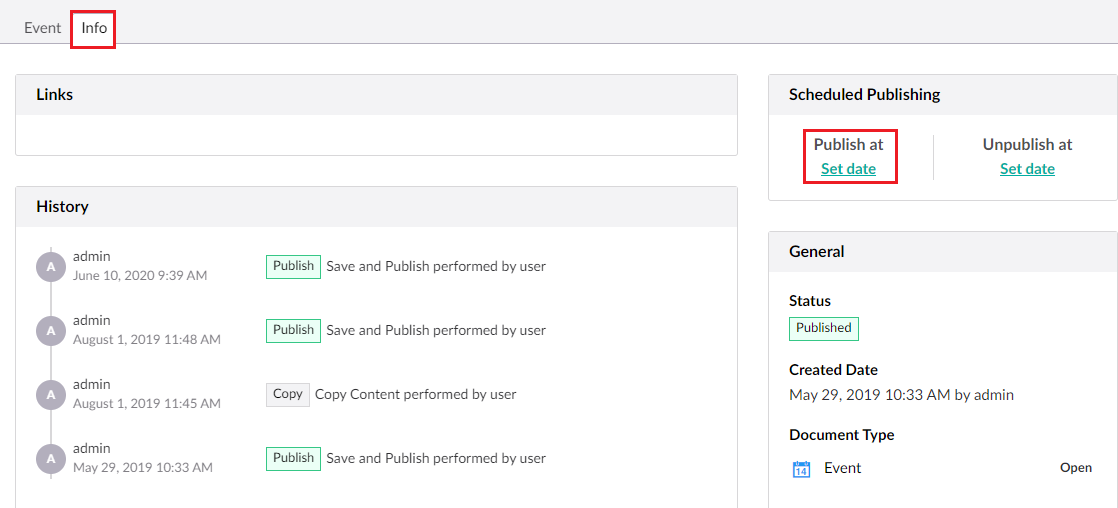
| 14. | You can also set the Date/Time to publish your event if you don't want users to be able to see it before it is supposed to be. To do this go to the Info Tab and use the Publish At Set date option. You can also choose an Unpublish Date as well. |
 |
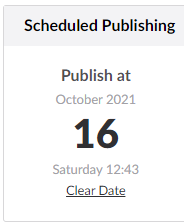 |
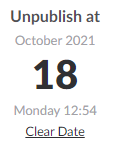 |
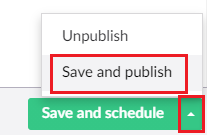
15. Once everything has been setup don't forget to use the option Save and publish or if you have set a Publish Date Save and schedule.
Note: If you set an Unpublish Date and need to make changes don't forget that you need to make sure that you select Save and publish, not Save and Schedule.