thankQ Help
The Geo Code power searching will enable you to select an area on a map so you can locate the contacts that are in your system. This can subsequently be loaded into a mailing.
1.Open Power Seach under the Reports Modules or from Contacts
2.Select Include in the first Add Statement field
3.Click into the second field and click onto the Contact Geocode folder
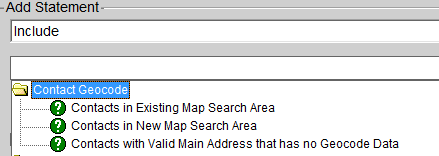
4.Double click on the statement required
5.Click Add to enter the statement in the Chosen Criteria window

6.Click the pick list at the end of the Contacts in New Map Search Area
7.Use the + and – buttons to zoom in and out. Hold the mouse down to grab the map and move to desired position

8.Click Map and tick Terrain if you want to see this type of view, untick to remove

9.Click Satellite and tick or untick labels to display the labels

10.Click Map to go back to the map view
11.Double click or zoom into an area that you are wanting to capture
12.Click Start Polygon top left corner
13.Enter a name and or description for the geo code search
14.Click onto the map where you want to start the polygon and then click the next point

15.Continue to click to capture the area. Click Clear Polygon if you wish to start again

16.Click Apply Polygon
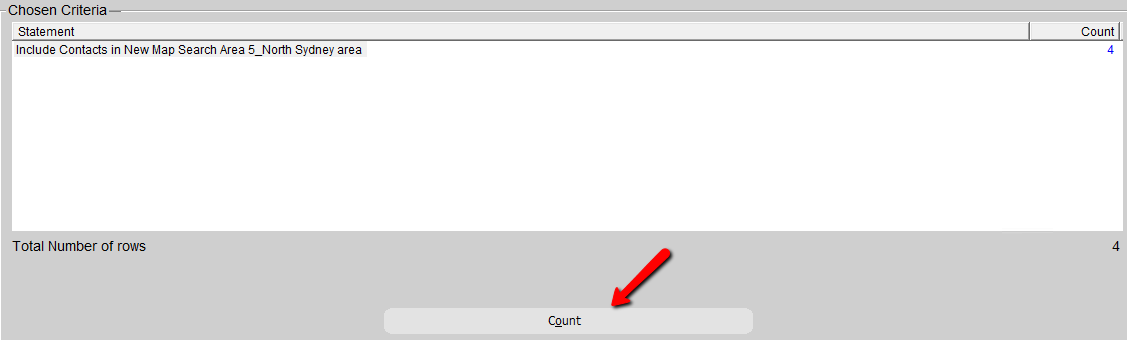
17.Click Add to add the statement to the Chosen Criteria window

18.Click Count
19.Click Save on the tool bar if you want to save this search, making sure you have the folder open where the search is to be saved
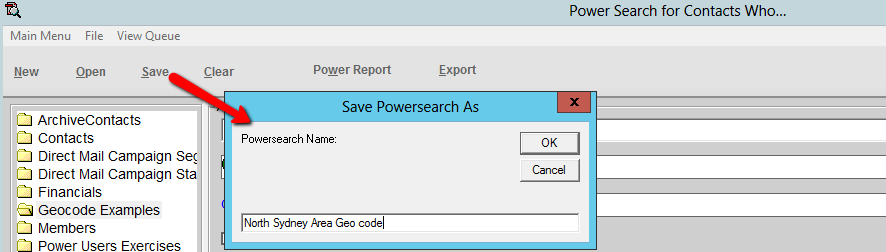
20.Click OK if everyone can use this search or select the users that can
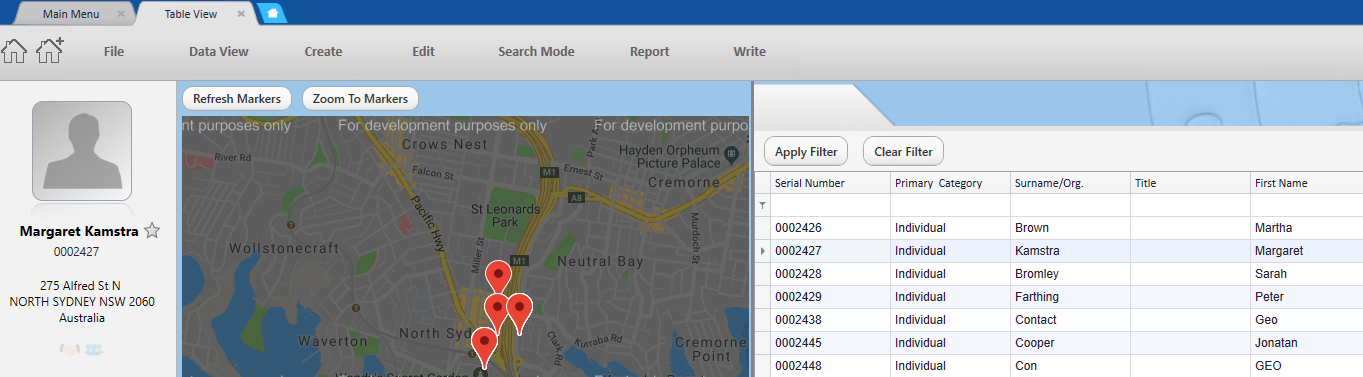
21.Click Finish to view the contacts on the contact form
22.Click Table View to view the contacts. Markers indicate the contacts whereabouts