thankQ Help
•Add payments that both match and do not match the conditions setup above
•Continue to Receipts

•The receipt recipients will be loaded into a mailing.
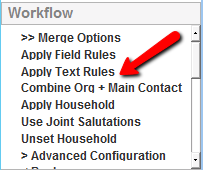
1.Click the Apply Text Rules option on the Mail Manager workflow
2.Select the set of rules to apply from the drop down menu and click the Ok button.
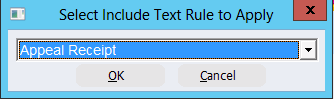
3.The Text Rules Applied check box will be checked.
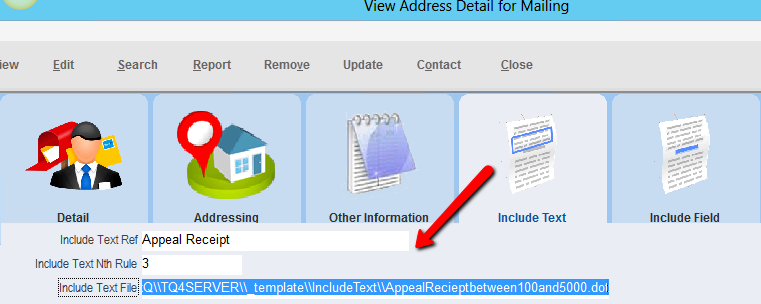
4.Click in the Number Loaded field. The Include Text tab on the Mailing Detail form will display which include text rule returned true for that contact in the mailing.
5.When merging the mailing select the base template you created with the include text code. ThankQ will insert the text from the include text file for the rule that was selected for each contact in the mailing.
|
ThankQ Receipt, ThankQ Receipt – Text Rules, Receipt_Type1.dot, Receipt_Type2.dot and Receipt_General.dot, are shipped with thankQ. Never amend the thankQ receipts. Keep them as sample receipts and copy and paste when you need to create new receipts. You can add your organisation’s header to your own personalised receipts. |

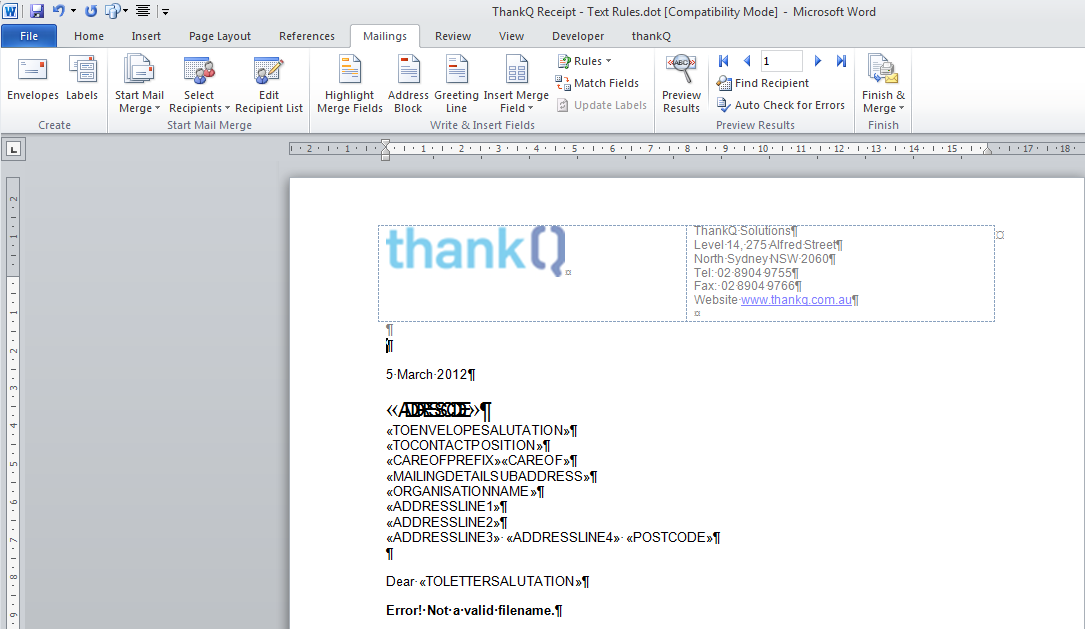
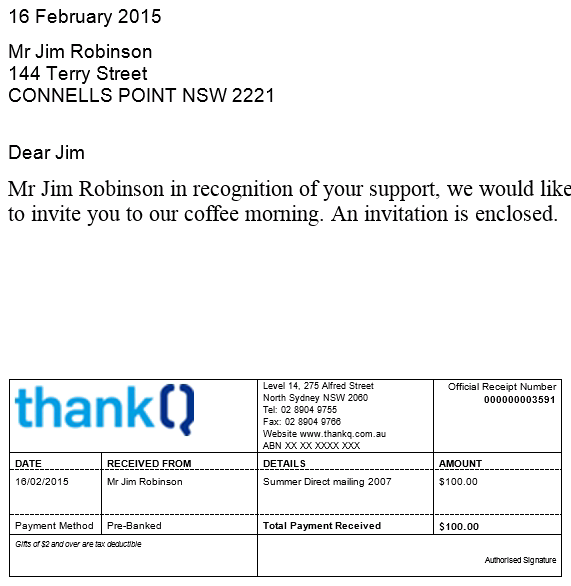
6.The template will appear and will look similar to the one below.
7.Select Finish & Merge, then Edit Individual Documents.
8.Each receipt in the mailing will be generated and the appropriate text for each source code will be inserted into the receipt.
The merge field Error! Not a Valid filename should not appear on any letters after a merge. If it does appear, this will indicate that either the path has not been set up correctly or the default rule has not been set up correctly.
