thankQ Help
1.Click on the Communication module.
2.Click on the Mail Manger icon.
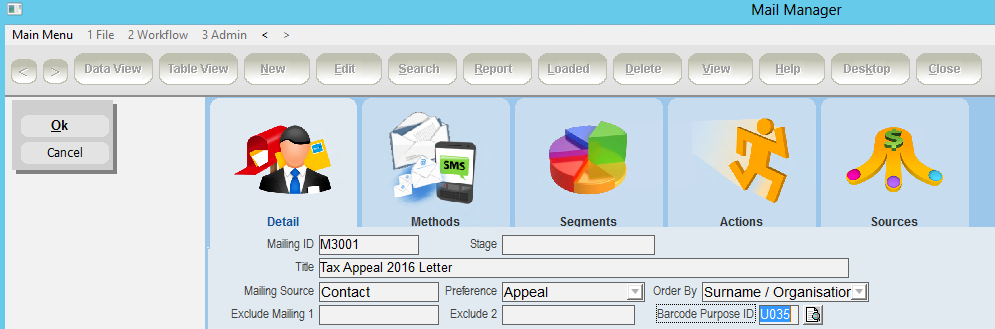
3. Click on the New button on the tool bar.

4.Enter Title and select a Preference.
5.Click on the Pick List beside Barcode Purpose ID and select the ID for BPay.
6.Click OK.
7.Click Standard Mailing under the Workflow window.
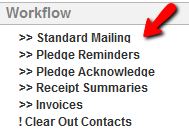
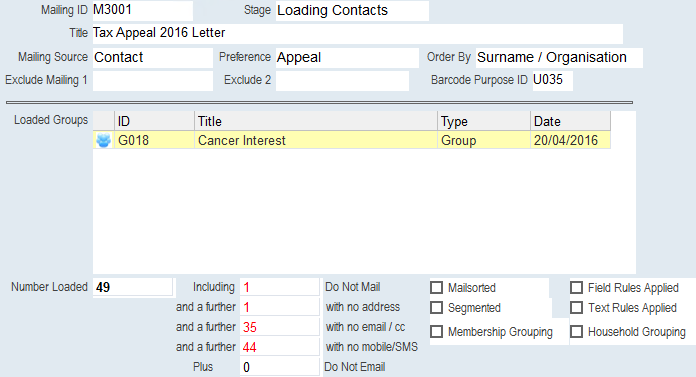
8.Load any Groups, Searches etc. for the Mailing.
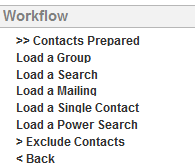
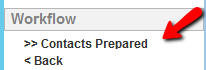
9.Click Contacts Prepared under Workflow.
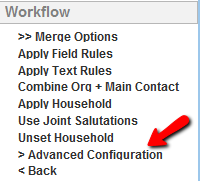
10.Click Advanced Configuration under Workflow.
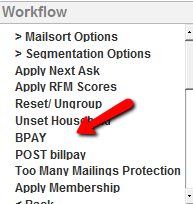
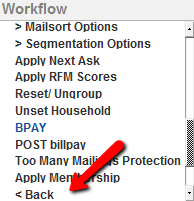
11.Click BPay under Workflow.
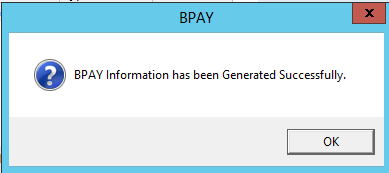
12.Click OK.
13.Click Back under Workflow.
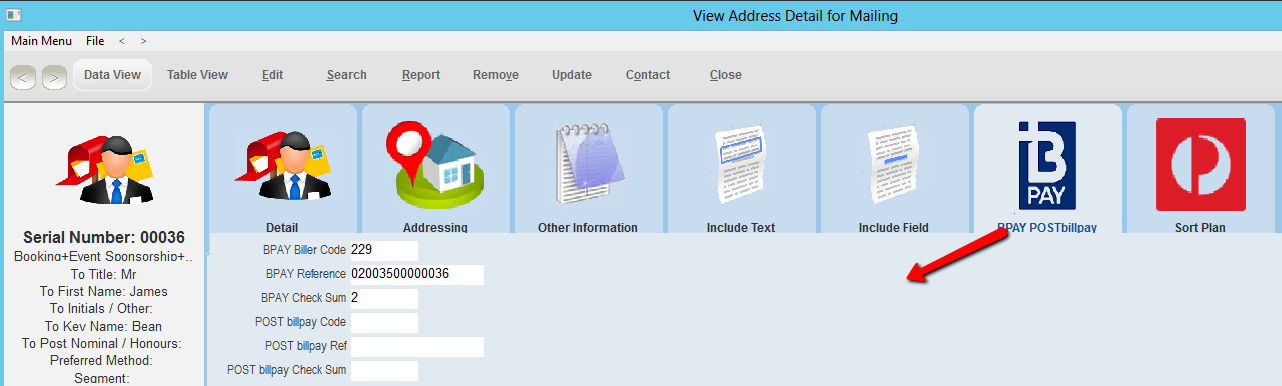
14.To view the BPay codes on the Address Detail form double click in the Number Loaded field.

15.Click on the BPay POSTbillpay tab.
16.When finished viewing the records, click Close.
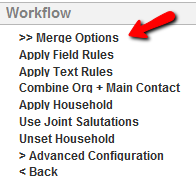
17.Click Merge Options under Workflow.
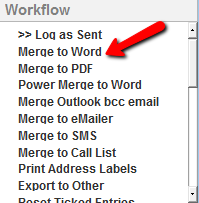
18.Click Merge to Word under Workflow.
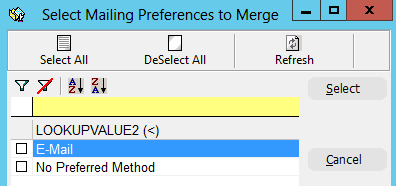
19.If the Select Mailing Preferences window appears select the Preferences to merge. If merging all to Word click Select All which will tick all of the Preferences.
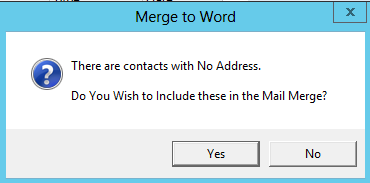
20.If the message asking to include contacts with no address, click No.
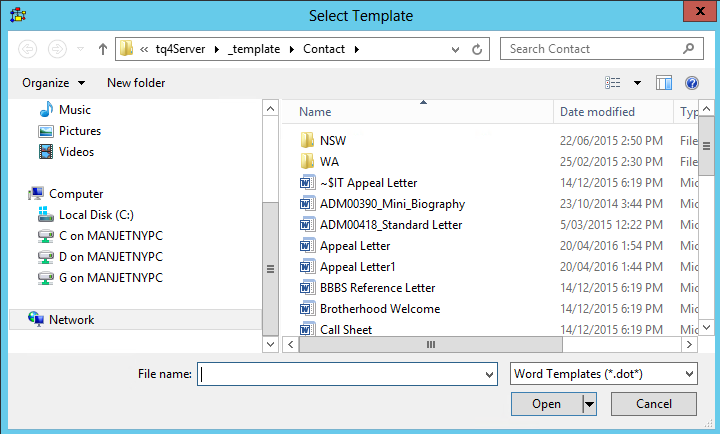
21.Select the template to use in the merge.
22.Click Merge to Finish on the ribbon in Word.
23.Click Edit Individual Documents.

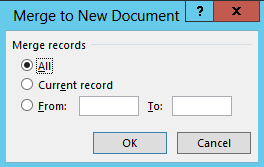
24.Click OK to select all records.
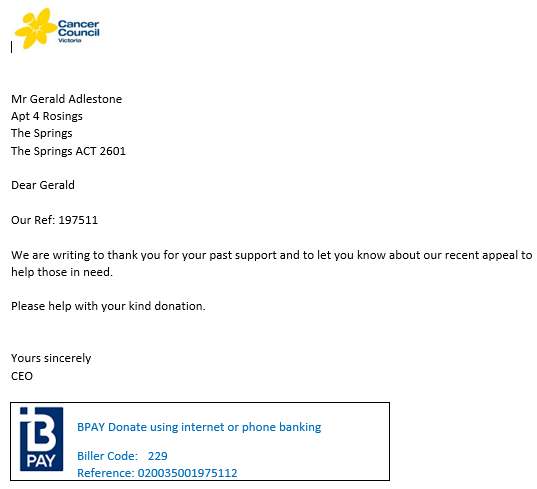
An example of a Merged Document:
25.Print the mailing.
26.Click the thankQ tab and Log this Word Document.

27.Enter a Subject for the mailing or OK to continue.

28.Exit the Word documents.
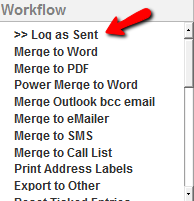
29.Click Log as Sent under Workflow to save a link under the Communications tab of the contacts.
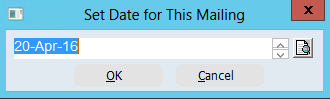
30.Enter or select the Date for the mailing.
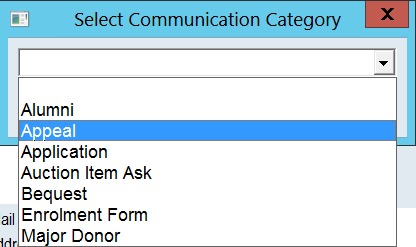
31.Click Yes or No to assign a Category for this mailing.
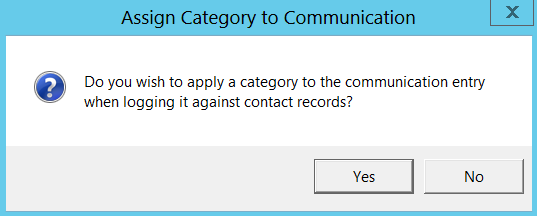
32.If you selected Yes then you will need to select the Category to log.
 |
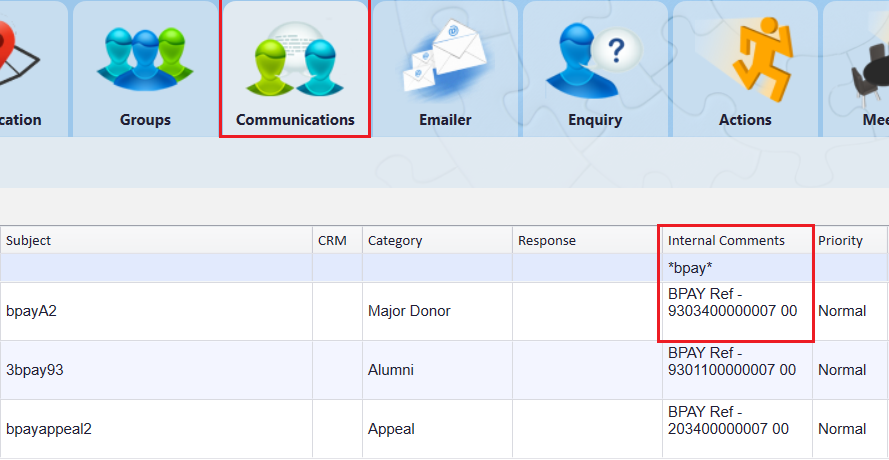
33.All of your BPay mailings will be logged as a Communication record against the contact. The BPay reference of that contact can be found in the Internal Comments column on the Communication sublist for this contact.
 |