thankQ Help
Pledges can be setup under Automation Scheduler to Load into a batch automatically but there may be times when a batch needs to be created manually. This can then be scheduled for processing via Batch Processing.
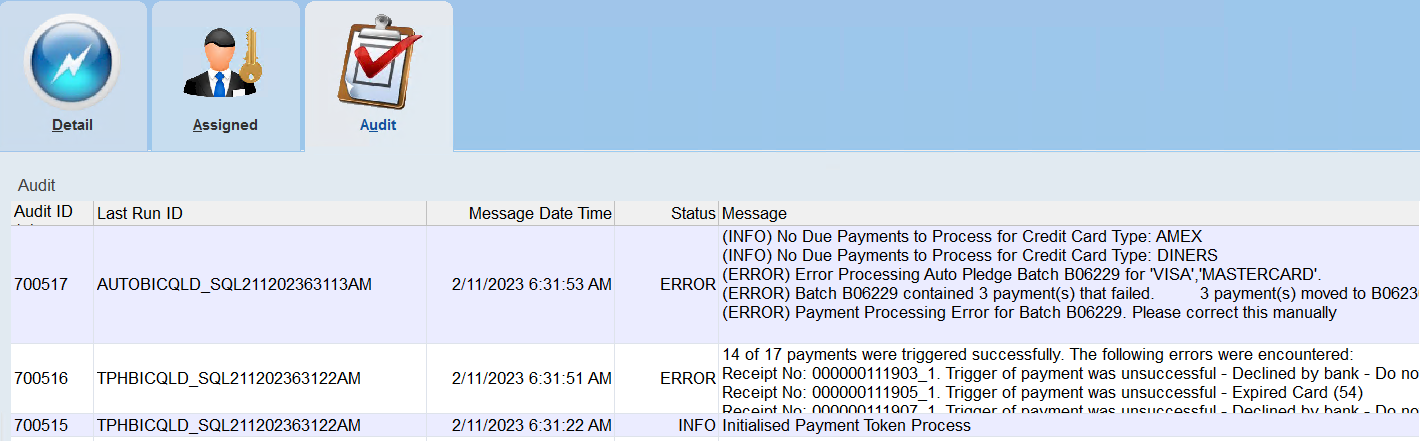
Any failed batches that were created from the Automation Scheduler can be setup to be rerun once the contact has been contacted to find out if they have new card details etc.
1.Click Batch Information under the Finance Module.

2.Click New on the tool bar.
3.Click Yes to create a Batch for Automation.

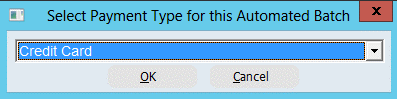
4.Select the Payment Type from the dialog box which be either Credit Card or Direct Debit.
5.Click OK.
6.Enter or Select a Batch Type.
7.Enter a Description that describes what this batch is made up of.
8.Select the Account Number.
9.Click OK.
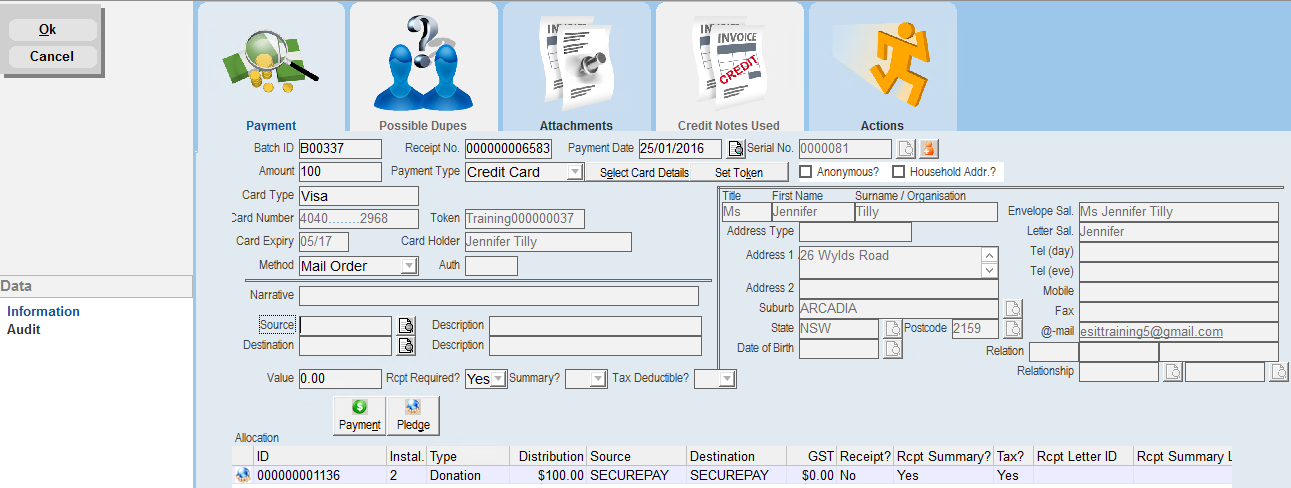
10.Click New Payment under Workflow.
11.Click the Pick List beside Serial No. and locate and select contact.
12.Enter the Amount.
13.Click the Pledge button and select the instalment(s) being paid.


14.Click OK to save details.
15.Repeat for all payments.
16.Close the Payment form making sure you are on the Batch Information form.
17.Run the Batch Report if required from Report on the menu or tool bar.
18.Click Submit for Checking under Workflow.
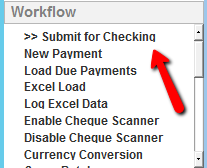
19.Click Submit for Automation when this batch is ready to be picked up for the overnight automation.
20.If there are any errors these will appear in the Automation job Auto Pledge Processing.