thankQ Help
This option is used to load all payments in a specified date range into an existing batch or a new one.
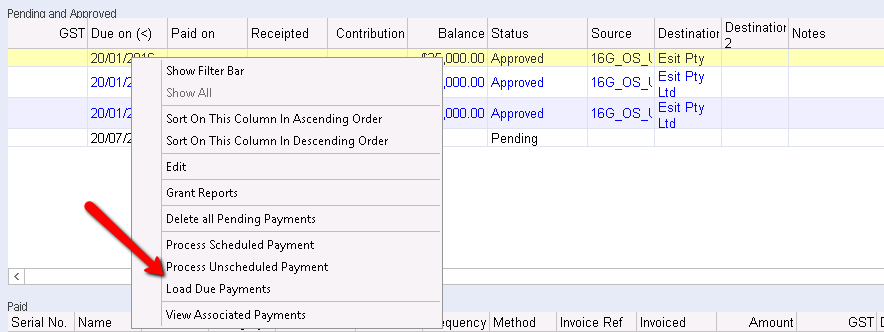
1.Click on the Payment Schedule tab
2.Right click in the Pending and Approved window and select Load Due Payments
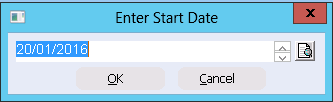
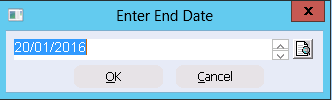
3.Enter a Start and End Date
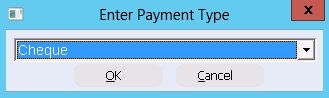
4.Select the Payment Type from the drop down
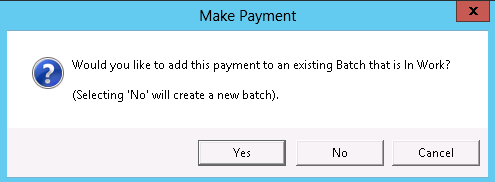
5.Select No to create a new batch or Yes to add to an existing batch
All payments due for the date range specified will be inserted into a Grants Giving batch
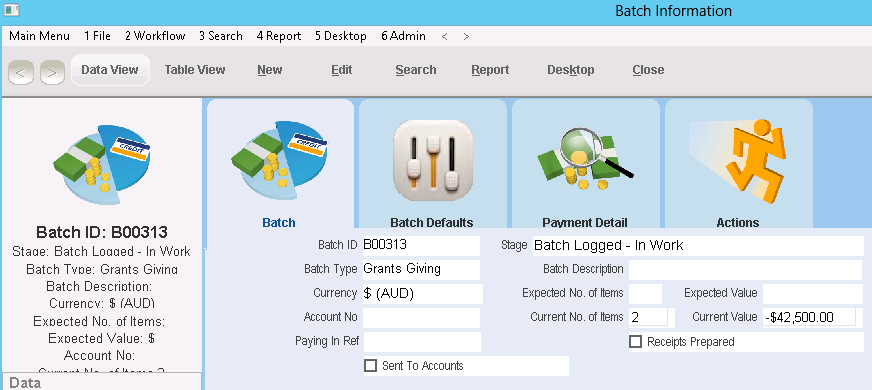
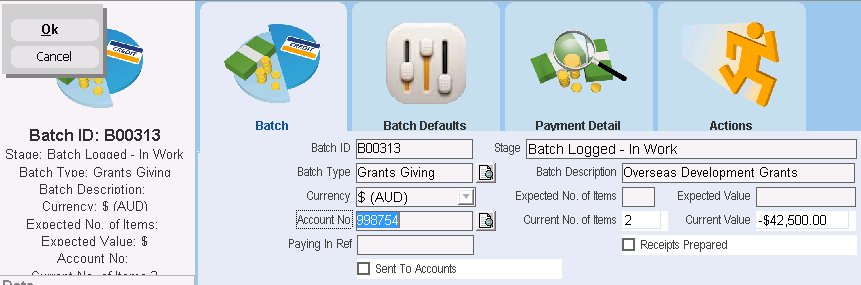
6.Edit the Batch and select the Account No. and enter a Description
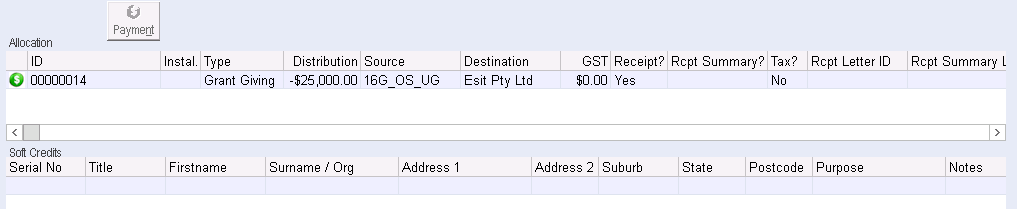
Any payments for the same Destination will be in the same Payment Details form.
In the example below there were two payments under the Payment Schedule for a Contact with the same Destination Code.

The payment is going to the Contact setup as the Destination Code and a Soft Payment is created for the Contact the payment was for.
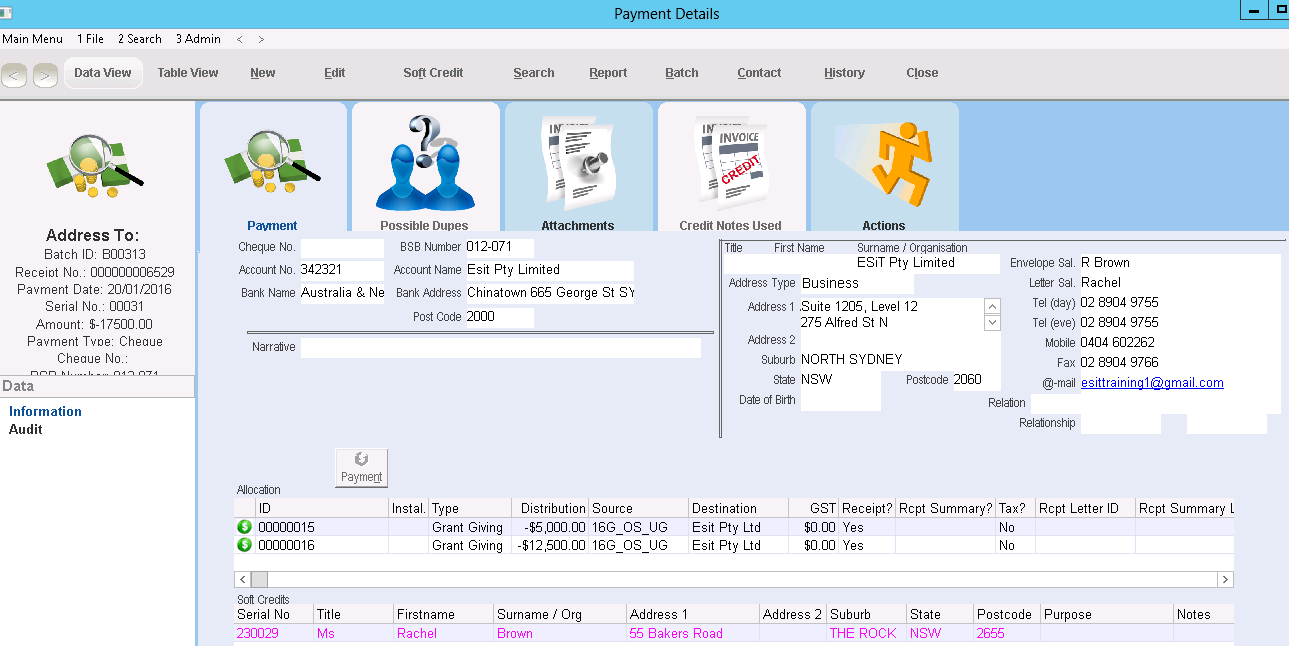
In the example below even though it is the same Grant/Project and the Destination Code is the same as the example above, there is no Contact for whom the payment is for

7.Run a Batch Report if required from the drop down beside Report

8.Click Submit for Checking in the workflow window
This step is only required if you are creating an ABA file for internet banking to pay the Payees.
9.Click on EFT File and select your Bank for Direct Deposit

10.If a list for the BSB appears select and click OK
11.Enter a File Name and select a location for the ABA file to upload to the bank
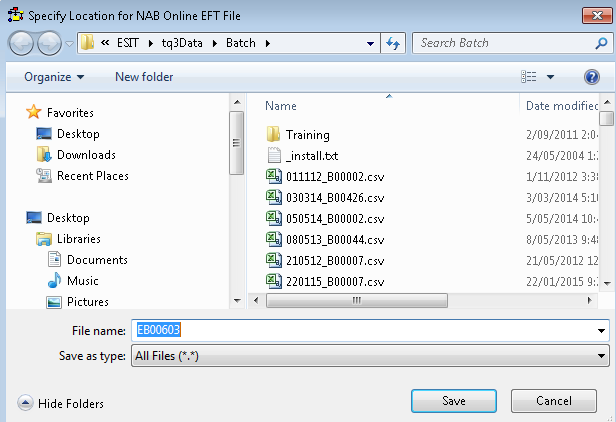
The file created can now be uploaded to internet banking for processing

The EFT submission results can be found under the Batch Defaults

Continue to process the batch as usual
12.Click on Set Payments as Successful and answer Yes
13.Enter a Result or click OK to accept Manual Approval
14.Click on Approve Batch and click Yes
15.Click to Log as Posted to Accounts
Once a batch has been approved any scheduled payments in the grant will be updated to reflect their next due date, amount paid and outstanding.