thankQ Help
In the event that was setup there were two events that could be booked.
The stepper information is shown at the top of this page.
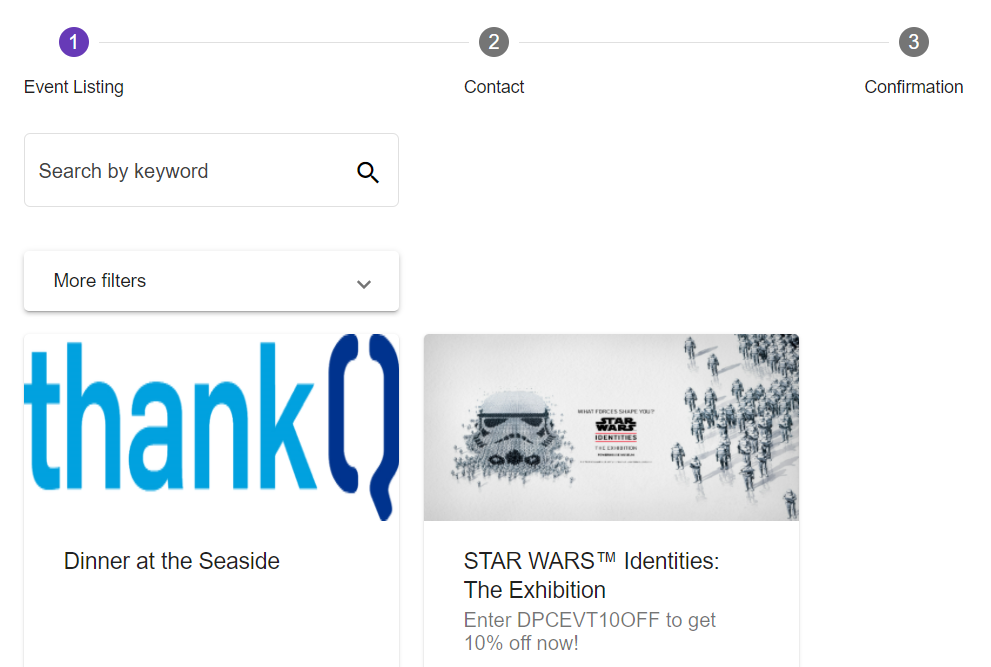
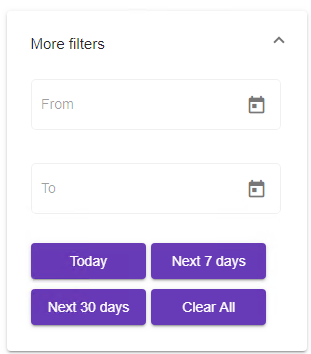
Users can search for an event in the Search by Keyword field and also click on the drop down under More filters where they can enter date ranges or click on a button to view Today, Next 7 days etc.

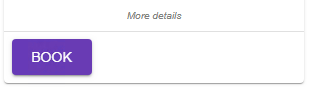
1.The contact clicks on the Book button associated to the event they are wanting to go to.
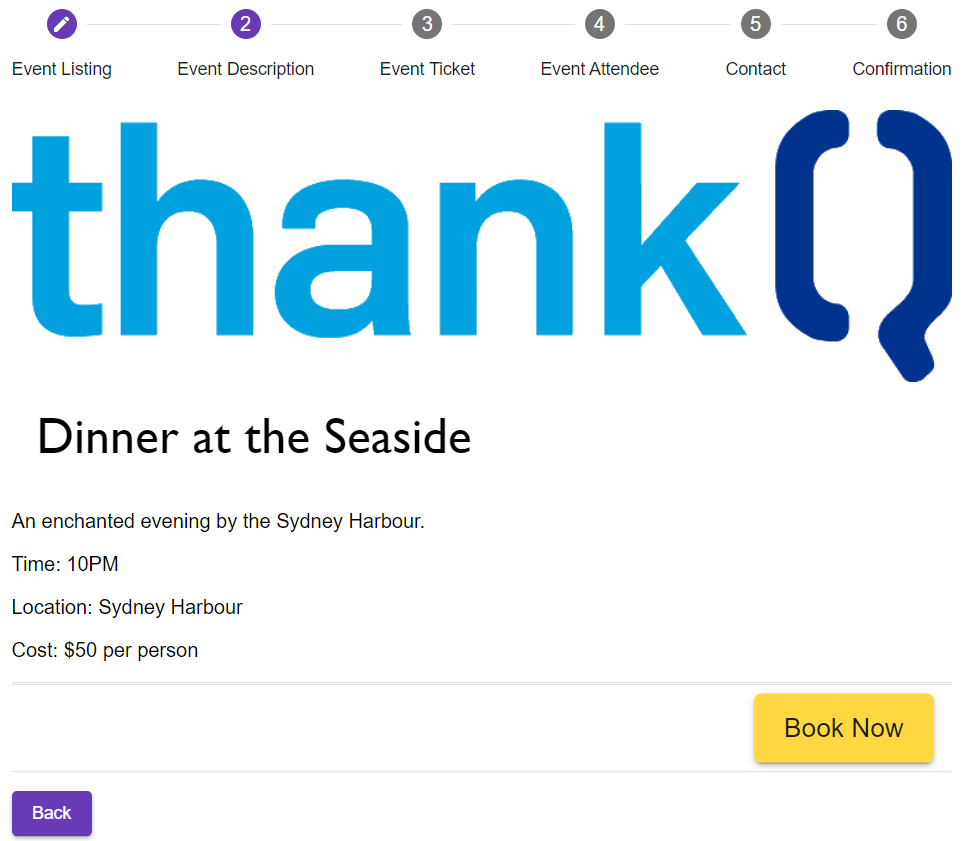
They move to the next page which has new stepper information and more images and information about the event.
2.They then click the Book Now button to book onto this event or they click the Back button to go back.
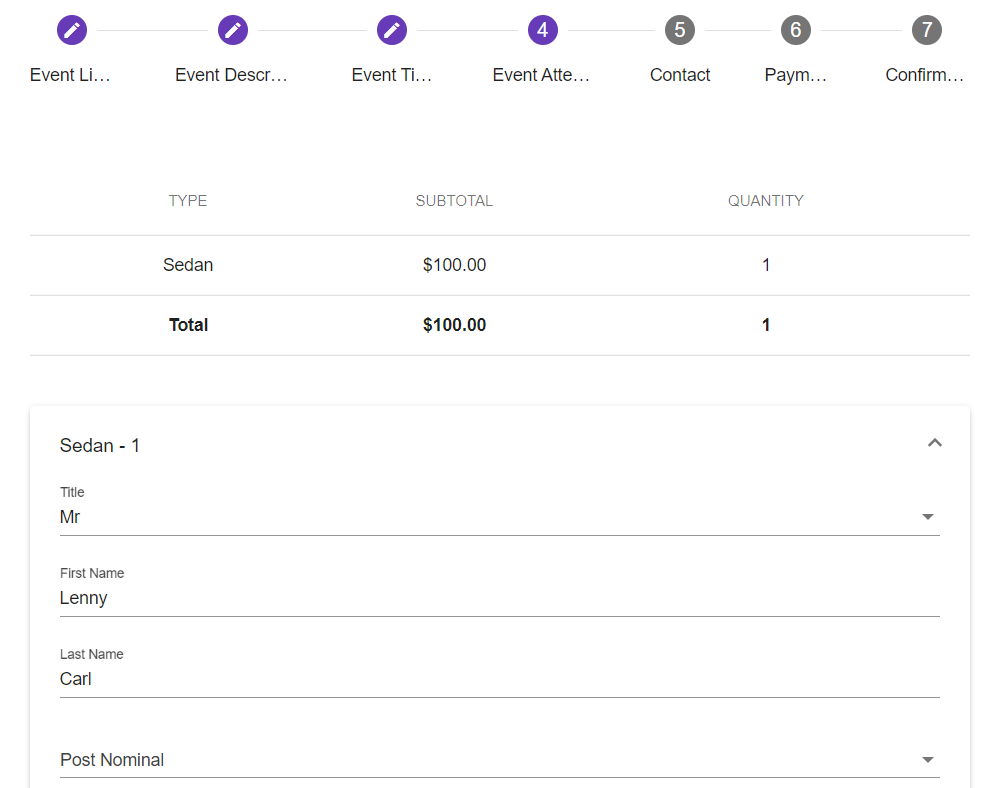
The Attendee/Ticket types that have been setup in thankQ and have been marked to show on the web are displayed.
3.The contact selects which tickets they wish to purchase. They can only purchase up to an amount of tickets that have been stipulated in thankQ.
4.They click Next to move forward or Back to move back.

A confirmation screen appears with the amount of tickets they have nominated.
5.They click Next to confirm and move forward or Back to make changes. Here they can also fill out the details for each attendee that has purchased tickets.
If they do not complete the mandatory fields they will be displayed in red with an * and the message you have entered.

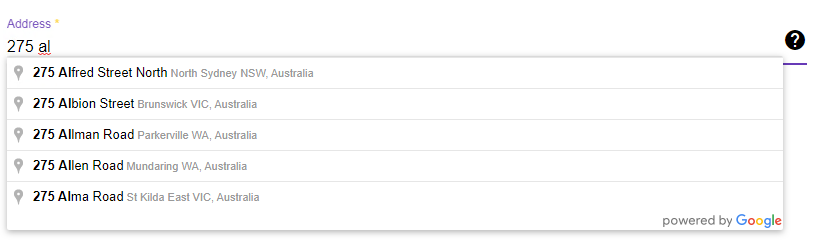
6.Note: If you have added Google addressing to the web page when people start typing their address a list will appear which they can select from. If their address does not appear they can click the ? and enter it manually.
Note: If you are not capturing/downloading the attendee’s information to create contacts, you would not need to add address information in the setup. If you are just capturing this information for allocation information only, the names would suffice.
7.They click Next to move forward or Back to move back.

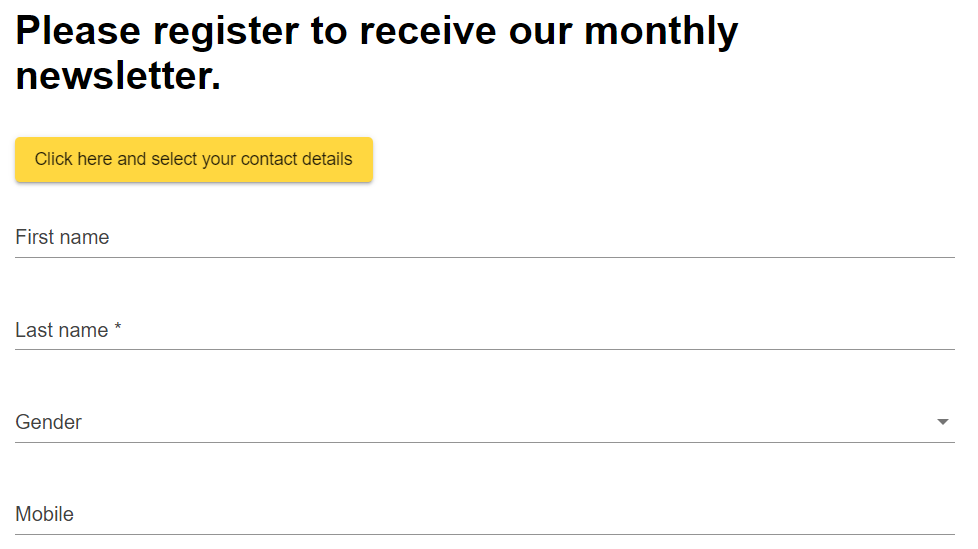
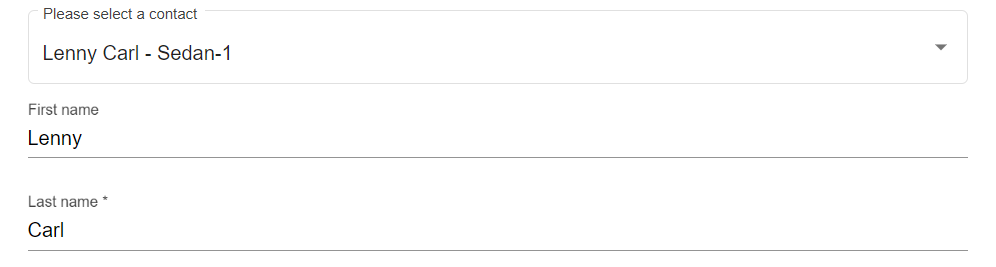
8.Click the Click here and select your contact details button to select the contact information if the booker is the same person registering, or enter the information of the attendee if it is different. Note this page will not appear if you have unticked the option Display Event Attendee Form.

9.They click Next to move forward or Back to move back.

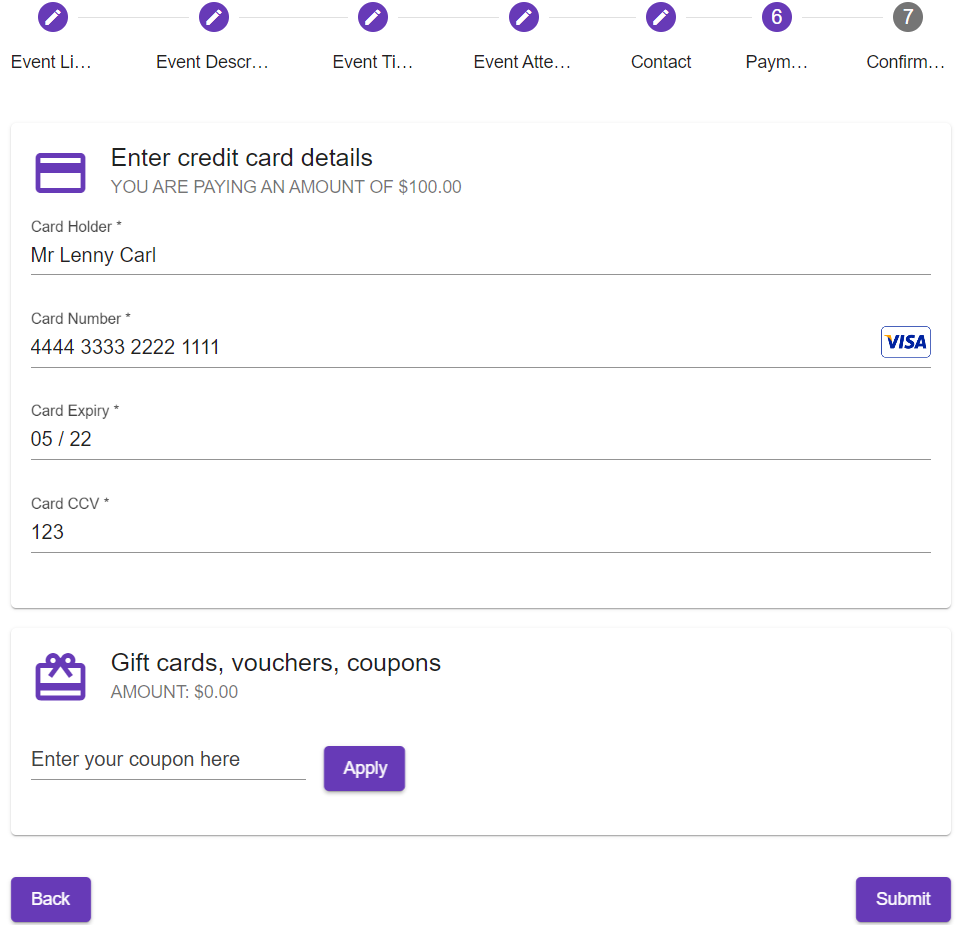
10.They enter their credit card details into the appropriate fields.
11.They enter a Promo Code if they have one to get a discount.
12.They click Submit to book and pay for the tickets or Back to move back.