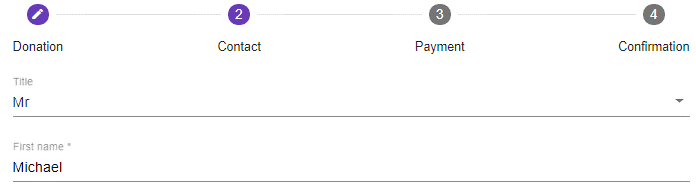
thankQ Help
When users go to your donation page the stepper is at the top and then in this example we begin with a narrative. If you had added Header information you could display logos or other images.

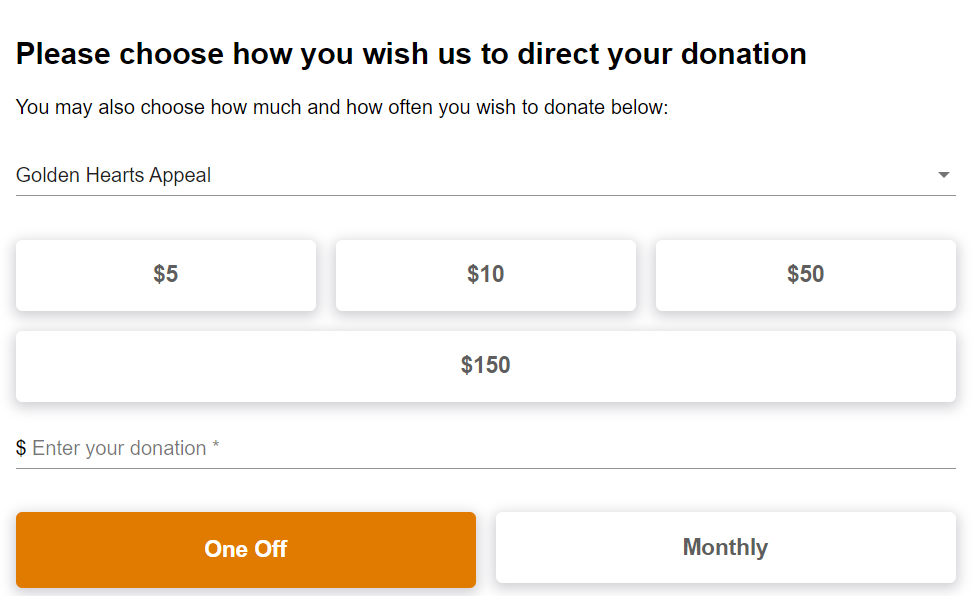
1.The contact clicks on the drop down beside General Donation to get a list of what they can donate to:

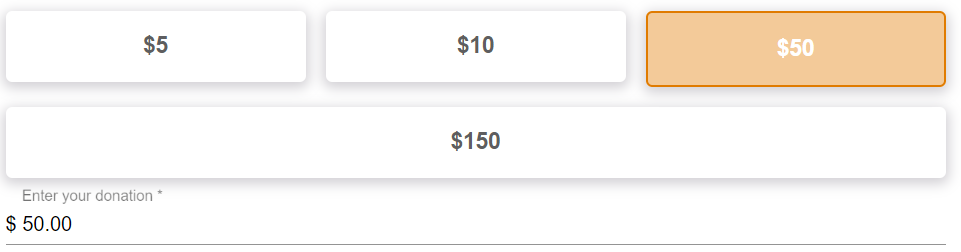
2.They then either click on an amount or enter the amount on the $ line:
3.They then click whether this is a One Off donation or whether they are going to give on a regular basis. We have only given them an option of Monthly or One Off in this example.

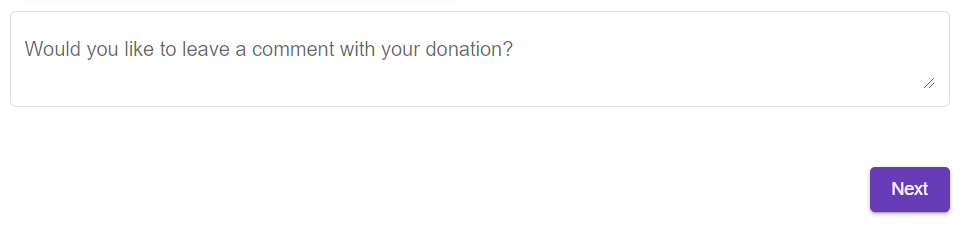
4.They have the option to leave a comment if they like and then click Next to move to the next stage.
The next page is displayed where the Contact details are captured. On this page we have asked them a couple of questions (Profiles) and if they would like to subscribe to our Newsletter (Mailing Preferences) and how they would prefer to receive this (Preferred Method).
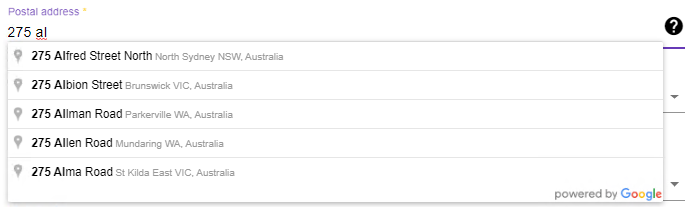
If you have Google Addressing when they enter an address a list of choices will be displayed. If the address cannot be found, they can then enter this into the fields that will open.
5.The contact enters their contact details as follows:
6.They start typing their address and if Google Addressing is activated they can select from a list.
If they cannot find their address they can click on the ? and enter it manually.
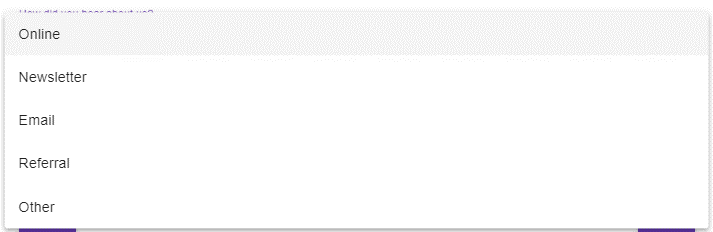
7.They click on the question about how did they hear about us and select it from the list:
8.The Newsletter mailing preference is already ticked so they can either untick it or leave it ticked so they can receive the newsletter.
9.They can select the method they would prefer to receive the newsletter.

10.They can then click the anonymous tick box if they don’t want it to be publicly known that they have made this donation.
11.They click Next to move forward or click Back to return to the donation page.

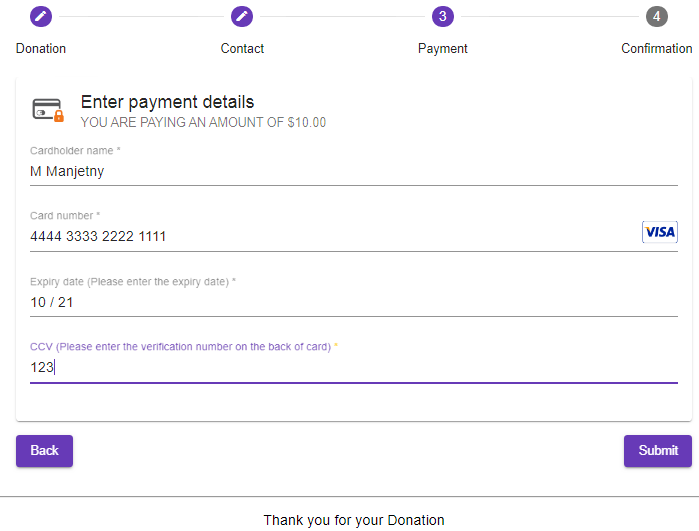
12.The contact now enters their credit card information and clicks Submit to make the donation and move to the confirmation page or goes back to make some changes.