thankQ Help
In the Registration Template you selected this content should already be implemented. However you may still need to change it to meet your requirements.
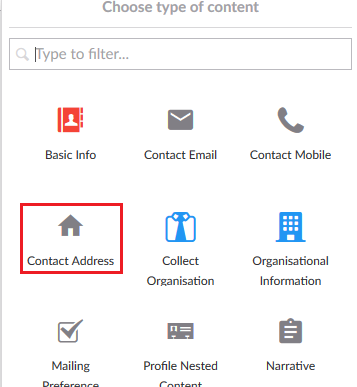
1.Click the + to add the Contact Address.
2.Edit the Label names if you require something different.
3.Untick the labels you do not want displayed on the web page.
4.Tick the Mandatory tick box if a piece of information is required.
5.Enter a Mandatory error validation message if required.
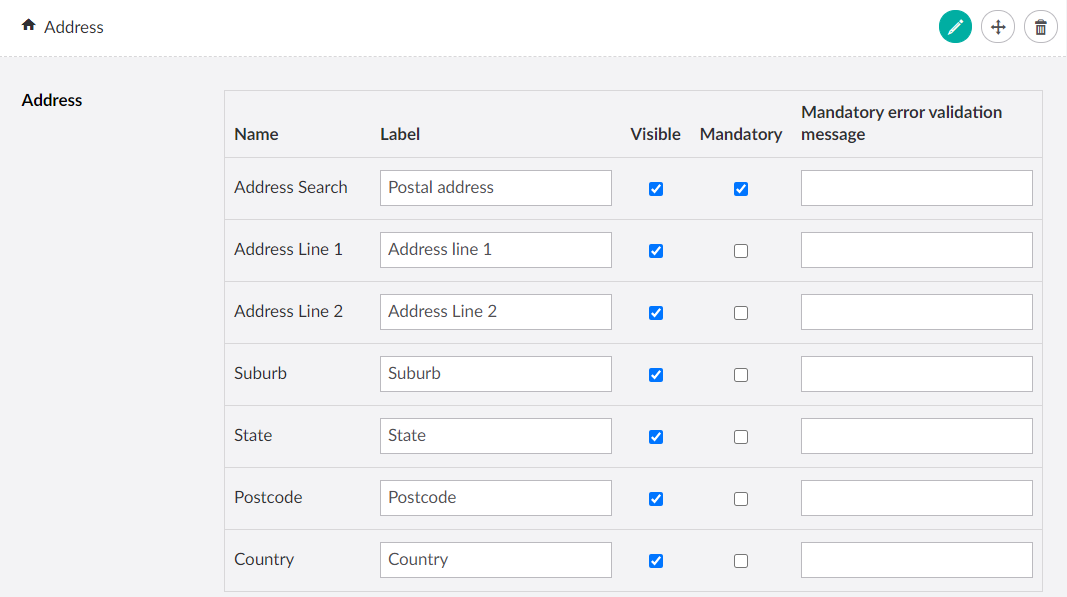
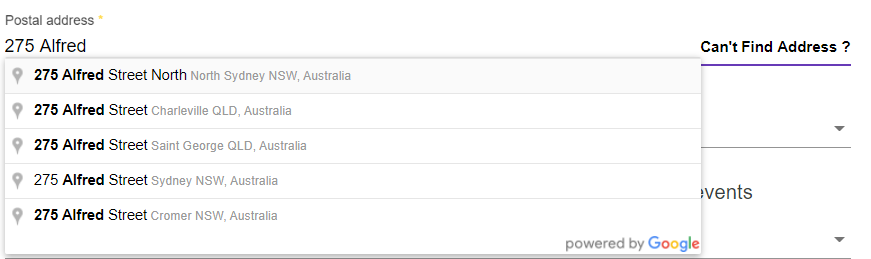
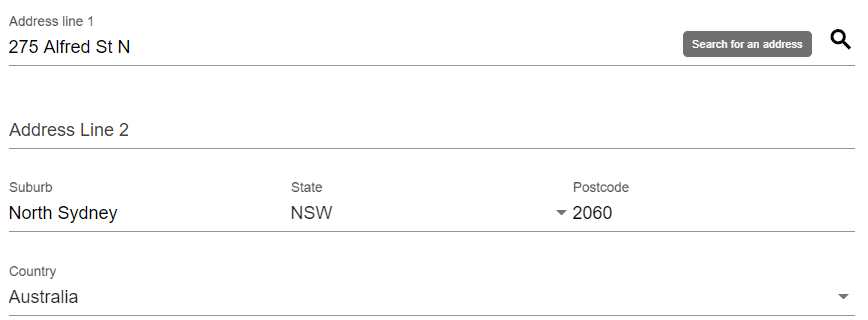
6.Note when the option Address Search is selected AND the Mandatory option is toggled AND you have a Google Address Key configured all of the other address fields are initially hidden and the user will be asked to type their address. If they select the option Can't Find Address? on the page then the other fields will be revealed.
7.Toggle the options Display Inline or State Drop Down on or off if you want to change the way these address fields are displayed.
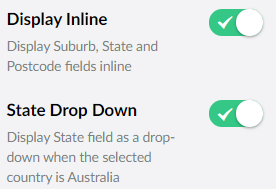
| Note: Display Inline will make Suburb, State and Postcode appear on the same line. Switching it off will cause these fields to display in the same way the other fields are displayed (vertically stacked on top of one another). |
8.You can also change the Address Type of an Individual or Organisation contact based on the Address Types you have uploaded from the thankQ Database. For more on organisations see Capture Organisation Information. Note that these settings do not allow the user to change their Address Type, this is simply which Address Type will be downloaded into the contact records.

9.Click Save and publish