thankQ Help
Batch processing is the method by which details of donations and payments are entered into the system. Batches enable you to record information about the money you receive including the method of appeal that generated the payments and the project/ account to which the funds have been allocated.
thankQ’s process is to Create a Batch and then Load Payments into this batch wherein they are either manually checked that they are successful or one of the EFT automation options can be used for this step. A batch report is created which your Finance Department will require. Once payments are reconciled and the batch approved Receipts can be printed. Any failed payments can be moved into another Batch to be followed up later or deleted.
Batch Information Form
Click the Batch Information icon under the Finance module

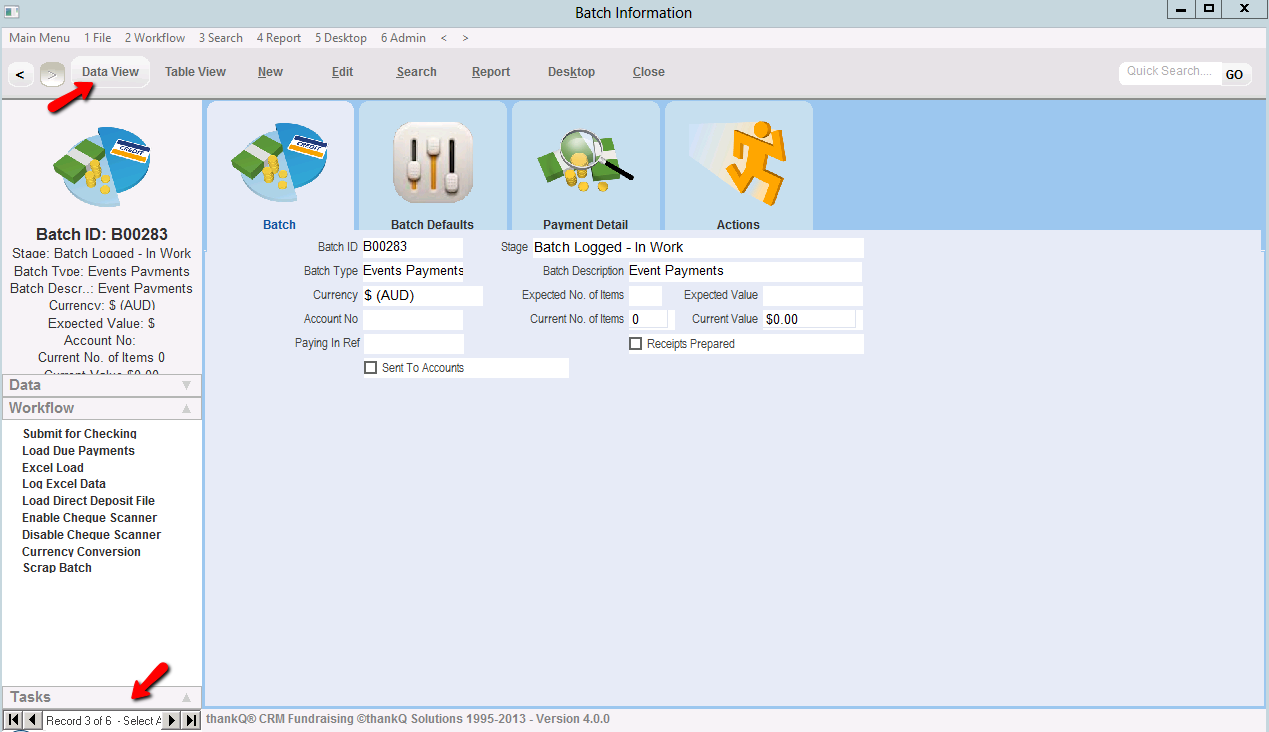
The form opens into Data View. If there are any incomplete batches they will be indicated on the record selector at the bottom of the form.
The Table View tab will display those batches which are in progress. Click to select the batch to which you want to add payments to.
The Quick Search can also be used to locate batches.
There are several steps to processing a batch. Depending on how your organisation processes payments will depend on the steps used.
If you use the EFT upload facility you must have a separate batch for Credit Cards, Amex, Direct Debit and Cash and Cheques as they are processed differently.
thankQ is very flexible in how you use the Batch Processing module.
Some organisations have an EFTPOS machine and process credit cards using that machine and they can then have one batch for all Cash, Cheques and Credit Cards. They then print out a Batch Report for their Finance Department to enter the total amount into the accounting system.
There are other organisations that enter all the payments into thankQ in the appropriate batches, upload credit card and direct debit information using the EFT load facility, print out a batch report for their Finance Department to enter the total into the accounting system.
There are also organisations that have their Finance Department handle all the funds and give the details to the thankQ user and they re-enter the information into thankQ for history and reporting.
So there is no double handling it is recommended to use thankQ to process all payments. Using Secure Pay, Ezidebit or Macquarie in Australia (other gateways for different countries), will give you instant notification of whether credit card amounts are successful and removes a step in the process. There is an extra cost for this EFT gateway load as well as the EFT load feature where a file is created that you can upload to your internet banking. thankQ can also export the financial data so it can be imported into an accounting system. This is also an extra cost.
Please discuss with thankQ the best solution for your organisation.
•Step 1: Create a New Batch
| A Batch represents the banking process. All payments, either incoming or outgoing, are entered into the system by way of a batch. |
| You can have more than one batch open at any one time. |
•Step 2: Add Payments to the Batch
| Each payment received should be entered into the appropriate batch. Payments are added to the batch until it is time to close off and bank the batch. |
| Every organisation closes batches at different times, depending on the volume of payments. |
•Step 3: Verify Batch Report
| When you have completed entering payments into the batch, produce a batch report to verify that all payments have been correctly entered into the batch. |
| At this stage it is still possible to make corrections to the payments in the batch. |
•Step 4: Submit for Checking
At this stage, the payments have all been added to the batch. You can no longer Add or Edit payments.
However you can Delete payments. If payments need to be re-entered, the Batch Stage needs to be changed to Batch Logged – In Work. The Back workflow item can be used to move back to this stage.
Batch reports can also be generated during this stage.
•Step 5: Produce Paying In Slip for Cash and Cheque Payments
| Produce the paying in slip that will be used at the bank to deposit the payments. The paying in slip will detail all the information regarding payments entered into the batch. You can select the types of payments (usually cash and cheques) that you wish to include on the paying in slip. |
•Step 6: Activate EFT upload for Credit Card or Direct Debit Payments
This step is only used if you have this facility configured.
You can upload to the gateway for instant notification and the payments will be marked as either successful or unsuccessful.
•Step 7: Set Payments as Successful
In this stage, payments can be marked as successful. This may involve checking your payments against reports from your bank.
This step will not be necessary if you are using a gateway.
•Step 8: Approve the Batch
Once the batch has been approved you can no longer add, edit or delete payments in the batch.
•Step 9: Produce Receipt Letters
| Receipt letters are produced using Mail Manager and sent to contacts that have made payments and have been marked to receive a receipt.. |
•Step 10: Send Information to Finance Team
| Produce a Batch Report or Finance File and then log the Batch as “Sent to Accounts”. |