thankQ Help
The steps below detail how to configure the Discount Manager for use on the POS System.
Ensure that the ‘Available POS’ checkbox is marked, and that the item has a valid date.
The ‘Available POS’ checkbox is only configurable if the user has the Access Right ‘POS Admin’.
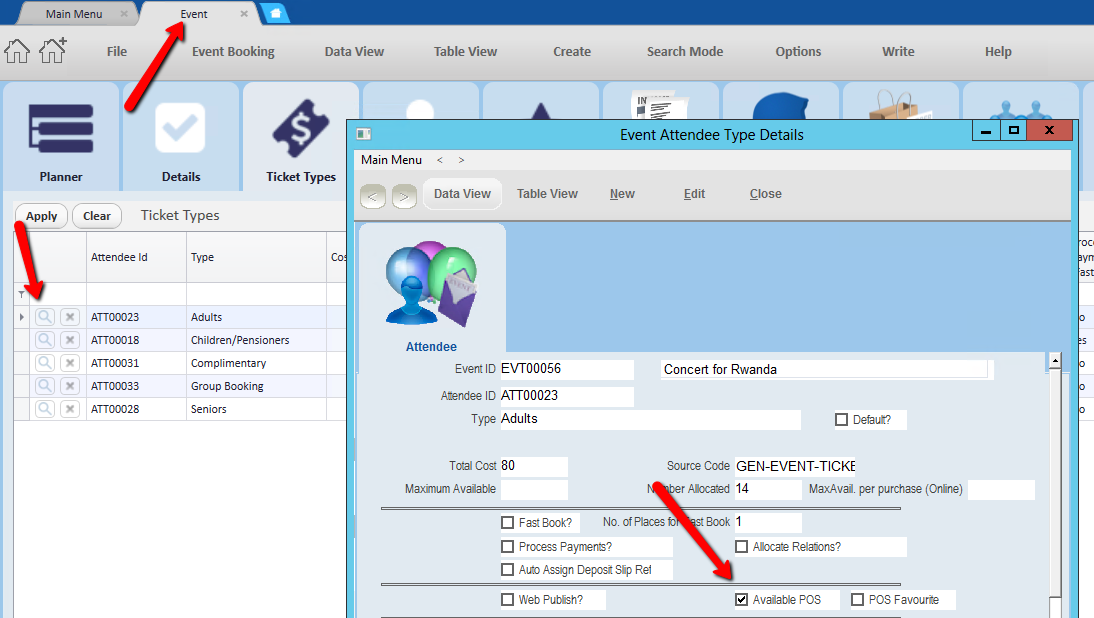
1.Create an Event in thankQ, ensuring that its ticket types are marked ‘Available on POS’.
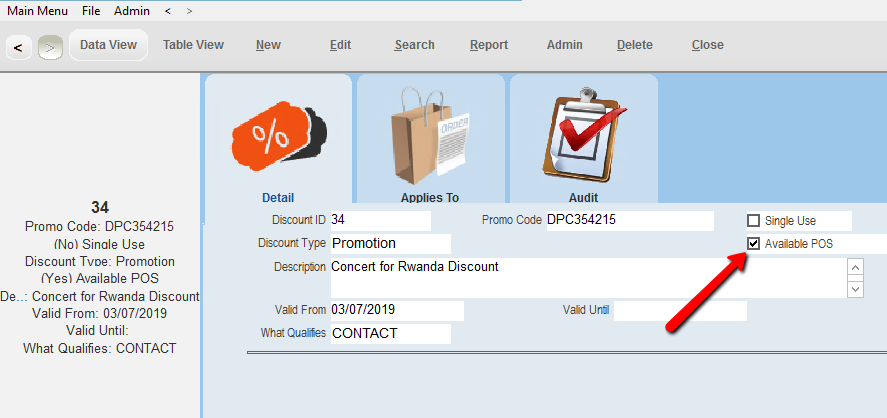
2.In the Discount Manager, create a discount and mark the ‘Available POS’ checkbox.

3.Add the previously created Event to the Event field in the ‘Applies To’ tab.
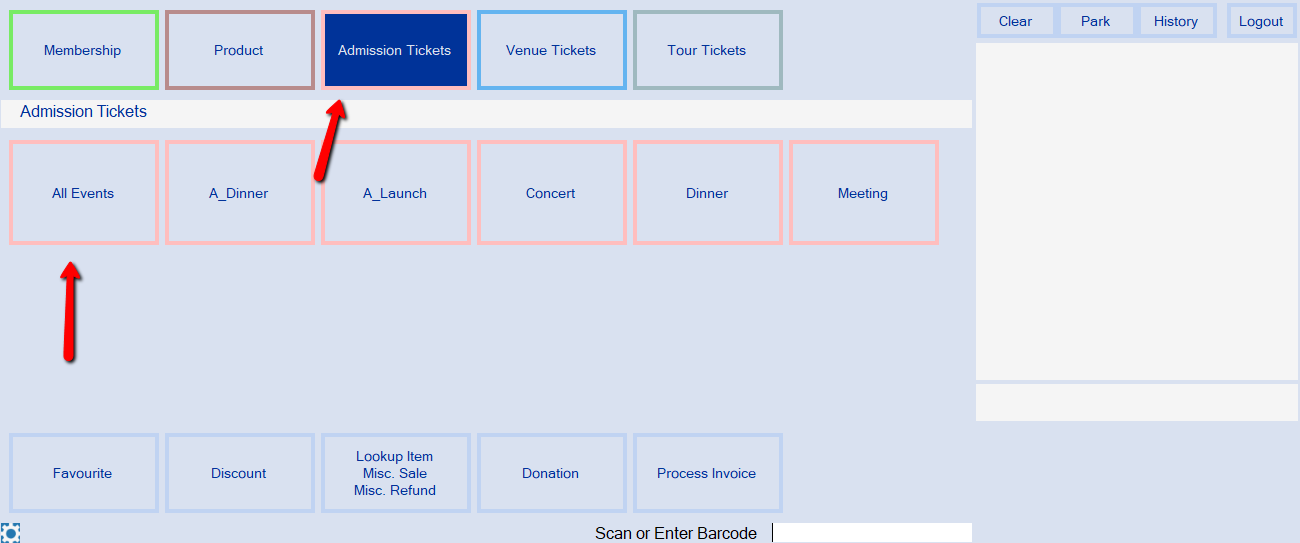
4.Open the POS to load the discount. After logging in, select Admissions Tickets > All Events. Alternatively, select the Event Type.
If a Discount requires a valid Membership to function correctly, enter the Membership Number into the Scan or Enter Barcode field and search for the Member.
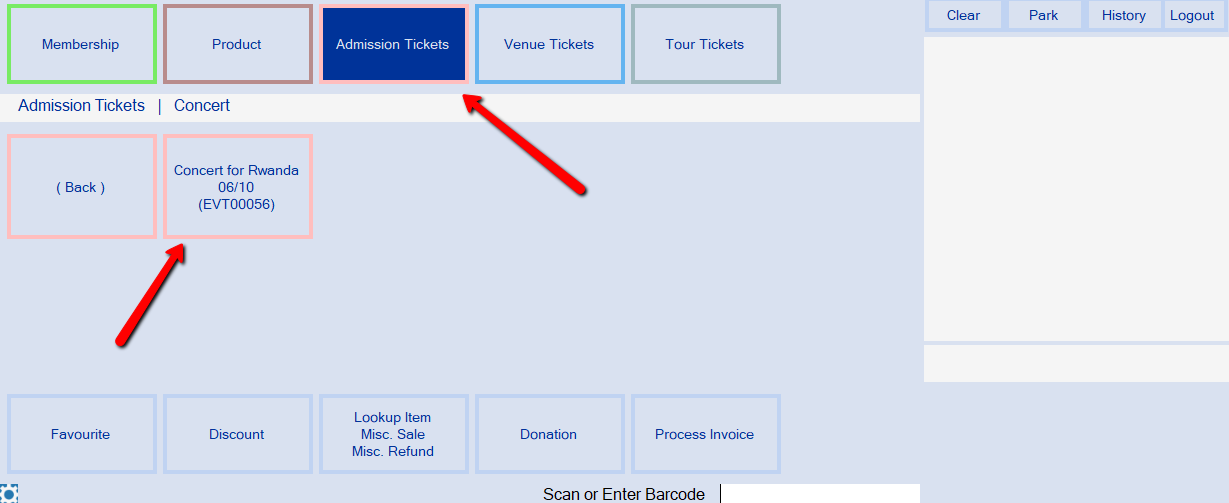
5.Select the Event. The Event will only appear if its date has been configured to be in the future, and if it has been set as ‘Available POS’.

6.Select an appropriate ticket for the event. The ticket will only appear as a selection if the ‘Available POS’ checkbox has been marked in the Ticket Type tab of the Event.
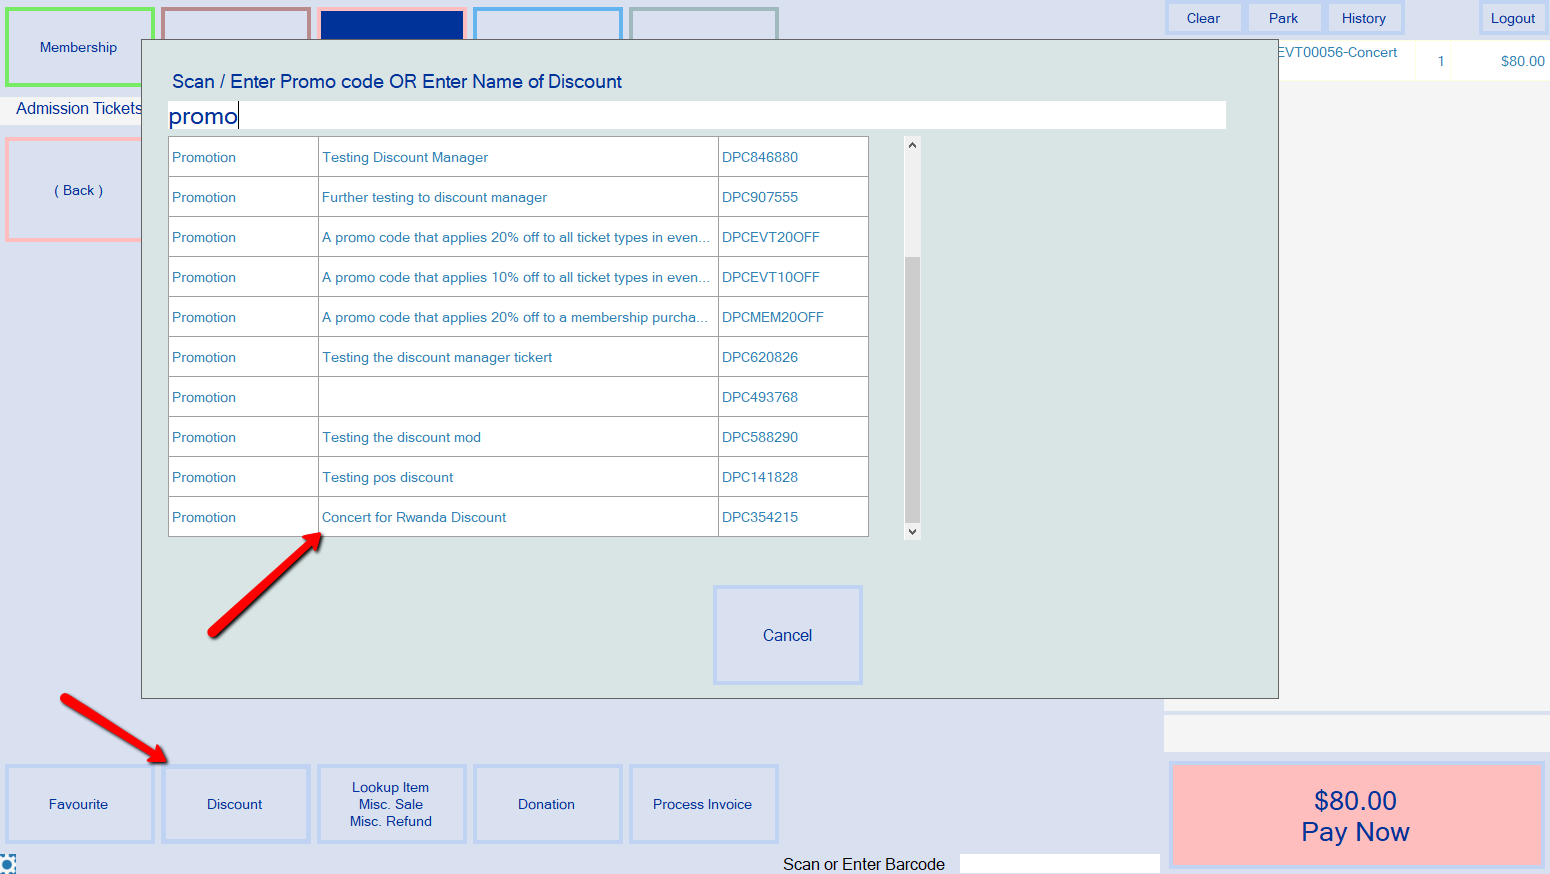
7.Click the Discount button and search for the appropriate discount. Clicking on it will apply the discount immediately.
The Discount will appear in yellow at the bottom of the Transaction Information Zone.
8.Click the Pay Now button and process the transaction.