thankQ Help
1.Decide which region the picture will go in (referring to the Tips when adding pictures section if necessary).
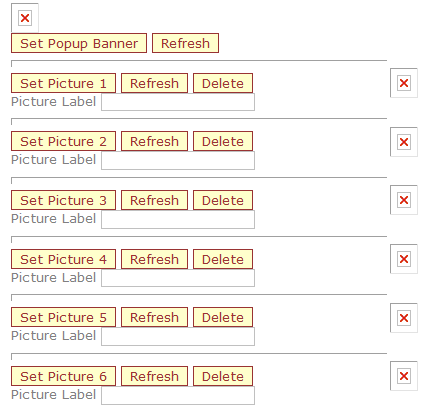
2.Click on the Set Picture button for the relevant region.
 |
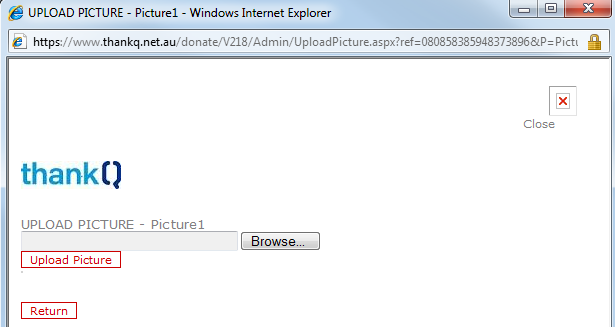
3.Click on the Browse button when the UPLOAD PICTURE page opens and locate the picture that you want to upload.
 |
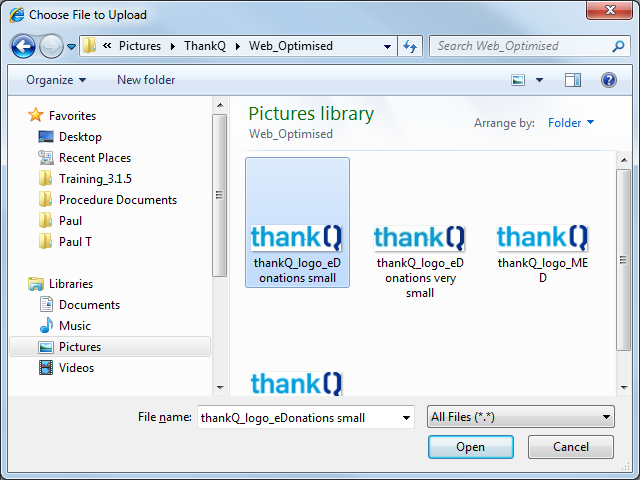
4.Browse until you find the required picture. Select the picture and click the Open button.
 |
5.The file path for the image will then appear in the UPLOAD PICTURE field.
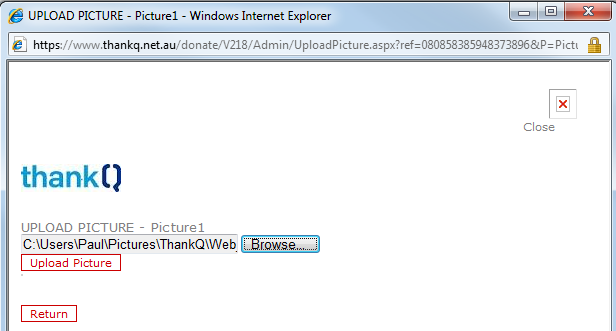 |
6.Click the Upload Picture button. The image will then appear above the UPLOAD PICTURE field.
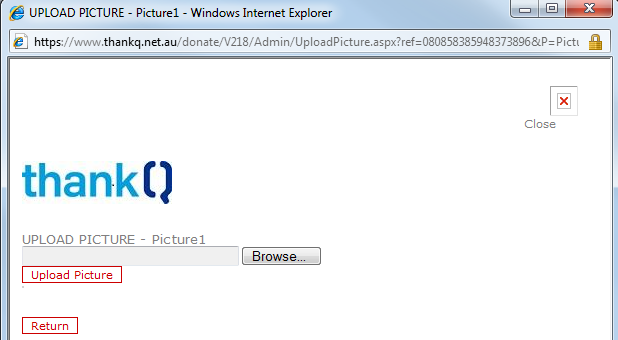 |
7.Click the Return button. You will be returned to the Donation Page Picture Editing... page.
8.Click the Refresh button that is next to relevant Set Picture button.
 |
9.The region picture will then appear to the right of the relevant Set Picture buttons.
 |
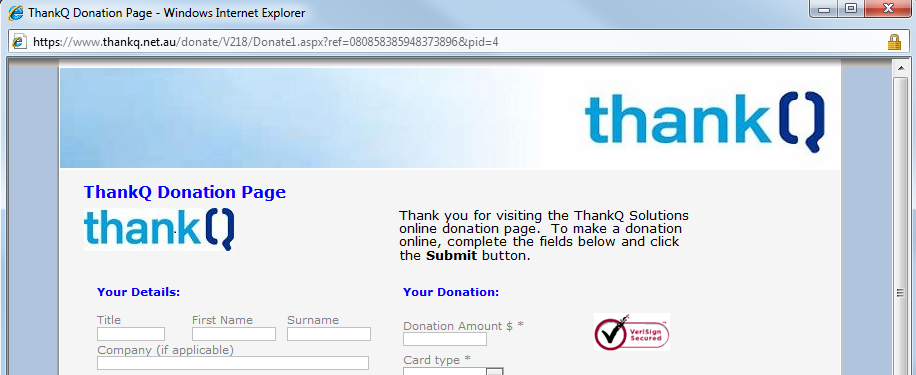
10.To preview how your donation page will look, click Save, then Preview.
 |
11.Repeat the above steps to add pictures to other regions.