thankQ Help
Once the list of Events has been created you will then need to configure the Events page that you created from the Registration Template. To set up the Contact page please see Setup a Registration Page. For the Events side of this page follow the steps below:
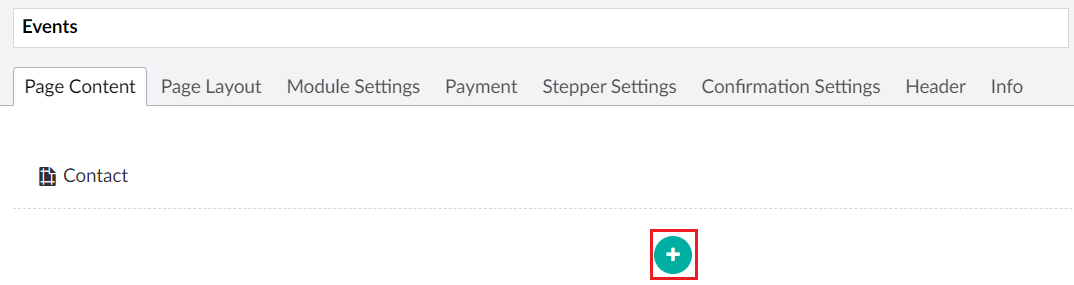
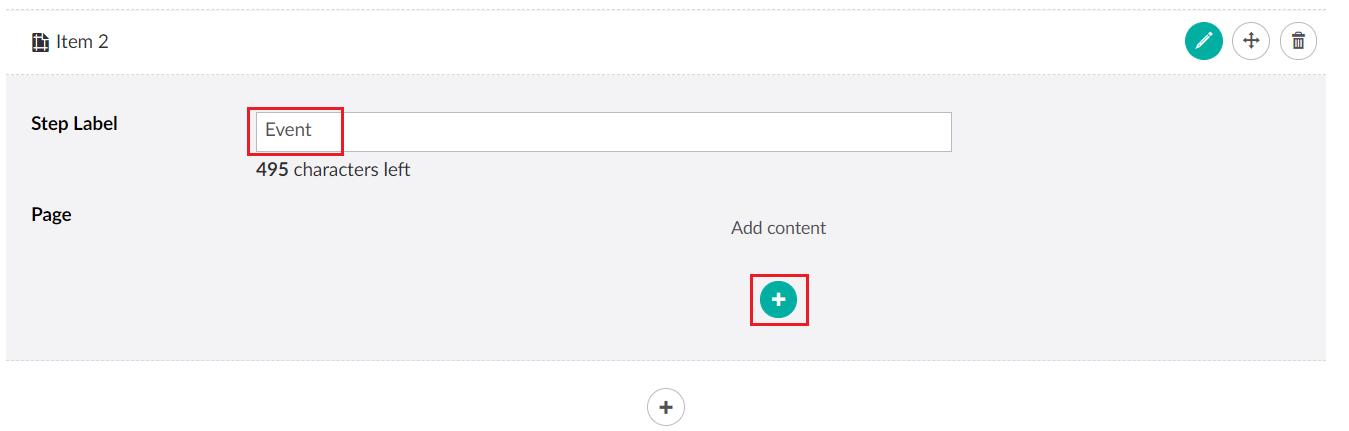
1. Create an Event Step.
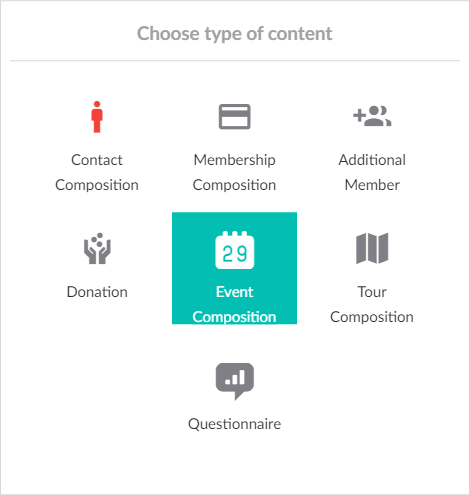
2. Create an Event Composition from this Event Step.
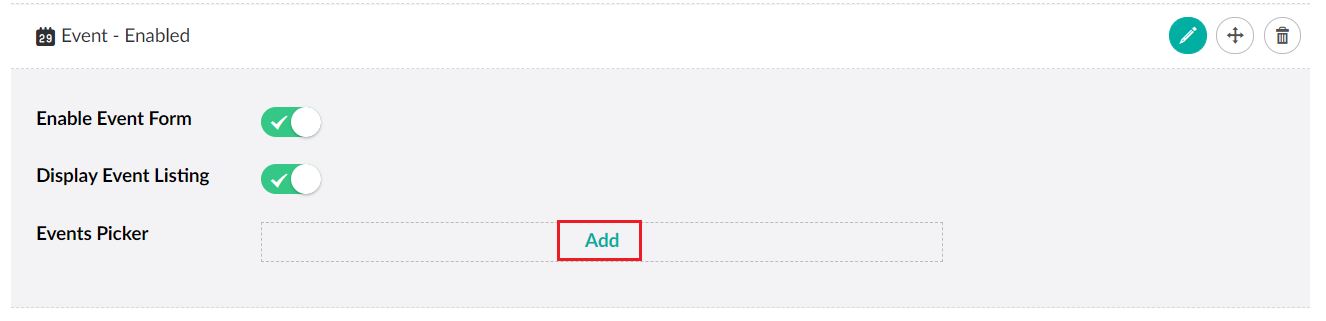
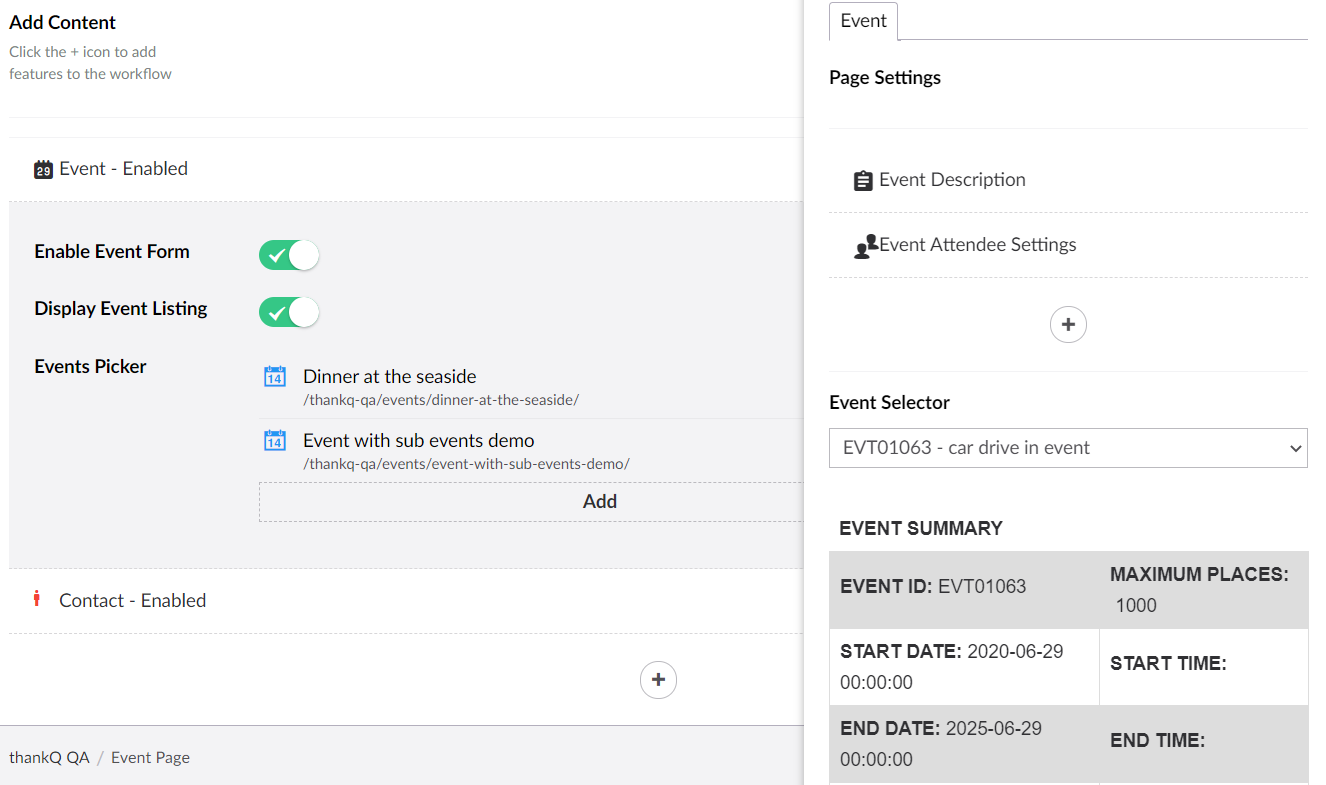
| 3. | Once you have created an Event Composition you can then configure two options. Enable Event Form will toggle the display of all Events Pages on or off. Display Event Listing will toggle the list of events on or off. If Event Listing is switched off then only one event will be displayed to the user. |
4. Once you have decided on these options use the Add button to add the Event Folder that you created previously.
5. You can then choose which events in the folder you want listed on this event page.
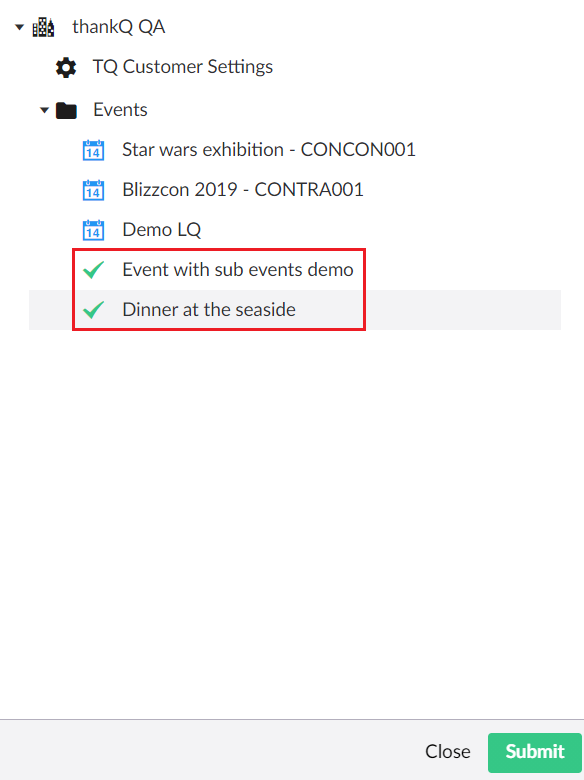
6. The Events that you have picked will now be displayed in the Events Picker.
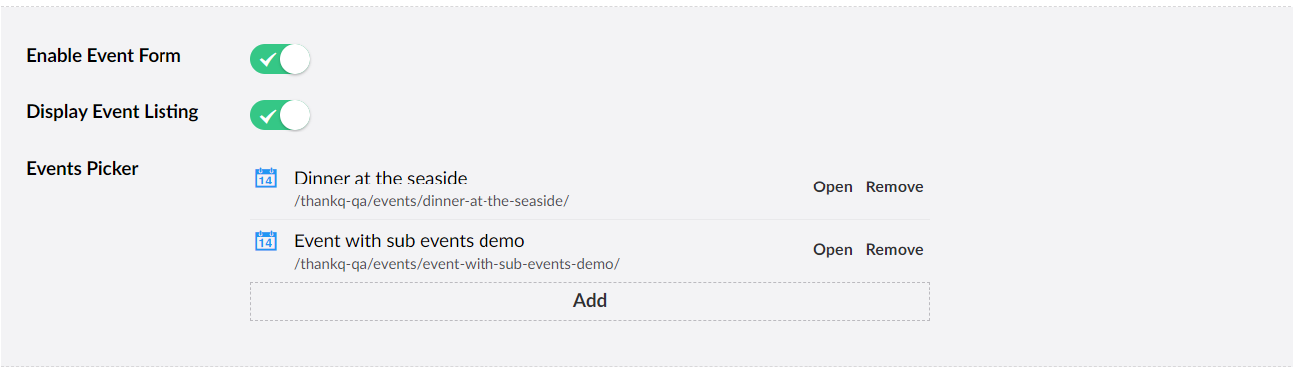
7. If you select the Open option beside an Event it will open up the details of that Event as well as allowing you to make any edits that you want to it.
8. Select Remove if you want to delete an Event from the picker.
9. You may optionally choose to change the names that will be displayed at the top of the page for the End User:
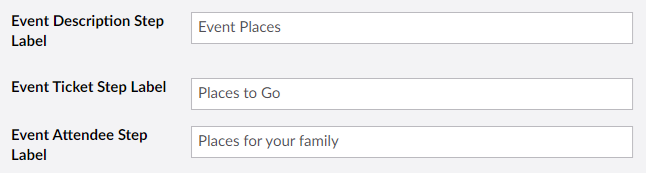
The above example will be displayed on the end user's page as follows:

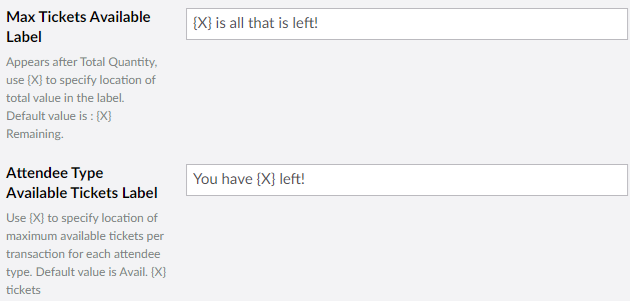
| 10. | You can also set the captions that will used in the Event Attendee booking page that to tell the user how many tickets are left or the limit on how many they are allowed to purchase (if those limits are applicable to this event): |
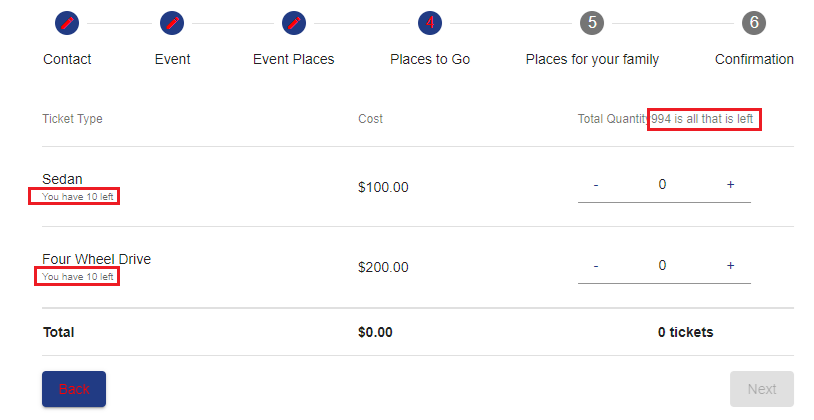
The two examples above will be displayed on the end user's page as follows:
11. Click Save and publish when you are finished.